A3-AG/N3-AG AGRICULTURE KIT 2.0
User Manual
©
2019 DJI All Rights Reserved.
45
Calibrating the Spraying System
Be sure to calibrate the spraying system before your first spray operation, or else it will adversely
affect spraying performance. Use the included measuring cup to ensure accuracy. Calibration
takes around 6 to 14 minutes.
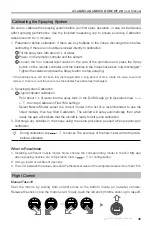
1. Preparation before calibration: If there are any bubbles in the hoses, discharge them before
calibrating. If there are no bubbles proceed directly to calibration.
1
Fill the spray tank with about 2 L of water.
2
Power on the remote controller and the aircraft.
3
Loosen the four manual relief valves on the side of the sprinklers and press the Spray
button on the remote controller until the bubbles in the hoses have been fully discharged.*
Tighten the valves and press the Spray button to stop spraying.
* If the bubbles have still not been fully discharged after a long period of time, rotate the valve cover and
remove it, then re-mount the cover once the bubbles have been fully discharged.
2. Spraying System Calibration
1
Liquid indicator calibration
Pour about 1 L of water into the spray tank. In the DJI MG app go to Operation View >
> , then tap Calibrate in Flow IMU settings.
Select Nozzle Model, select the correct model in the list (it is recommended to use the
listed models), then tap Start Calibration. The aircraft will spray automatically, then when
ready the app will indicate that the aircraft is ready for left pump calibration.
3. Discharge any bubbles in the hoses using the same procedure as used when preparing for
calibration.
During calibration, tap
> to cancel. The accuracy of the flow meter will be the data
before calibration.
When to Recalibrate
1. Installing a different nozzle model. Note: choose the corresponding model in the DJI MG app
after replacing nozzles. Go to Operation View >
> for configuration.
2. Using a liquid of a different viscosity.
3. The error between the actual value and the theoretical value of the completed area is more than 15%.
Flight Control
Manual Take-off
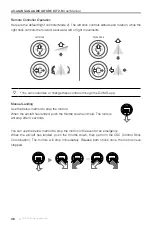
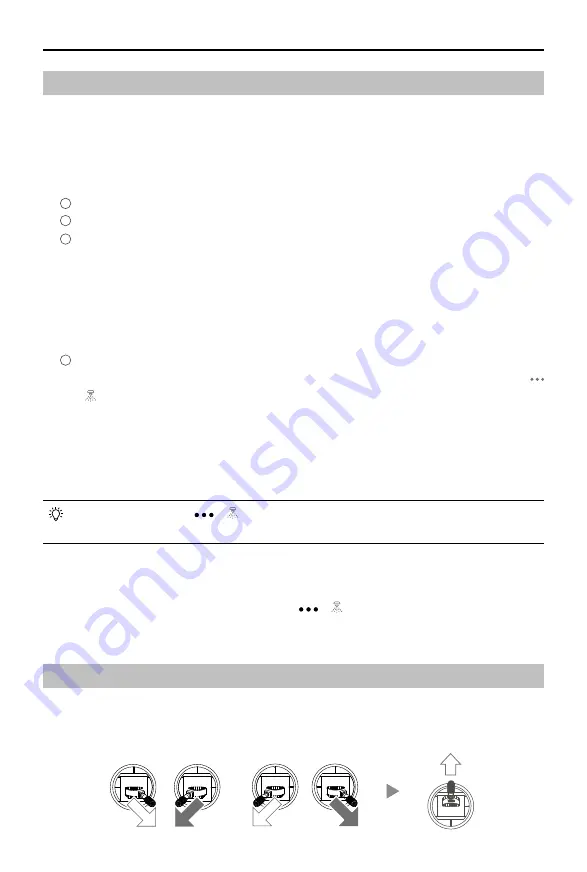
Start the motors by pulling both control sticks to the bottom inside (or outside) corners.
Release the sticks once the motors start. Slowly push the left stick (throttle stick) up to takeoff.
OR


