Installation Procedures
2.3 Installing the BA42B System
2.3 Installing the BA42B System
After you unpack the system, move the BA42B Enclosure to the location from
which it will operate. Place the enclosure so that it satisfies the following
space requirements:
• Allow 5 cm (approximately 2 inches) of clearance on each side of the
enclosure for ventilation.
• Allow 10 cm (approximately 4 inches) of clearance in the back of the
enclosure for the connection of cables.
• Allow 20 cm (approximately 8 inches) of clearance in the front of the
enclosure so that you can reach the removable media devices, depending on
the system configuration.
Note
Section 2.3.1 covers the installation of a VAX 4000 Model 100. See
Section 2.3.2 to install either a VAX 4000 Model 100A or Model 105A.
2.3.1 Installing a BA42B-Based VAX 4000 Model 100
To install a VAX 4000 Model 100:
2.3.1.1 Identifying the Ports and Connectors on the System
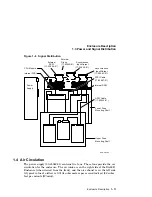
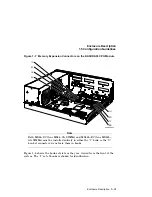
Figure 1–2 and Figure 1–3 show the ports and connectors on a VAX 4000 Model
100. Section 1.2 describes the functions of the controls, indicators, ports, and
connectors in all BA42B-based systems.
2.3.1.2 Connecting the Console Terminal
To connect a console terminal to a BA42B-based VAX 4000 Model 100 system,
follow these steps:
1. Make sure that the on/off switch on the terminal is in the off position.
2. Set the communication parameters of the terminal (see Table 2–3).
Installation Procedures 2–7


