Removing and Replacing Parts on the Low-Profile Chassis
4-7
)URQW3DQHO,QVHUWV
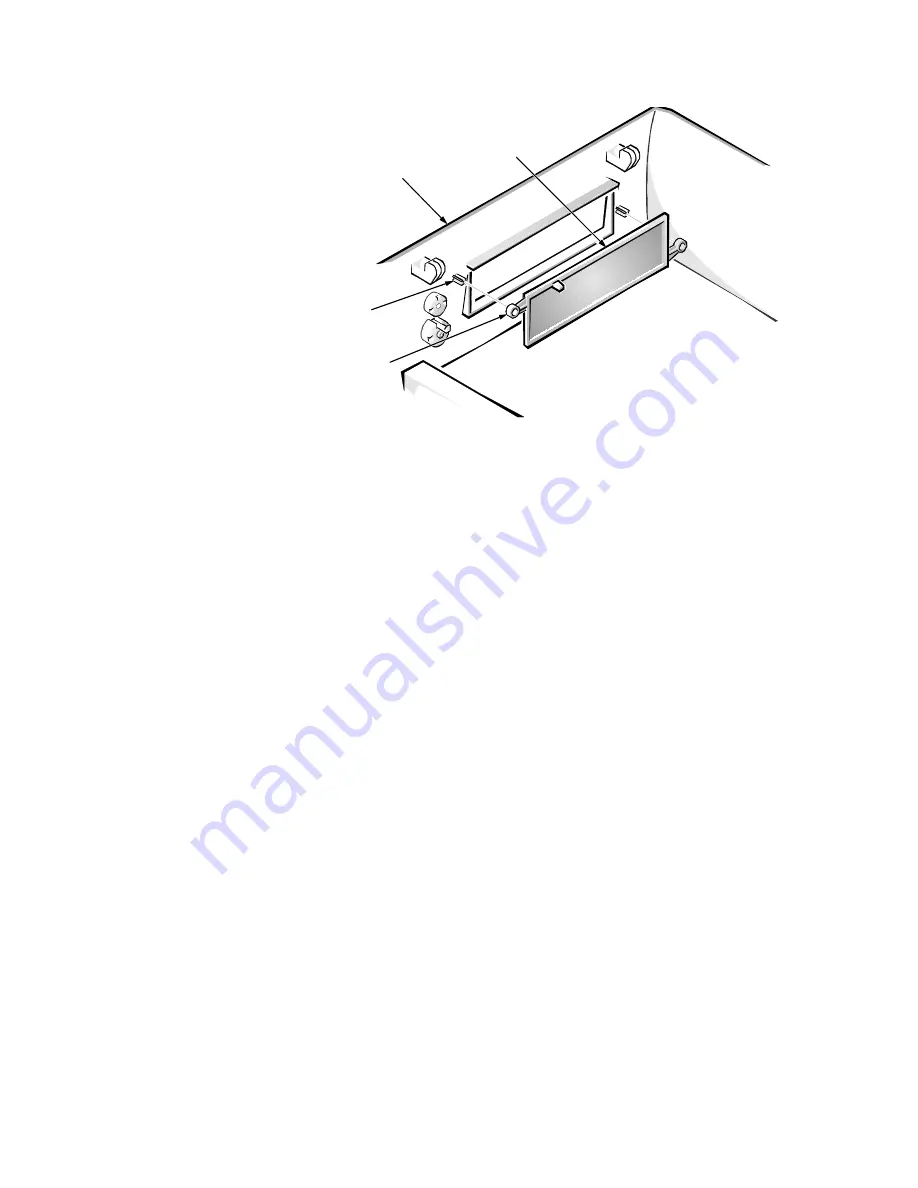
)LJXUH)URQW3DQHO,QVHUW5HPRYDO
To remove a front-panel insert, follow these steps:
/D\WKHFRPSXWHUFRYHUXSVLGHGRZQRQDIODWZRUNVXUIDFHZLWK
WKHIURQWRIWKHFRYHUIDFLQJ\RX
)URPWKHIURQWRIWKHFRYHUXVH\RXUWKXPEVWRSXVKLQZDUGRQ
WKHLQVHUWXQWLOLWVOLGHVRIIWKHWZRSRVWV
To replace a 5.25-inch front-panel insert, position the two ring-tabs over the
posts on the inside of the bay opening, and then press the ring-tabs over the
posts. If necessary, use a
1/4
-inch nutdriver to help push on the ring-tabs.
ring-tabs (2)
posts (2)
computer cover
(upside down)
5.25-inch
front-panel
insert
Содержание OptiPlex G1
Страница 1: ...ZZZ GHOO FRP HOO 2SWL3OH 0DQDJHG 3 6 VWHPV 6 59 0 18 ...
Страница 35: ...System Overview 1 25 LJXUH 3RZHU DEOHV IRU WKH 0LGVL H DQG 0LQL 7RZHU RPSXWHUV P7 P9 P5 P4 P3 P2 P1 P6 ...
Страница 44: ...1 34 Dell OptiPlex G1 Managed PC Systems Service Manual ...
Страница 58: ...3 8 Dell OptiPlex G1 Managed PC Systems Service Manual ...
Страница 82: ...4 24 Dell OptiPlex G1 Managed PC Systems Service Manual ...
Страница 132: ...6 26 Dell OptiPlex G1 Managed PC Systems Service Manual ...
Страница 143: ......
Страница 144: ... ZZZ GHOO FRP 3ULQWHG LQ 0DOD VLD 3 1 ...


