


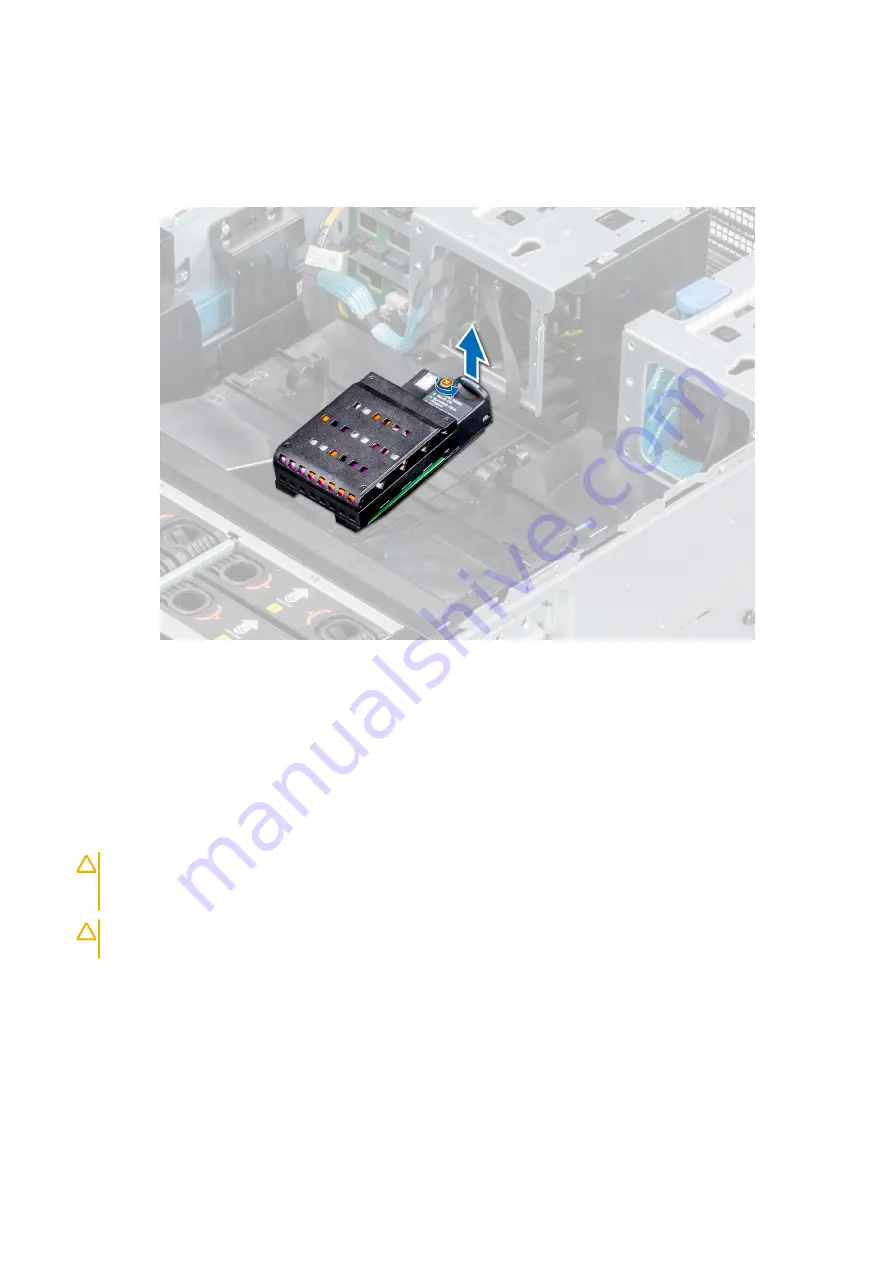
Steps
1. Disconnect the battery backup cable, and the NVDIMM connector cable from the NVDIMM-N battery.
2. Using a Phillips #2 screwdriver, loosen the screw securing the NVDIMM-N battery.
3. Lift the NVDIMM-N battery at an angle to disengage it from the slot on the air shroud.
4. Lift the NVDIMM-N battery out of the system.
Figure 53. Removing the NVDIMM-N battery from the air shroud
Next steps
1.
Installing the NVDIMM-N battery
Prerequisites
1. Follow the safety guidelines listed in
.
CAUTION:
NVDIMM-N battery is not hot swappable. To prevent data loss and potential damage to your system,
ensure that your system, LEDs on system, LEDs on NVDIMM-N and LEDs on NVDIMM-N battery are turned off
before installing the NVDIMM-N battery.
CAUTION:
To avoid damage to the battery connector, you must firmly support the connector while installing or
removing a battery.
2. Follow the procedure listed in
Before working inside your system
3.
.
4.
Steps
1. Incline the NVDIMM-N battery at an angle and place the battery on the air shroud slot.
2. Using a Phillips #2 screwdriver, tighten the screw to secure the NVDIMM-N battery.
3. Connect the battery backup cable, and the NVDIMM connector cable to the NVDIMM-N battery.
Installing and removing system components
77
Содержание PowerEdge R940xa
Страница 15: ...Figure 9 Configuration and layout Figure 10 Express service tag PowerEdge R940xa system overview 15 ...
Страница 17: ...Figure 13 Rear view configuration Figure 14 Jumper settings PowerEdge R940xa system overview 17 ...
Страница 19: ...Figure 18 Electrical overview PowerEdge R940xa system overview 19 ...
Страница 119: ...Figure 86 Installing the X8 PCIe Riser 1 Installing and removing system components 119 ...