


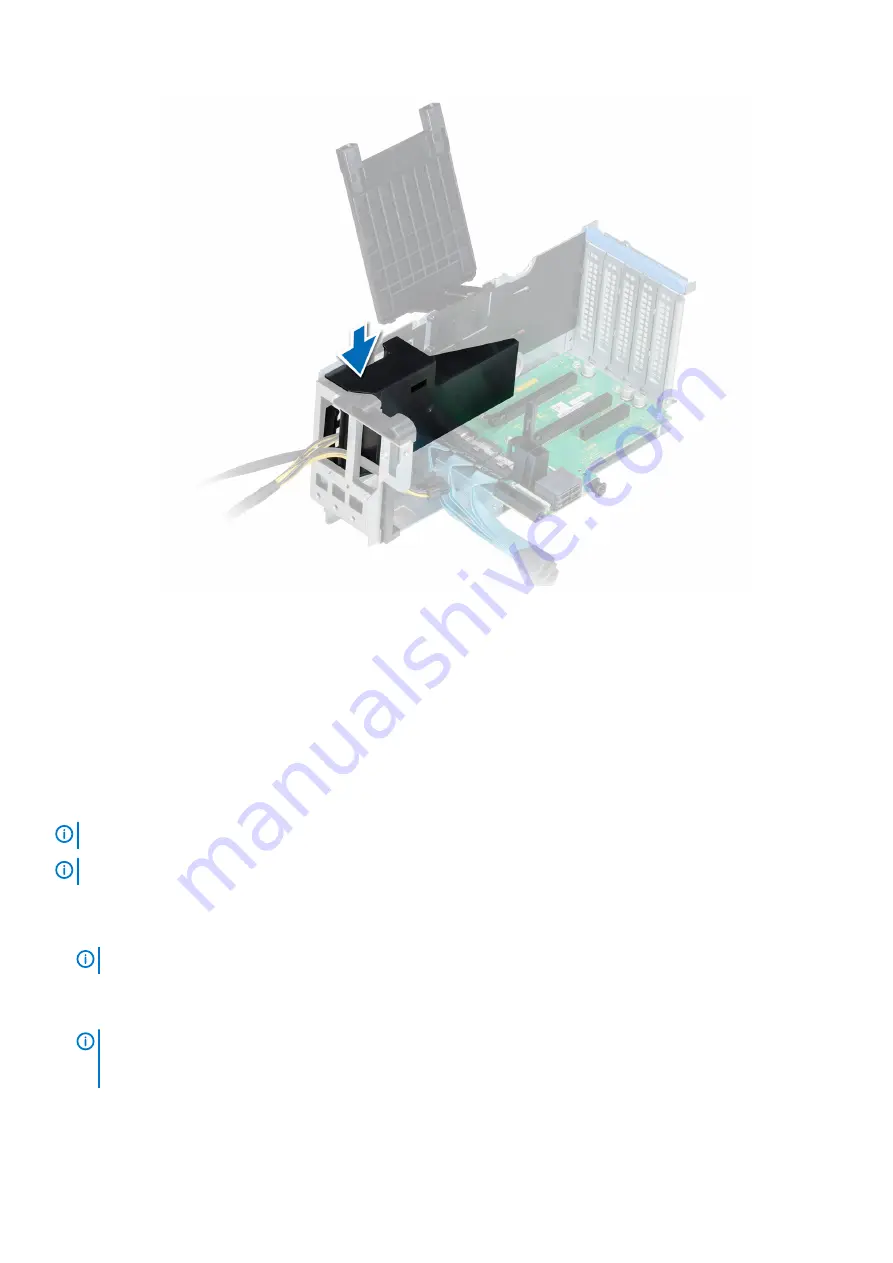
Figure 95. Installing the GPU blank
14. Close the cover.
15. Close the card retention latch by pushing the latch down until the latch snaps into place.
Next steps
.
Installing the GPU
Prerequisites
NOTE:
The GPU card can be installed only in a X16 PCIe riser configuration.
NOTE:
The GPU shroud must be removed only when a GPU is installed in the system.
1. Follow the safety guidelines listed in
.
2. Follow the procedure listed in
Before working inside your system
3. If installing a new expansion card, unpack it and prepare the card for installation.
NOTE:
For instructions, see the documentation accompanying the card.
4.
.
5.
6.
Remove the expansion card riser
, if you installing a GPU.
NOTE:
Store the filler bracket for future use. Filler brackets must be installed in empty expansion card slots to
maintain Federal Communications Commission (FCC) certification of the system. The brackets also keep dust and
dirt out of the system and aid in proper cooling and airflow inside the system.
Steps
1. Unpack the expansion card and prepare it for installation.
128
Installing and removing system components
Содержание PowerEdge R940xa
Страница 15: ...Figure 9 Configuration and layout Figure 10 Express service tag PowerEdge R940xa system overview 15 ...
Страница 17: ...Figure 13 Rear view configuration Figure 14 Jumper settings PowerEdge R940xa system overview 17 ...
Страница 19: ...Figure 18 Electrical overview PowerEdge R940xa system overview 19 ...
Страница 119: ...Figure 86 Installing the X8 PCIe Riser 1 Installing and removing system components 119 ...