


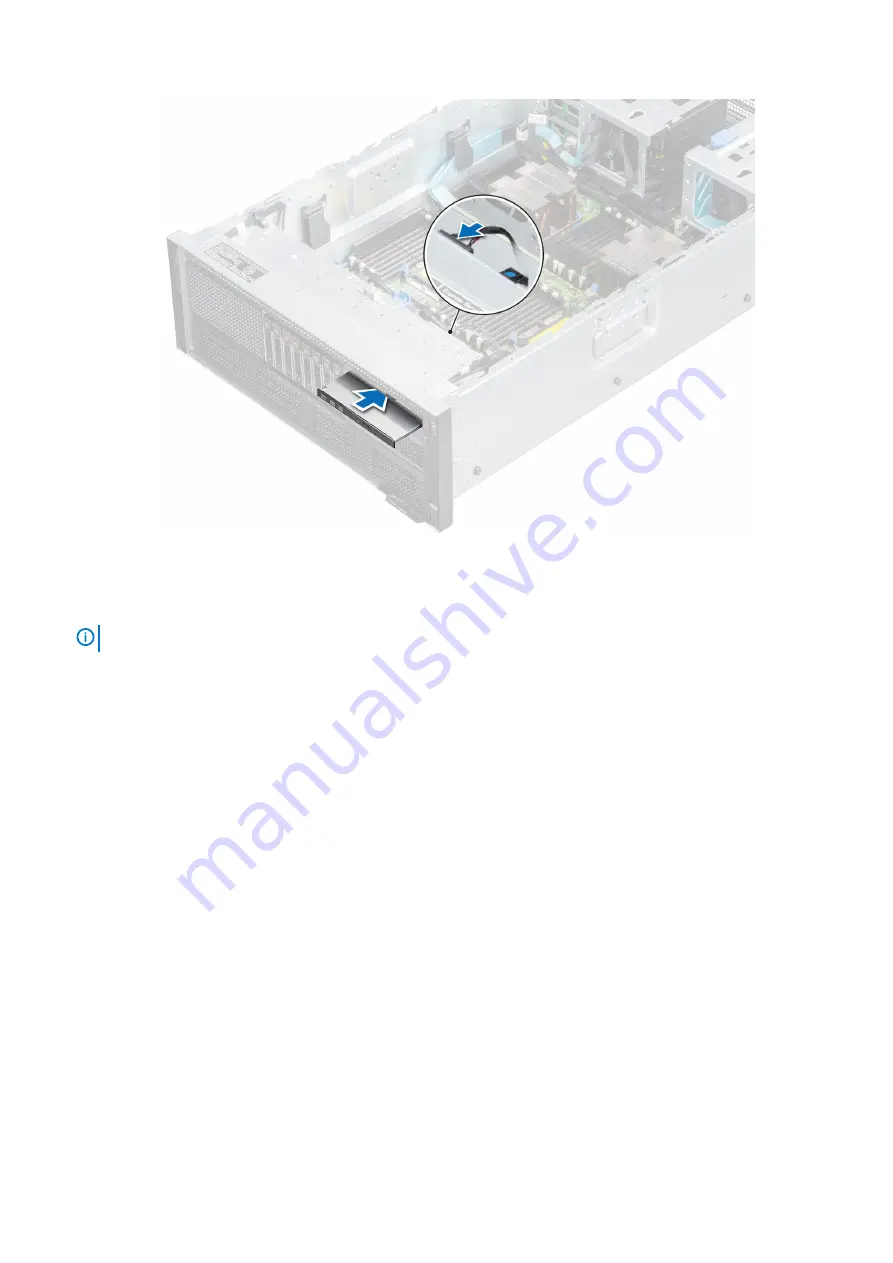
Figure 40. Installing the optical drive
Next steps
1. Connect the power and data cables to the connector on the optical drive and the connector on the system board.
NOTE:
Route the cable properly on the side of the system to prevent it from being pinched or crimped.
2.
Replace the cooling fan assembly
.
3.
4.
5.
6. Follow the procedure listed in
After working inside your system
Control panel
A control panel allows you to manually control the inputs to the server.
Your system supports:
•
Left control panel: Contains status LEDs, system ID button, and iDRAC Quick Sync 2 (optional).
•
Right control panel: Contains power button, USB 2.0 port, VGA port, micro USB for iDRAC Direct, and status LED for iDRAC Direct.
Removing the left control panel
Prerequisites
1. Follow the safety guidelines listed in
.
2. Follow the procedure listed in
Before working inside your system
3.
.
4.
.
5.
6.
Remove the cooling fan assembly
64
Installing and removing system components
Содержание PowerEdge R940xa
Страница 15: ...Figure 9 Configuration and layout Figure 10 Express service tag PowerEdge R940xa system overview 15 ...
Страница 17: ...Figure 13 Rear view configuration Figure 14 Jumper settings PowerEdge R940xa system overview 17 ...
Страница 19: ...Figure 18 Electrical overview PowerEdge R940xa system overview 19 ...
Страница 119: ...Figure 86 Installing the X8 PCIe Riser 1 Installing and removing system components 119 ...