


GETTING STARTED
PRODUCT REFERENCE GUIDE
75
Accessing e-Genius via AV500
To access e-Genius:
1. Connect your computer to the AV500
HOST NET,
IMAGE NET
or
SYNC NET
port
using an M12 to RJ45 Ethernet cable.
2. Turn on your laptop computer.
3. Configure your PC’s IP Address to be in the same network as the port you are con
‐
nected to. See “To change your PC’s IP Address:” on page 76.
4. Open a web browser and enter the IP address for the unit. If the correct IP address
is entered, the Log On window appears.
The default setup IP address for all
AV500
cameras is: 192.168.0.145 (setup/sync con
‐
troller), 192.168.3.10 (Host), and 10.0.40.20 (Image).
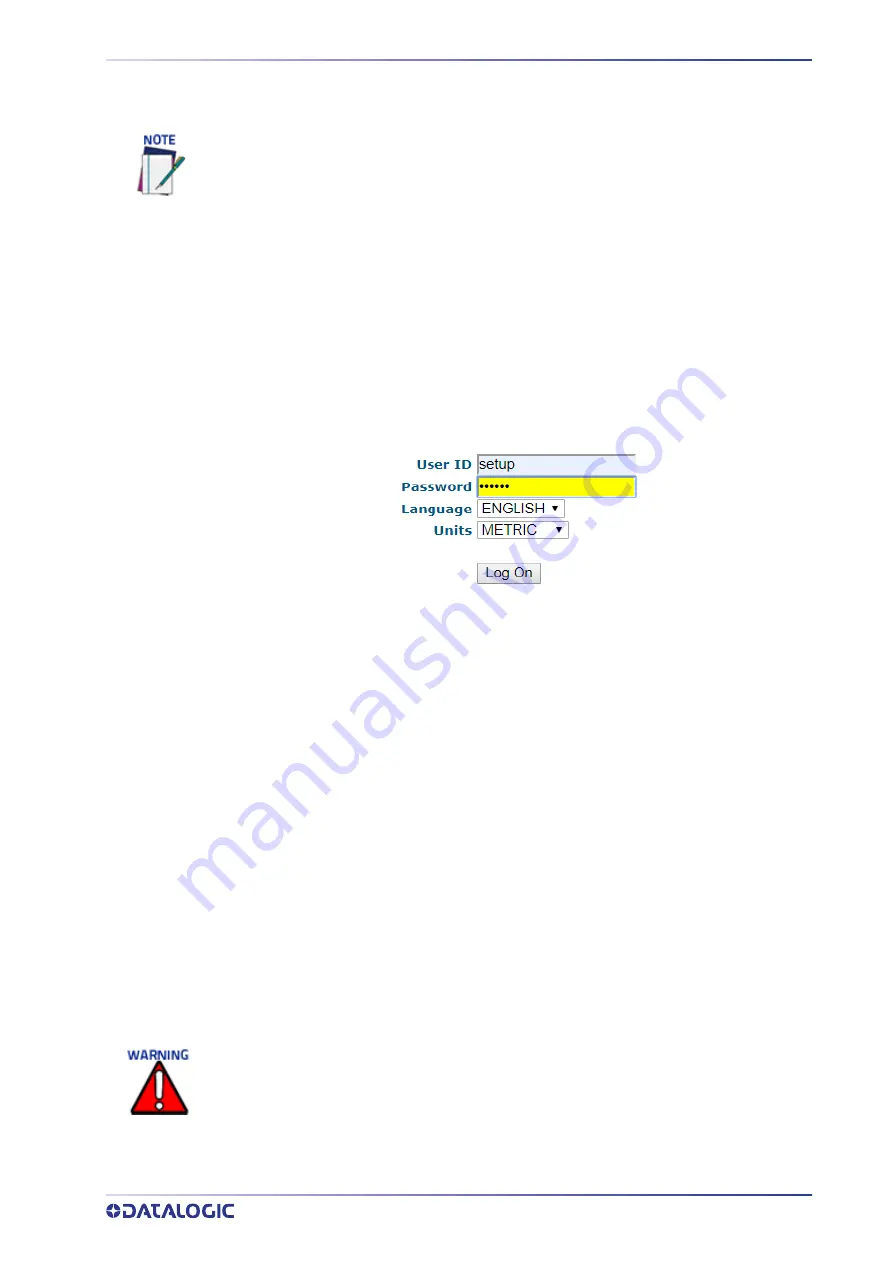
5. Enter the
User ID
(default is
setup
) and
Password
(default is
DLAset
) for your sys
‐
tem in the fields provided. Your site administrator may have modified these
defaults.
6. Select a language from the Language drop
‐
down list.
7. Select
METRIC
or
IMPERIAL
from the Units drop
‐
down list. All parameters which
require units of measure will be in the option you select, unless otherwise speci
‐
fied.
8. Click
Log On.
If the user name and password are valid, the application enables all functions available
to the user and displays the System Info window.
If the password is not valid, the application displays a results box with the message,
“Incorrect Password.” Click OK to return to the Log On window and enter the correct
user name and password. If you don’t know the password, contact your system man
‐
ager.
Before starting up or testing the AV500, it must be connected to a CBX Connection Box
depending on the system configuration. Since Host and Image IP ports have static IP
addresses, they may have changed from their default addresses. Contact your IT depart-
ment to acquire the correct IP address.
The user ID and password shown above provide full setup rights to the user.
If a user only needs to view system information
without saving changes
, the
User ID:
monitor
and
Password:
DLAmon should be used.
Содержание AV500
Страница 1: ...AV500 PRODUCT REFERENCE GUIDE 2D CAMERA...
Страница 53: ...MOUNTING PRODUCT REFERENCE GUIDE 33...
Страница 73: ...CBX510 CONNECTION BOX PRODUCT REFERENCE GUIDE 53 Photoelectric Sensor to CBX510 NPN...
Страница 74: ...ELECTRICAL INSTALLATION 54 AV500 2D CAMERA Photoelectric Sensor to CBX510 PNP...
Страница 84: ...ELECTRICAL INSTALLATION 64 AV500 2D CAMERA Photoelectric Sensor to CBX100 and CBX800 NPN...
Страница 86: ...ELECTRICAL INSTALLATION 66 AV500 2D CAMERA...
Страница 91: ...FOCUSING DEVICE WIRING PRODUCT REFERENCE GUIDE 71 Unpowered Outputs...
Страница 113: ...OPERATING MODE PRODUCT REFERENCE GUIDE 93...
Страница 203: ...PRODUCT REFERENCE GUIDE 183 12 Click Next Step and the following screen appears...
Страница 205: ...PRODUCT REFERENCE GUIDE 185...
Страница 218: ...E GENIUS 198 AV500 2D CAMERA...
Страница 230: ...E GENIUS 210 AV500 2D CAMERA...
Страница 231: ...PRODUCT REFERENCE GUIDE 211...
Страница 234: ...E GENIUS 214 AV500 2D CAMERA...
Страница 241: ...PRODUCT REFERENCE GUIDE 221 Click on Diagnostic Messages and a Diagnostic Messages window opens...
Страница 249: ...PRODUCT REFERENCE GUIDE 229...
Страница 253: ...PRODUCT REFERENCE GUIDE 233...
Страница 260: ...E GENIUS 240 AV500 2D CAMERA...
Страница 263: ...PRODUCT REFERENCE GUIDE 243 4 Select Auto Learn from the drop down and the following auto learn options appear...
Страница 266: ...E GENIUS 246 AV500 2D CAMERA...
Страница 299: ...AV500 CALIBRATION PRODUCT REFERENCE GUIDE 279...
Страница 321: ...NOTES...
Страница 322: ...NOTES...
Страница 323: ...NOTES...


