SR200 & SR300 Card Printers and LM200 & LM200 Laminators Installation Guide
7
Installation Overview
This
section
provides
an
overview
of
the
steps
you
will
follow
when
installing
the
printer.
USB Connection
The
simplest
and
most
direct
method
of
connecting
the
card
printer
to
a
PC
is
with
a
USB
cable.
With
this
method,
the
card
printer
is
a
local
printer
and
only
the
connected
PC
can
use
it
to
cards.
Note
that
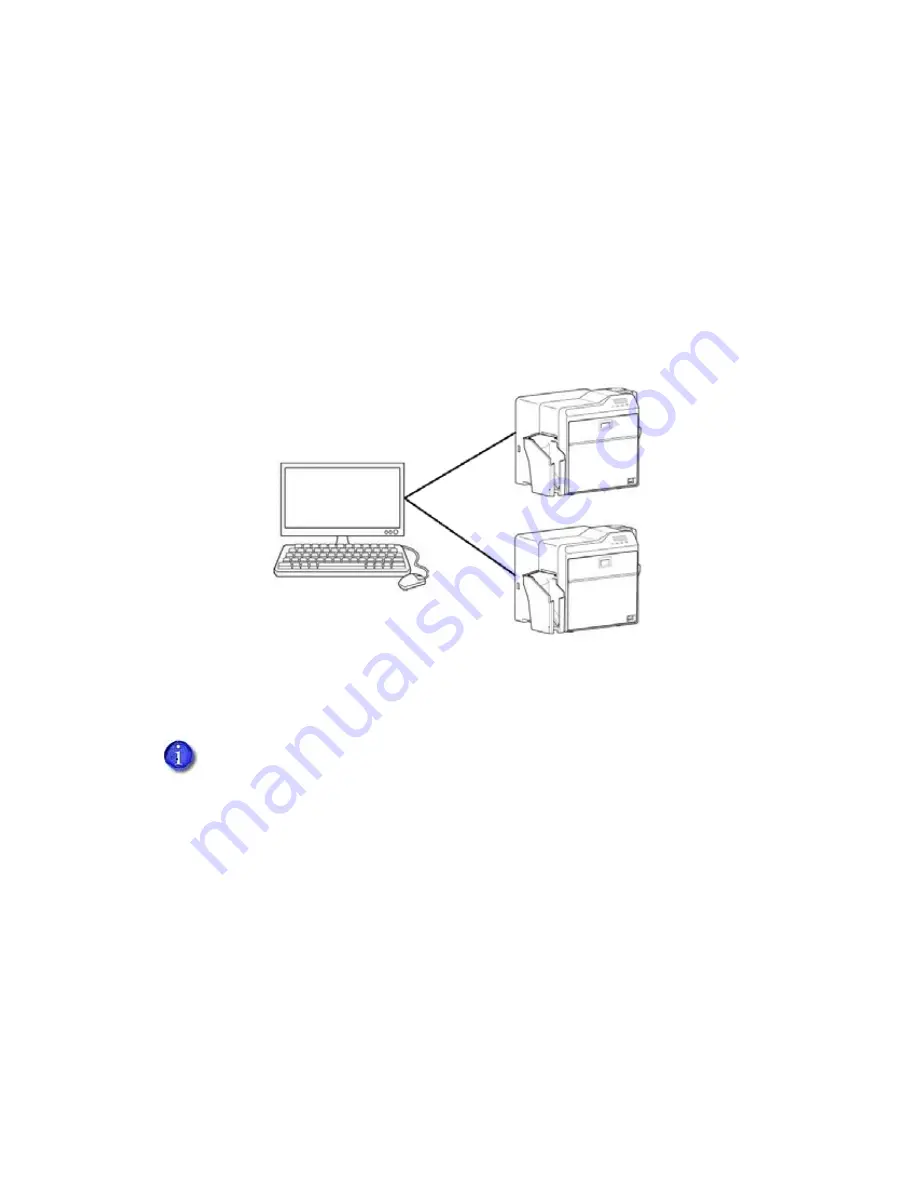
two
or
more
card
printers
can
be
connected
to
a
PC,
each
with
its
own
USB
cable,
as
shown
below:
The
USB
installation
procedure
varies,
depending
on
whether
the
printer
includes
a
smart
card
option.
Use
one
of
the
following
Overview
sections
to
help
you
plan
the
steps
needed
to
install
your
printer.
USB Installation Overview (no Smart Card)
Perform
these
steps
to
install
your
card
printer
with
a
USB
connection
when
the
printer
does
not
contain
a
smart
card
option.
Refer
to
Chapters
2,
4,
and
5
of
this
manual
for
detailed
instructions.
1.
(Optional)
Install
ID
software,
such
as
Datacard
®
ID
Works
®
identification
software,
onto
the
PC
that
will
be
used
to
design
and
cards.
2.
Physically
install
the
printer
and
optional
laminator:
a.
Connect
the
laminator
(if
used)
to
the
printer.
b.
Install
the
card
hopper.
c.
Install
the
card
stacker.
If
your
printer
includes
a
smart
card
option,
it
must
be
connected
to
the
PC
with
a
USB
cable.
Network
connection
for
smart
card
use
is
not
supported
by
the
SR200
&
SR300
printers.
Содержание LM200
Страница 24: ...16 Installing the Hardware Components ...
Страница 34: ...26 Installing the Smart Card Driver ...
Страница 62: ...54 Installing the USB Printer Driver ...
Страница 70: ...62 Installing the Status Monitor ...
Страница 94: ...86 Removing Printer Driver and Status Monitor ...


