167
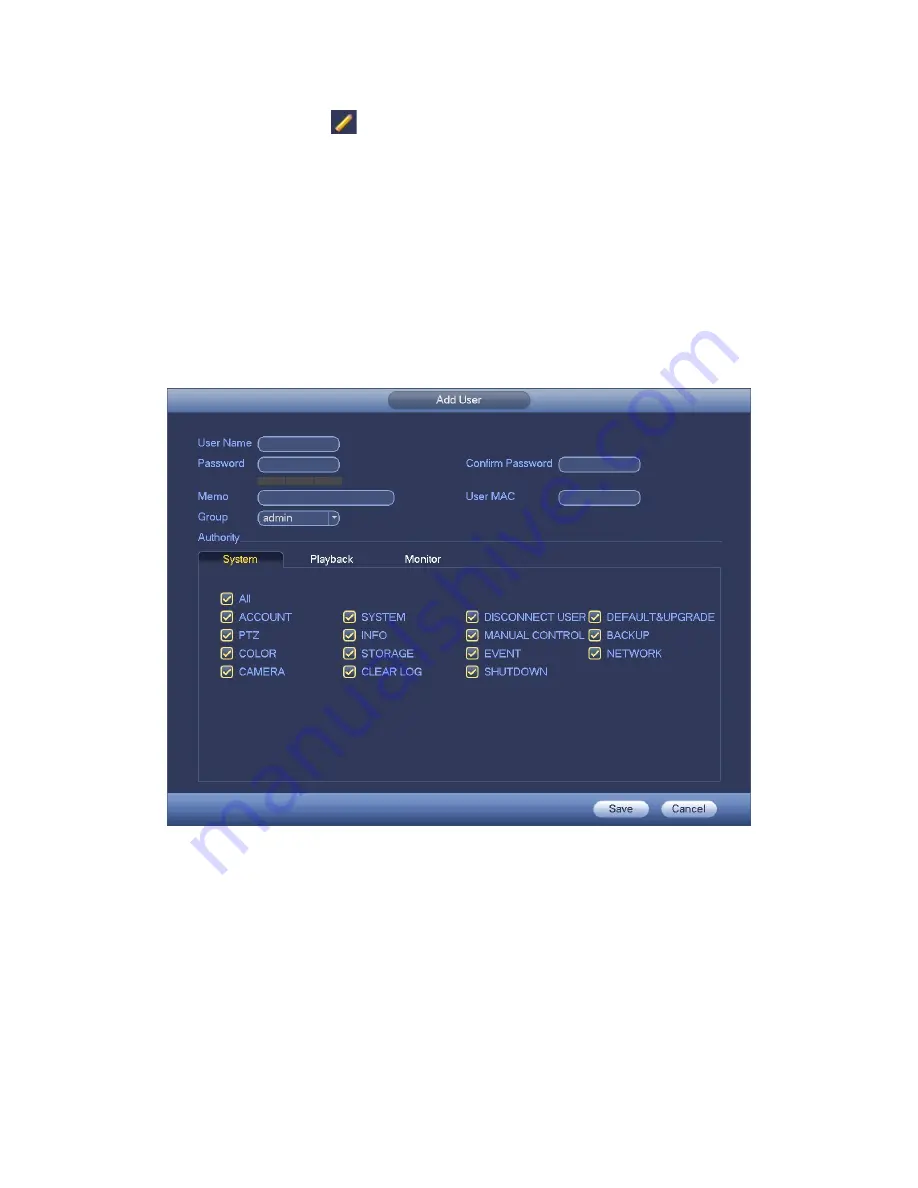
Click modify user button
in Figure 3-187 , the interface is shown as in Figure 3-188.
Please input the user name, password, select the group it belongs to from the dropdown
list.
Then you can check the corresponding rights for current user.
For convenient user management, usually we recommend the general user right is lower
than the admin account.
Username
: admin.
Password
: admin. (administrator, local and network)
Username
: 888888.
Password
: 888888. (administrator, local only)
Username
: default.
Password
: default (hidden user). Hidden user “default” is for
system interior use only and can not be deleted. When there is no login user, hidden
user “default” automatically login. You can set some rights such as monitor for this
user so that you can view some channels without login.
Figure 3-188
When you create a new user, you can input the corresponding MAC address of current
user. If you leave this item in blank, any MAC address user can share this user account to
login. Please note system needs to check the validity of MAC. Only the 12-digit 0-f format
address can pass the validity verification. System only saves small character even you
input capitalized one. You can see the corresponding prompt if there is any illegal input.
Click the Set button after the period, you can set valid period to use current account. See
Figure 3-189.
Содержание XVR
Страница 1: ...Standalone XVR User s Manual V1 0 0...
Страница 84: ...75 Figure 3 73 Figure 3 74...
Страница 93: ...84 restore original status Figure 3 85 Figure 3 86 3 11 1 3 1 Upgrade Important...
Страница 117: ...108 Figure 3 109 Figure 3 110...
Страница 118: ...109 Figure 3 111 Figure 3 112...
Страница 132: ...123 Figure 3 129 Click draw button to draw the zone See Figure 3 130 Figure 3 130 Name Input customized rule name...
Страница 139: ...130 Figure 3 136 Figure 3 137...
Страница 140: ...131 Figure 3 138 Figure 3 139...
Страница 143: ...134 Figure 3 142 Figure 3 143...
Страница 144: ...135 Figure 3 144 Figure 3 145...
Страница 152: ...143 Figure 3 157 Figure 3 158...
Страница 170: ...161 Figure 3 180 For digital channel the interface is shown as below See Figure 3 181 Figure 3 181 3 11 5 6 ATM POS...
Страница 184: ...175 Figure 3 198...
Страница 222: ...213 Figure 4 58 Figure 4 59...
Страница 236: ...227 Figure 4 75 Figure 4 76...
Страница 241: ...232 Figure 4 83 Figure 4 84 Please refer to the following sheet for detailed information...
Страница 244: ...235 Figure 4 86 Figure 4 87 Figure 4 88 Please refer to the following sheet for detailed information...
Страница 287: ...278 448K 196M 512K 225M 640K 281M 768K 337M 896K 393M 1024K 450M 1280K 562M 1536K 675M 1792K 787M 2048K 900M...


