44
corresponding record file trace in the time bar.
4
Playback
mode
and
channel
selection
pane.
Playback mode
:
1/4/9/16/customized. (It may vary due to different series.)
In 1-window playback mode: you can select 1-16 channels.
In 4-window playback mode: you can select 4 channels according to your
requirement.
In 9-window playback mode, you can switch between 1-8 and 9-16 channels.
In 16-window playback mode, you can switch between1-16 and 17-32
channels.
In customized mode, you can select one or more channel(s) you want to
playback at the same time. See chapter 3.9.1.4.
The time bar will change once you modify the playback mode or the channel
option.
5
Card
number
search
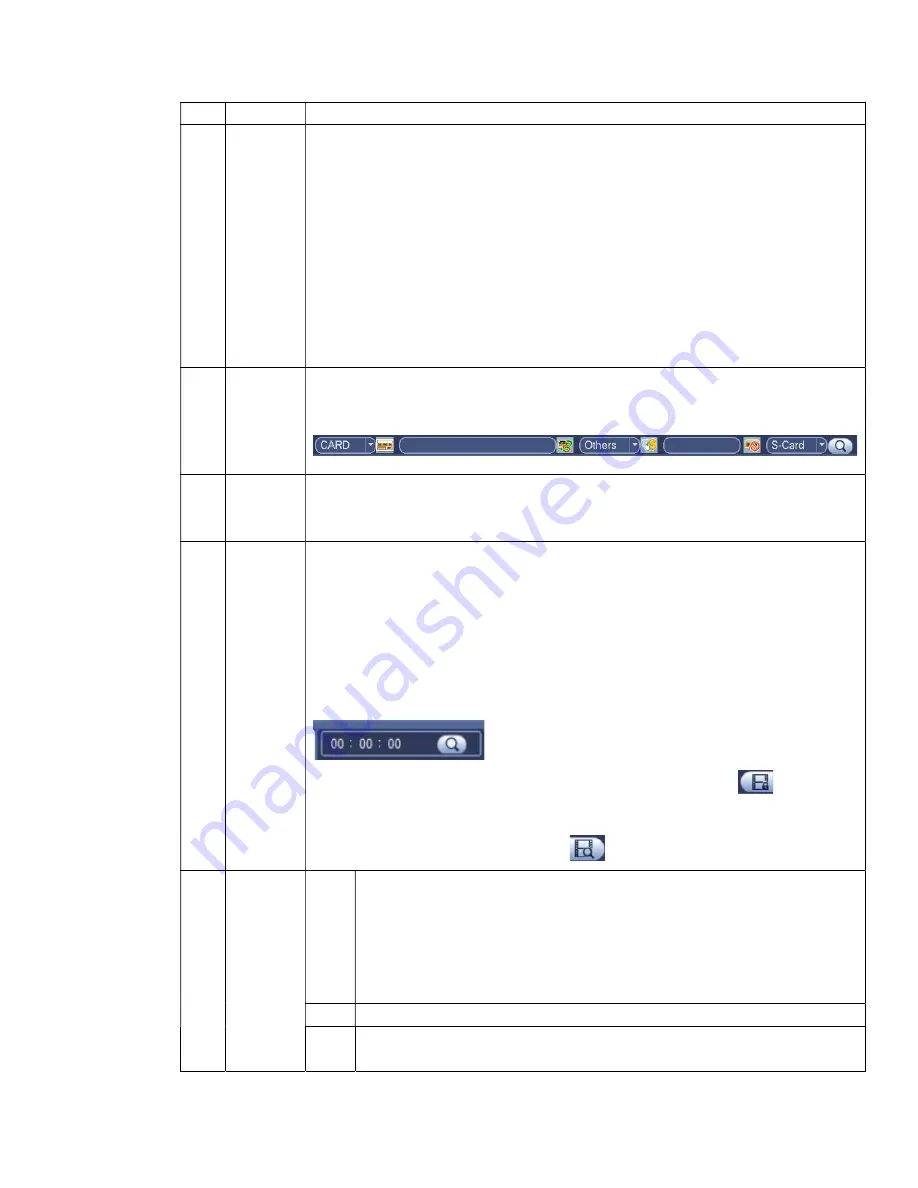
The card number search interface is shown as below. Here you can view card
number/field setup bar. You can implement advanced search.
6
Mark file
list button
Click it to go to mark file list interface. You can view all mark information of current
channel by time. Please refer to chapter 3.9.1.3 for detailed information.
Please note only the product of this icon supports mark function.
7
File
list
switch
button
Double click it, you can view the picture/record file list of current day.
The file list is to display the first channel of the record file.
The system can display max 128 files in one time. Use the
│
and
│
or the
mouse to view the file. Select one item, and then double click the mouse or click the
ENTER button to playback.
You can input the period in the following interface to begin accurate search.
File type
:
R—regular record
;
A—external alarm record
;
M—Motion detect
record.
Lock file. Click the file you want to lock and click the button
to lock. The
file you locked will not be overwritten.
Search locked file: Click the button
to view the locked file.
8
Playback
control
pane.
►/
Play/Pause
There are three ways for you to begin playback.
The play button
Double click the valid period of the time bar.
Double click the item in the file list.
In slow play mode, click it to switch between play/pause.
■
Stop
Backward play
In normal play mode, left click the button, the file begins backward play.
Содержание XVR
Страница 1: ...Standalone XVR User s Manual V1 0 0...
Страница 84: ...75 Figure 3 73 Figure 3 74...
Страница 93: ...84 restore original status Figure 3 85 Figure 3 86 3 11 1 3 1 Upgrade Important...
Страница 117: ...108 Figure 3 109 Figure 3 110...
Страница 118: ...109 Figure 3 111 Figure 3 112...
Страница 132: ...123 Figure 3 129 Click draw button to draw the zone See Figure 3 130 Figure 3 130 Name Input customized rule name...
Страница 139: ...130 Figure 3 136 Figure 3 137...
Страница 140: ...131 Figure 3 138 Figure 3 139...
Страница 143: ...134 Figure 3 142 Figure 3 143...
Страница 144: ...135 Figure 3 144 Figure 3 145...
Страница 152: ...143 Figure 3 157 Figure 3 158...
Страница 170: ...161 Figure 3 180 For digital channel the interface is shown as below See Figure 3 181 Figure 3 181 3 11 5 6 ATM POS...
Страница 184: ...175 Figure 3 198...
Страница 222: ...213 Figure 4 58 Figure 4 59...
Страница 236: ...227 Figure 4 75 Figure 4 76...
Страница 241: ...232 Figure 4 83 Figure 4 84 Please refer to the following sheet for detailed information...
Страница 244: ...235 Figure 4 86 Figure 4 87 Figure 4 88 Please refer to the following sheet for detailed information...
Страница 287: ...278 448K 196M 512K 225M 640K 281M 768K 337M 896K 393M 1024K 450M 1280K 562M 1536K 675M 1792K 787M 2048K 900M...


