184
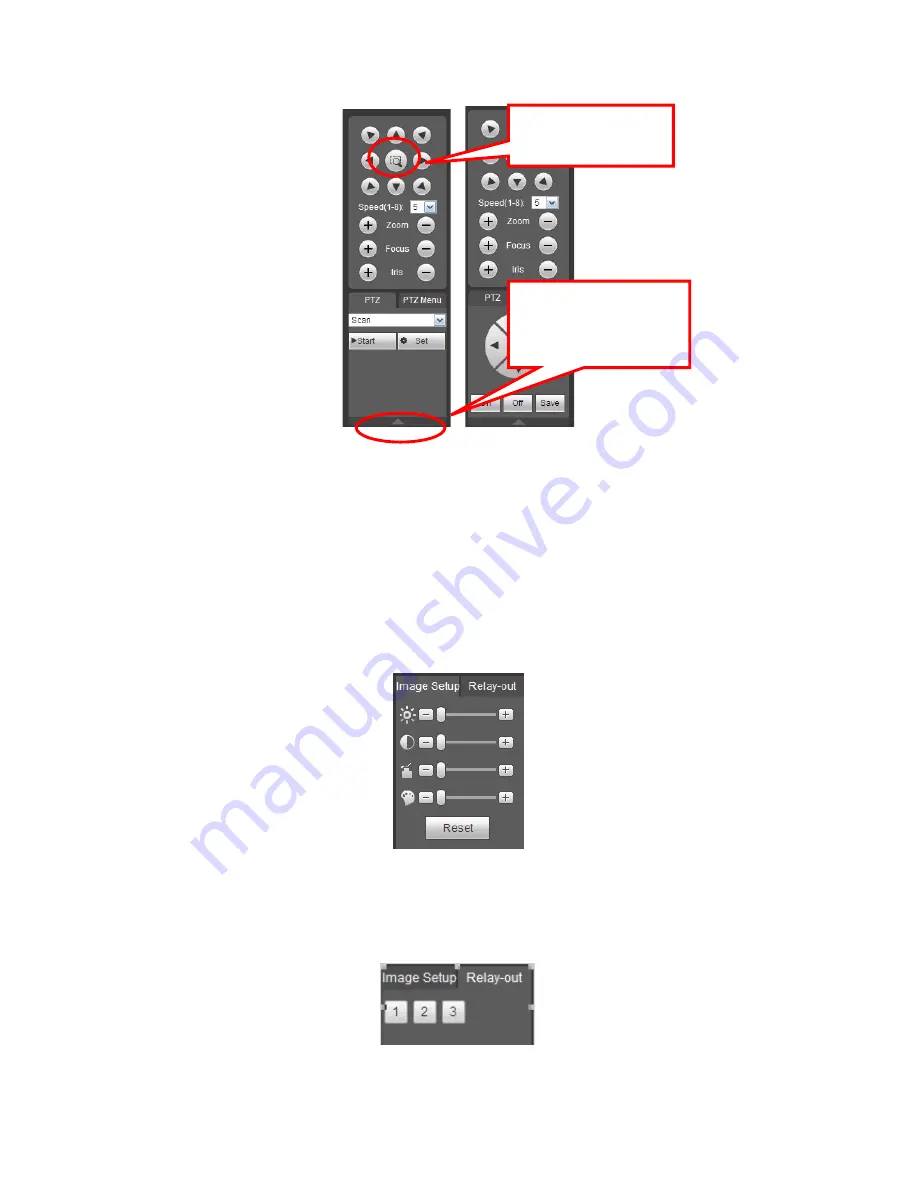
Figure 4-15
4.6
Image/Relay-out
Select one monitor channel video and then click Image button in section 8, the interface is
shown as Figure 4-16.
4.6.1 Image
Here you can adjust its brightness, contrast, hue and saturation. (Current channel border
becomes green).
Or you can click Reset button to restore system default setup.
Figure 4-16
4.6.2 Relay output
Here you can enable or disable the alarm signal of the corresponding port. See Figure
4-17.
Figure 4-17
You can click this icon to
display or hide the PTZ
control platform.
3D Intelligent Positioning
Key
Содержание XVR
Страница 1: ...Standalone XVR User s Manual V1 0 0...
Страница 84: ...75 Figure 3 73 Figure 3 74...
Страница 93: ...84 restore original status Figure 3 85 Figure 3 86 3 11 1 3 1 Upgrade Important...
Страница 117: ...108 Figure 3 109 Figure 3 110...
Страница 118: ...109 Figure 3 111 Figure 3 112...
Страница 132: ...123 Figure 3 129 Click draw button to draw the zone See Figure 3 130 Figure 3 130 Name Input customized rule name...
Страница 139: ...130 Figure 3 136 Figure 3 137...
Страница 140: ...131 Figure 3 138 Figure 3 139...
Страница 143: ...134 Figure 3 142 Figure 3 143...
Страница 144: ...135 Figure 3 144 Figure 3 145...
Страница 152: ...143 Figure 3 157 Figure 3 158...
Страница 170: ...161 Figure 3 180 For digital channel the interface is shown as below See Figure 3 181 Figure 3 181 3 11 5 6 ATM POS...
Страница 184: ...175 Figure 3 198...
Страница 222: ...213 Figure 4 58 Figure 4 59...
Страница 236: ...227 Figure 4 75 Figure 4 76...
Страница 241: ...232 Figure 4 83 Figure 4 84 Please refer to the following sheet for detailed information...
Страница 244: ...235 Figure 4 86 Figure 4 87 Figure 4 88 Please refer to the following sheet for detailed information...
Страница 287: ...278 448K 196M 512K 225M 640K 281M 768K 337M 896K 393M 1024K 450M 1280K 562M 1536K 675M 1792K 787M 2048K 900M...


