33
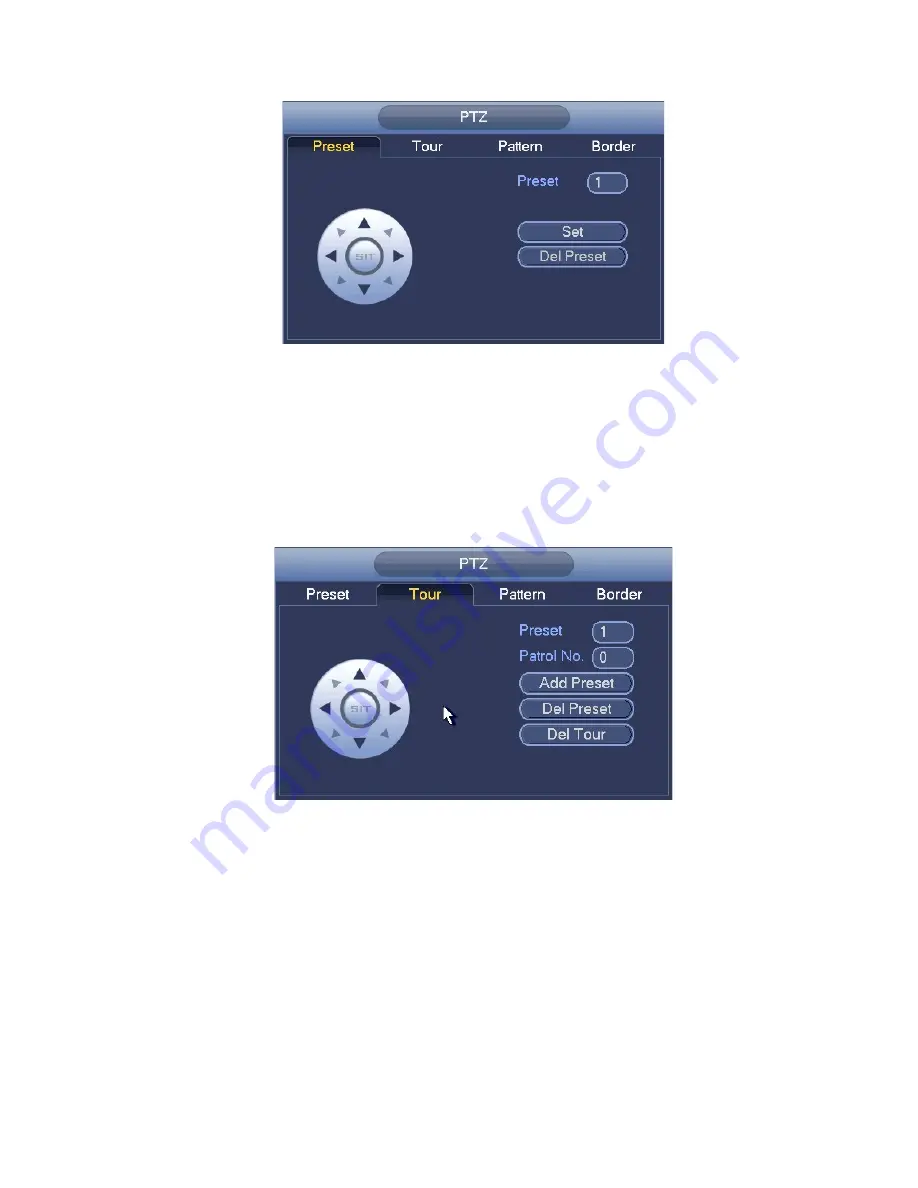
Figure 3-24
Tour Setup
In Figure 3-23, click tour button.
Input tour value and preset No. Click Add preset button to add current preset to the tour.
See Figure 3-25.
Tips
Repeat the above steps to add more presets to the tour. Click Del preset button to remove
it from the tour. Please note some protocols do not support delete preset function.
Figure 3-25
Pattern Setup
In
Figure 3-23, click Pattern button and input pattern number.
Click Begin button to start direction operation. Or you can go back to Figure 3-20 to
operate zoom/focus/iris/direction operation.
In
Figure 3-23, click End button.
Содержание XVR
Страница 1: ...Standalone XVR User s Manual V1 0 0...
Страница 84: ...75 Figure 3 73 Figure 3 74...
Страница 93: ...84 restore original status Figure 3 85 Figure 3 86 3 11 1 3 1 Upgrade Important...
Страница 117: ...108 Figure 3 109 Figure 3 110...
Страница 118: ...109 Figure 3 111 Figure 3 112...
Страница 132: ...123 Figure 3 129 Click draw button to draw the zone See Figure 3 130 Figure 3 130 Name Input customized rule name...
Страница 139: ...130 Figure 3 136 Figure 3 137...
Страница 140: ...131 Figure 3 138 Figure 3 139...
Страница 143: ...134 Figure 3 142 Figure 3 143...
Страница 144: ...135 Figure 3 144 Figure 3 145...
Страница 152: ...143 Figure 3 157 Figure 3 158...
Страница 170: ...161 Figure 3 180 For digital channel the interface is shown as below See Figure 3 181 Figure 3 181 3 11 5 6 ATM POS...
Страница 184: ...175 Figure 3 198...
Страница 222: ...213 Figure 4 58 Figure 4 59...
Страница 236: ...227 Figure 4 75 Figure 4 76...
Страница 241: ...232 Figure 4 83 Figure 4 84 Please refer to the following sheet for detailed information...
Страница 244: ...235 Figure 4 86 Figure 4 87 Figure 4 88 Please refer to the following sheet for detailed information...
Страница 287: ...278 448K 196M 512K 225M 640K 281M 768K 337M 896K 393M 1024K 450M 1280K 562M 1536K 675M 1792K 787M 2048K 900M...


