12.
Sample treatment step by step
To look closer at rules of using a machine equipped with CSMIO/IP-S con-
trol system – here is an example of a simple work.
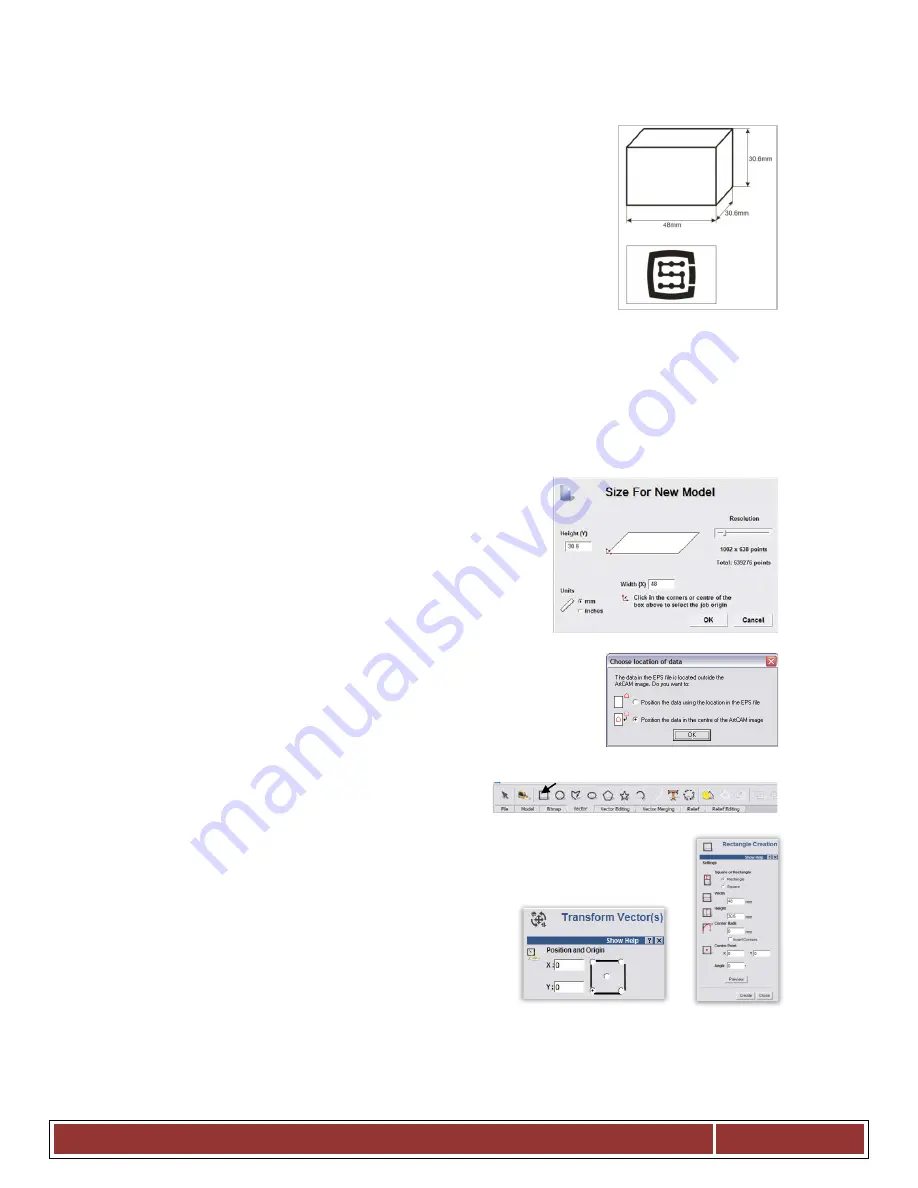
An example includes area planning and logo milling in 30.6x30.6x48mm
size cube made of hard aluminum alloy.
Project design and G-Code file generating will be done with popular soft-
ware - ArtCam®. Logo file has AI format, which is very good for data
transmission between different programs.
Assumptions:
•
Planned area will be on 0,2mm depth cylindrical cutter with
an 8mm diameter.
•
To set a base we will use a roller made of carbide with 6mm diameter, filed on half of
diameter.
•
The logo will be milled by engraving cutter 20 degree/0.6mm – on 0,3mm depth.
12.1
Project and G-Code files preparing
We create a new project in ArtCam program. Enter dimension
of the cube. In this example, the resolution is not very im-
portant so you can set it low.
Select Import Vector Data command in Art Cam and in the window that
pops up – option that will set our logo in the middle of defined area.
Next, we draw an object, which we use to plan the area. It would be good if the object were larger
than our cube, so that the cylindrical cutter will go
during the work with its whole diameter out of the
material. First, select an icon from the Vector tab, draw a rectangle with the same
size like our cube. In the Width and Height boxes enter 48 and 30.6 size. Next click
„Create” and „Close”.
Now you need to set the object position. Press right
mouse button on it and select „Transform Vectors”.
Select the lower left corner of the object and enter 0,0
position. Press „Apply” and „Close”.
C S - L a b s . c . – C S M I O / I P - S - C N C C o n t r o l l e r
Page 79


