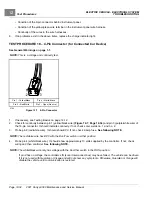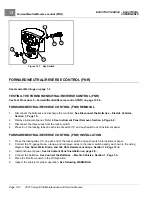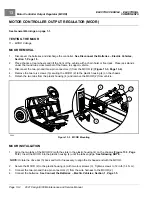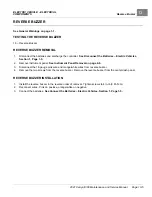
ELECTRIC VEHICLE - ELECTRICAL SYSTEM
TROUBLESHOOTING
Test Procedures
12
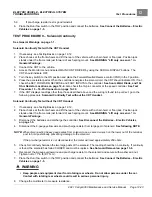
TEST PROCEDURE 12 – Motor Speed Sensor
See General Warnings on page 1-1.
Motor Speed Sensor Test without any Tool
CAUTION
• Perform the following procedure only on a level surface. To avoid injury or property damage, ensure
that the path of the vehicle is clear before pushing vehicle.
1.
Place the Forward/Neutral/Reverse control (FNR) in the REVERSE position to verify reverse buzzer is functioning
properly. If not, repair or replace the buzzer.
2.
With Run/Tow switch in the RUN position, turn the key switch to the OFF position and place the
Forward/Neutral/Reverse control (FNR) in the NEUTRAL position.
3.
Slowly push the vehicle a short distance (about 3 feet (1 meter)). The reverse buzzer should sound and motor
braking should engage while the vehicle is rolling.
4.
If the reverse buzzer does not sound and motor braking does not engage while the vehicle is rolling, replace
the Motor Speed Sensor.
Motor Speed Sensor Test with the CDT Handset
CAUTION
• Perform the following procedure only on a level surface. To avoid injury or property damage, ensure
that the path of the vehicle is clear before pushing vehicle.
1.
Turn the key switch to the OFF position and place the Forward/Neutral/Reverse control (FNR) in the NEUTRAL
position.
2.
Connect the CDT to the vehicle.
3.
Access the Monitor menu and select SPEED PULSES by using the SCROLL DISPLAY buttons. The CDT should
indicate OFF when the vehicle is at rest.
4.
While monitoring the CDT display screen, slowly push the vehicle a short distance (about 3 feet (1 meter)). The
CDT should indicate ON for speed sensor pulses while the wheels are in motion.
5.
If the CDT does not indicate ON while the wheels are in motion, go to the following procedure.
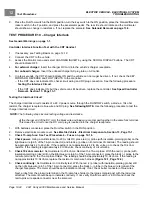
Motor Speed Sensor Test without the CDT Handset
NOTE:
This is a voltage test.
1.
Turn the key switch to the OFF position and place the Forward/Neutral/Reverse control (FNR) in the NEUTRAL
position.
2.
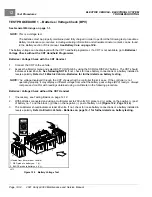
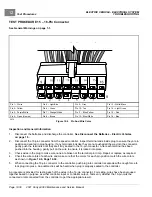
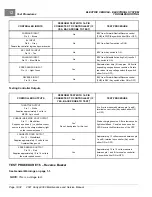
With batteries connected, disconnect the three-pin connector at the motor speed sensor.
3.
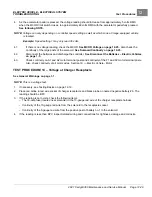
Check voltage at purple/white wire:
3.1.
Using a multimeter set to 200 volts DC, place the red (+) probe on the battery no. 1 positive post and
place the black (–) probe on the purple/white wire terminal socket in the three-pin connector. The voltage
reading should be 48 to 50 volts (full battery voltage).
3.2.
If the reading is zero volts, check the continuity of the purple/white wire from the 16-pin connector at
the speed controller to the three-pin connector at the motor speed sensor. If the continuity is correct,
replace the speed controller.
4.
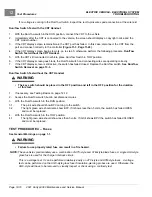
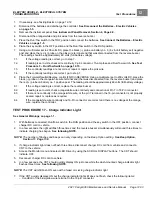
Check voltage at the red motor speed sensor wire:
2021 Carryall 300 Maintenance and Service Manual
Page 12-27
Содержание Carryall 300 2021
Страница 2: ......
Страница 16: ......
Страница 54: ...Pagination Page 4 Floor Mat BODY AND TRIM Page 4 20 2021 Carryall 300 Maintenance and Service Manual...
Страница 112: ...8 Tires WHEELS AND TIRES Figure 8 2 Inflate Tire Page 8 4 2021 Carryall 300 Maintenance and Service Manual...
Страница 118: ...Pagination Page 9 Jounce Bumpers REAR SUSPENSION Page 9 6 2021 Carryall 300 Maintenance and Service Manual...
Страница 406: ...Pagination Page 20 Snubber GASOLINE VEHICLE ENGINE Page 20 10 2021 Carryall 300 Maintenance and Service Manual...
Страница 454: ...Pagination Page 23 Driven Clutch GASOLINE VEHICLE CLUTCHES Page 23 20 2021 Carryall 300 Maintenance and Service Manual...
Страница 470: ...Pagination Page 24 Shifter Cable GASOLINE VEHICLE TRANSAXLE Page 24 16 2021 Carryall 300 Maintenance and Service Manual...
Страница 551: ...80 2018 by Kohler Co All rights reserved KohlerEngines com 17 690 15 Rev...
Страница 552: ...Pagination Page 25 Shifter Cable KOHLER ENGINE SERVICE MANUAL Page 25 2 2021 Carryall 300 Maintenance and Service Manual...
Страница 565: ...GASOLINE ENGINE HARNESS Wiring Diagrams Gasoline Engine Harness 26...
Страница 566: ...Page intentionally left blank...
Страница 567: ...GASOLINE KEY START MAIN HARNESS Wiring Diagrams Gasoline Key Start Main Harness 26...
Страница 568: ...Page intentionally left blank...
Страница 569: ...GASOLINE PEDAL START MAIN HARNESS Wiring Diagrams Gasoline Pedal Start Main Harness 26...
Страница 570: ...Page intentionally left blank...
Страница 571: ...GASOLINE INSTRUMENT PANEL HARNESS Wiring Diagrams Gasoline Instrument Panel Harness 26...
Страница 572: ...Page intentionally left blank...
Страница 573: ...GASOLINE FNR HARNESS Wiring Diagrams Gasoline FNR Harness 26...
Страница 574: ...Page intentionally left blank...
Страница 575: ...ELECTRIC MAIN HARNESS Wiring Diagrams Electric Main Harness 26...
Страница 576: ...Page intentionally left blank...
Страница 577: ...ELECTRIC INSTRUMENT PANEL HARNESS Wiring Diagrams Electric Instrument Panel Harness 26...
Страница 578: ...Page intentionally left blank...
Страница 579: ...ELECTRIC ACCESSORIES HARNESS Wiring Diagrams Electric Accessories Harness 26...
Страница 580: ...Page intentionally left blank...
Страница 588: ...NOTES...
Страница 589: ...NOTES...
Страница 590: ...NOTES...
Страница 591: ...NOTES...
Страница 592: ...NOTES...
Страница 593: ...NOTES...
Страница 594: ...NOTES...
Страница 595: ......
Страница 596: ......


