Pro tip:
We suggest that you start building the MAKERbuino when
you’re
fresh because the proces of assembly can take up to 5 hours depending on
your soldering skills (in other words,
don’t
start building it in 2AM)
Step 1
–
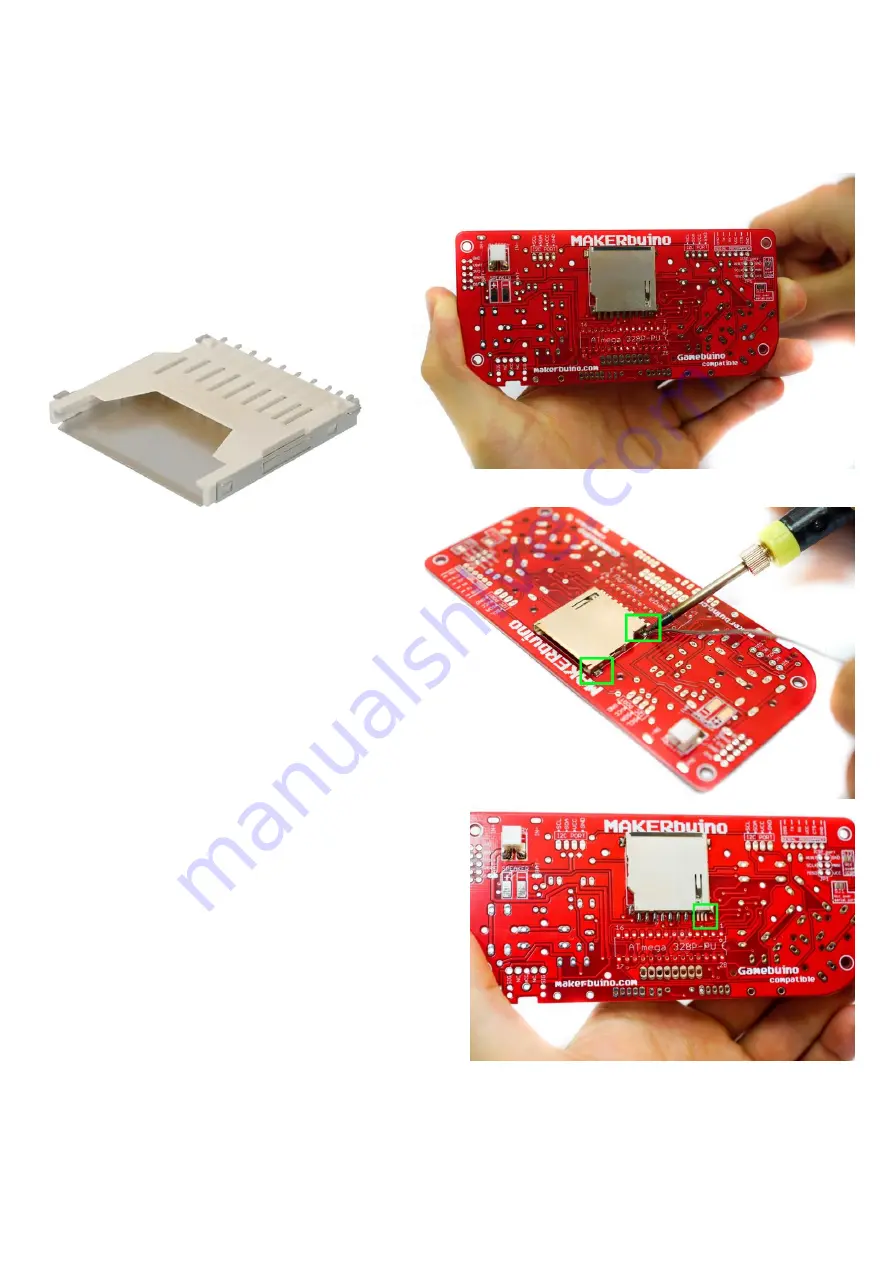
the SD socket
We’ll
start with the SD card socket
–
the big shiny metallic
component that is mounted on the PCB’s surface.
Find the SD socket, place it on the back side of the board where
there is “SD SOCKET” text written on it.
Continue by soldering the four pads of the socket’s
shielding.
When soldering the socket’s contacts, you DON’T have to
solder the three rightmost pins because they are not used.


