Setting up E-Mail/I-Fax Function
3-59
Set
ti
ng
u
p th
e Ma
ch
ine f
or
Y
our
Ne
tw
or
k En
viro
nme
nt
3
IMPORTANT
•
If the POP server and/or SMTP server do not support encryption, the data will
not be encrypted, even when [On] is selected for <Allow SSL (POP)> and/or
<Allow SSL (SMTP Send)>.
•
To send SSL-encrypted data using POP before SMTP, changing the port number
for <POP3 Receive> and/or <SMTP Sending> may be required. (See “Setting
Port Numbers,” on p. 3-38.) The proper port number differs depending on your
network environment. For details, consult your network administrator or e-mail
service provider.
❑
Press [Next]
➞
[OK].
❑
Proceed to step 5.
●
If you are u
s
in
g
an
S
MTP
s
erver that require
s
S
MTP Authentication:
❑
Press [SMTP Server]
➞
enter an SMTP server IP address or name
➞
press [OK].
Enter the SMTP server name if the SMTP server address is already registered in the
DNS server.
Enter the IP address of the SMTP server if the SMTP server address is not
registered in the DNS server.
❑
Press [Authentication/Encryption].
❑
Press [On] for <SMTP Authentication (SMTP AUTH)>.
❑
Select [On] or [Off] for <Disp Auth Screen When Sending> and <Carry Over
Authentication>.
•
<Disp Auth Screen When Sending>
Specify whether to display the SMTP authentication screen each time you send
e-mails and I-faxes. To always display the SMTP authentication screen when
sending e-mails and I-faxes, select [On].
•
<Carry Over Authentication>
Specify whether to carry over the login information (user name only) from
Authorized Send to SMTP authentication. To use the same user name for SMTP
authentication, select [On]. If you select [On], you do not need to specify the user
name in the next step.
IMPORTANT
•
<Disp Auth Screen When Sending> and <Carry Over Authentication> appear
only when Authorized Send is activated.
❑
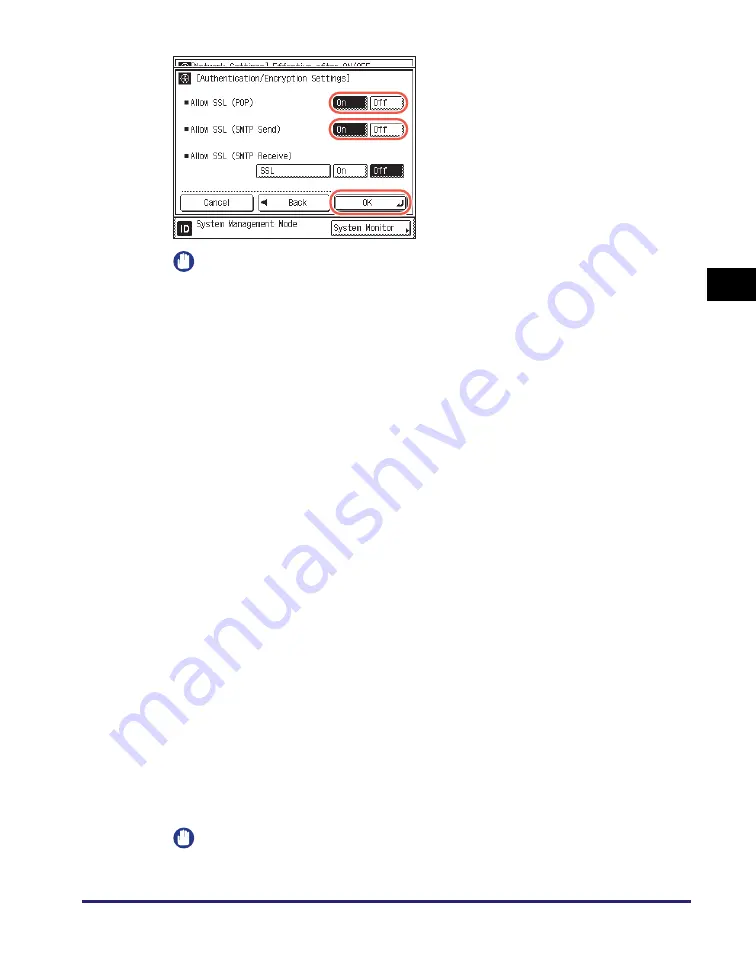
Press [On] for <Allow SSL (POP)> and/
or <Allow SSL (SMTP Send)>,
depending on your network environment
➞
press [OK] to return to the [E-mail/
I-Fax] screen.


