Cannot Print Properly from the Digital Camera
The following messages may be displayed on the digital camera or digital video camcorder when images are
printed directly from them. Correct the error according to the procedure below.
Note
If the operation time or data transmission time is too long when the digital camera or
digital video camcorder is connected to this printer, a communication time error may
occur and no more images can be printed. If this error occurs, disconnect the cable,
connect it again, and retry the operation.
Images can be printed directly from Canon "Bubble Jet Direct" compatible digital
cameras and digital video camcorders connected to this printer.
A low ink warning is not displayed on the digital camera's viewer.
After replacing an ink tank, cancel the connection with the digital camera and reset
the ink counter by operating the computer. Refer to your Quick Start Guide on how to
reset the ink counter.
If the ink counter is not reset, the remaining ink level may not be displayed properly.
If the connected digital camera or digital video camcorder does not support "Bubble
Jet Direct", the POWER lamp on the printer stays lit in orange. If this happens,
disconnect the connection cable and turn the printer off and on again.
To disconnect the cable connected between the digital camera and printer, follow the
procedure below.
1. Disconnect the cable from the printer.
2. Turn off the digital camera.
3. Disconnect the cable from the digital camera.
When disconnecting the cable, be sure to hold the connector by its sides.
For more details, also refer to the user's manual for the digital camera or digital video
camcorder.
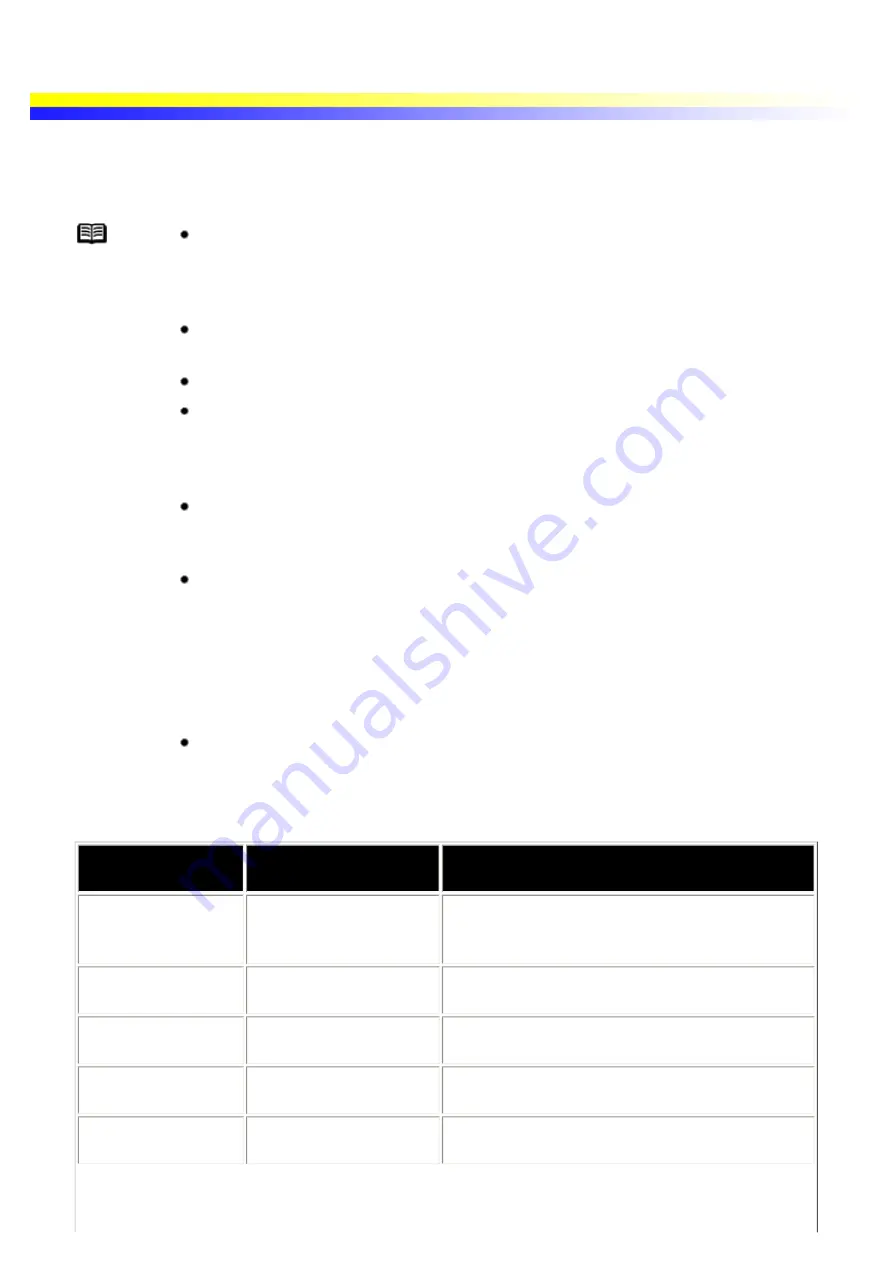
Camera Error
message
Possible Cause
Try This
Printer in use
Images are printed from
the computer.
Wait until printing ends. The printer automatically
starts printing the images from the camera after
completing the current printing.
Printer warming up
The printer is warning up. Wait until warm-up ends. When it is ready, the
printer starts printing automatically.
No Paper
No paper is loaded.
Load the paper in the printer and press the
RESUME/CANCEL button on the printer.
Paper Jam
A paper jam occurrs in
the printer.
Remove the jammed paper load new media, and
press the RESUME/ CANCEL button.
Printer cover open
The print head cover is
open.
Close the print head cover.
Содержание i70 Series
Страница 1: ......
Страница 21: ......
Страница 24: ...Printable area ...
Страница 38: ......
Страница 46: ...Note For details on the BJ Status Monitor select the Help menu and click on the topic of interest ...
Страница 51: ......
Страница 65: ......
Страница 71: ......
Страница 86: ...Move the slide bar to adjust the print density Moving the bar to the right increases the density ...
Страница 88: ......
Страница 130: ......
Страница 140: ...5Click Print in the Print dialog box Printing will now begin ...
Страница 146: ...3Click Print in the Print dialog box Printing will now begin ...
Страница 155: ...Index ...
Страница 169: ...Printable area ...


