


Finisher-M1
3-18
3
Optional Equipment
Finisher-M1
The Finisher-M1 is equipped with the following finishing modes: Collate, Group,
Offset, and Staple. (See "Finishing Modes," on p. 3-19.)
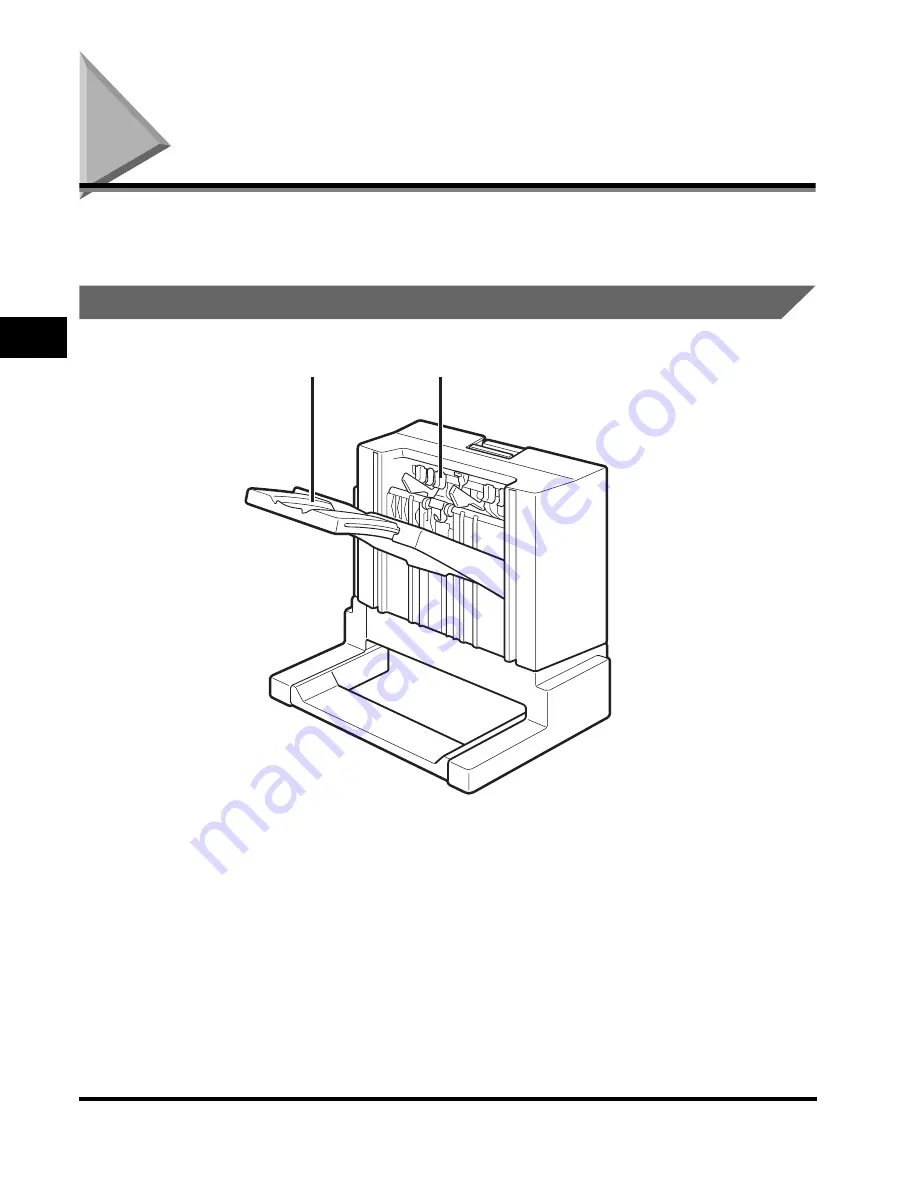
Parts and Their Functions
a
a
a
a
Processing Tray
Paper is collated, grouped, and stapled in the
processing tray.
b
b
b
b
Output Tray
Paper that is collated, grouped, or stapled in the
processing tray is output to the output tray.
1
2
Содержание C3220
Страница 2: ......
Страница 3: ...Color imageRUNNER C3220 C2620 Reference Guide 0 Ot ...
Страница 18: ...xvi Printing data scanned from an original followed by finishing options such as stapling Copying ...
Страница 294: ...Adjusting the Machine 4 112 4 Customizing Settings ...
Страница 366: ...Current Date and Time 6 52 6 System Manager Settings 5 Press Done repeatedly until the Basic Features screen appears ...
Страница 380: ...Displaying the Remaining Toner Error Message 6 66 6 System Manager Settings ...
Страница 430: ...Consumables 7 50 7 Routine Maintenance ...
Страница 552: ...System Management of the Color imageRUNNER C3220 C2620 VI ...
Страница 553: ......


