Formatting Drives
Notes:
• Under some circumstances, data deleted when a drive is formatted can be recovered. To ensure that data is “gone
forever”, a format might not be sufficient. Refer to the
“Erasing Data on the LinkStation Completely”
section below
for more information.
• After a drive is formatted, the “% Used” and “Amount Used” in Settings will not be 0. This is because some drive
space is used for the system area.
1
From Advanced Settings, click
Drives
.
2
Click the settings icon (
) to the right of “Drives” to format an internal drive or “USB Drives” to format an
external drive.
3
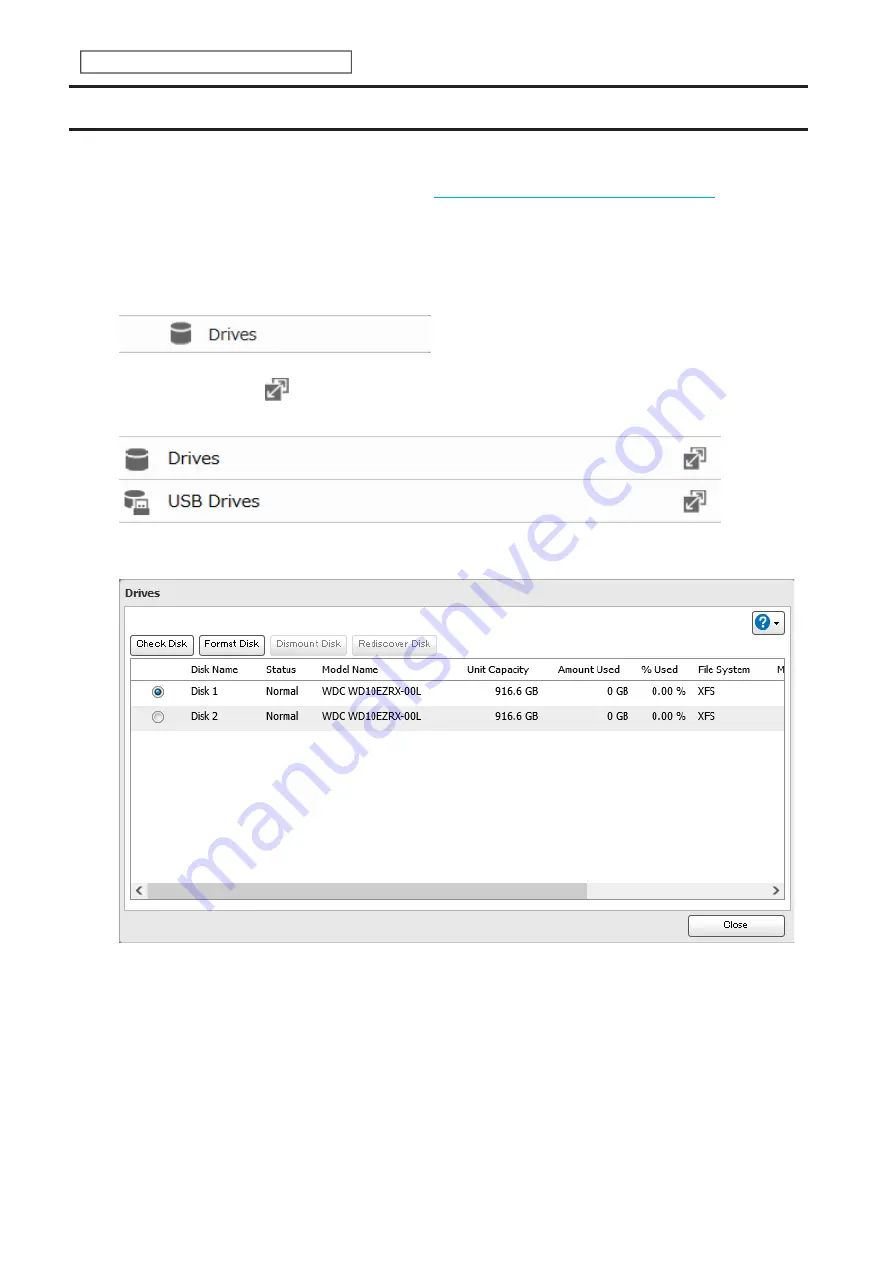
Select the drive or array to format, then click
Format Disk
.
Note:
If you connect an external drive to the LinkStation and the drive status is still shown as “Unformatted”,
refresh the status by clicking
Rediscover Disk
. If the status doesn’t change, disconnect and reconnect the USB
drive.
62
Chapter 3 RAID Modes and Drive Management
Содержание LinkStation 200 Series
Страница 27: ...4 Configure the desired settings then click OK 26 Chapter 2 File Sharing...
Страница 28: ...Using a Mobile Device 1 From Settings tap Folder Setup 27 Chapter 2 File Sharing...
Страница 29: ...2 Tap Create Folder 28 Chapter 2 File Sharing...
Страница 33: ...4 Enter the desired settings then click OK 32 Chapter 2 File Sharing...
Страница 34: ...Using a Mobile Device 1 From Settings tap Users 33 Chapter 2 File Sharing...
Страница 35: ...2 Tap Create User 34 Chapter 2 File Sharing...
Страница 38: ...3 Click Add Group 37 Chapter 2 File Sharing...
Страница 42: ...Using a Mobile Device 1 From Settings tap Folder Setup 41 Chapter 2 File Sharing...
Страница 43: ...2 Tap the shared folder that you want to set access restrictions for 42 Chapter 2 File Sharing...
Страница 67: ...10Click at the top right of Settings and choose Restart 66 Chapter 3 RAID Modes and Drive Management...
Страница 74: ...73 Chapter 4 Remote Access...
Страница 90: ...6 Click Time Machine 89 Chapter 5 Backup...
Страница 91: ...7 Click Select Backup Disk 8 Select the shared folder then click Use Disk 90 Chapter 5 Backup...
Страница 130: ...6 Replace the four screws 7 Insert the new drive back into the empty slot 129 Chapter 8 Drive Replacement...


