Notes:
• If protocols other than “SMB (Win/Mac)” or “Backup” under “LAN Protocol Support” are enabled, the hidden shares
option will be grayed out and cannot be selected.
• Configure hidden share attributes only through Settings. Configuring them through Windows is not supported
and may cause unexpected behavior.
To access a hidden folder, open File Explorer in your computer and enter “\\LinkStation name\shared folder name$\”
into the address bar. For example, if the LinkStation name is “LSXXX001” and the shared folder name is “share”, enter
“\\LSXXX001\share$\” to open it.
Configuring Users
Adding a User
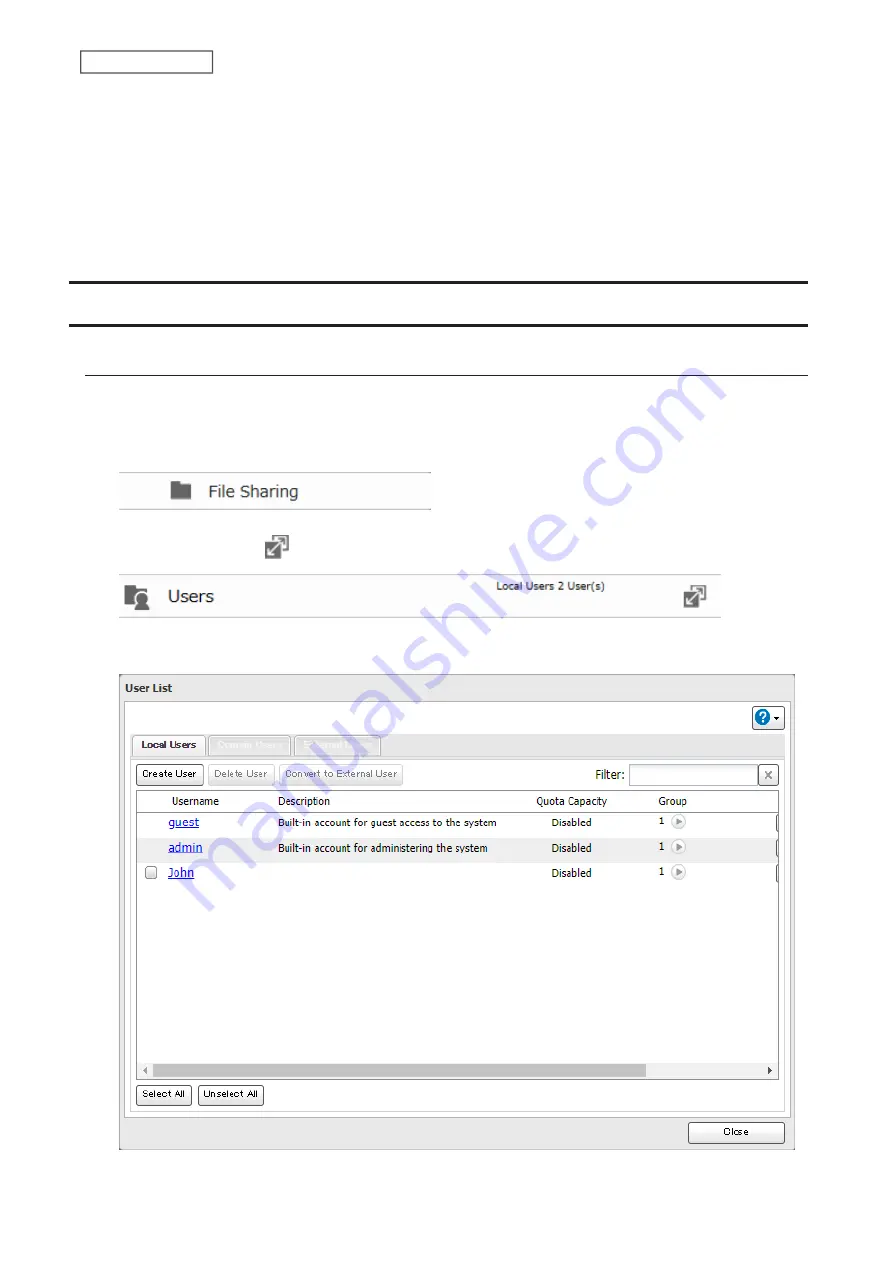
You can add a user from a computer or a mobile device. Follow the appropriate procedure below to add a user.
Note:
You may add up to 300 users, which include the default users “admin” and “guest”.
1
From Advanced Settings, click
File Sharing
.
2
Click the settings icon (
) to the right of “Users”.
3
Click
Create User
.
31
Chapter 2 File Sharing
Содержание LinkStation 200 Series
Страница 27: ...4 Configure the desired settings then click OK 26 Chapter 2 File Sharing...
Страница 28: ...Using a Mobile Device 1 From Settings tap Folder Setup 27 Chapter 2 File Sharing...
Страница 29: ...2 Tap Create Folder 28 Chapter 2 File Sharing...
Страница 33: ...4 Enter the desired settings then click OK 32 Chapter 2 File Sharing...
Страница 34: ...Using a Mobile Device 1 From Settings tap Users 33 Chapter 2 File Sharing...
Страница 35: ...2 Tap Create User 34 Chapter 2 File Sharing...
Страница 38: ...3 Click Add Group 37 Chapter 2 File Sharing...
Страница 42: ...Using a Mobile Device 1 From Settings tap Folder Setup 41 Chapter 2 File Sharing...
Страница 43: ...2 Tap the shared folder that you want to set access restrictions for 42 Chapter 2 File Sharing...
Страница 67: ...10Click at the top right of Settings and choose Restart 66 Chapter 3 RAID Modes and Drive Management...
Страница 74: ...73 Chapter 4 Remote Access...
Страница 90: ...6 Click Time Machine 89 Chapter 5 Backup...
Страница 91: ...7 Click Select Backup Disk 8 Select the shared folder then click Use Disk 90 Chapter 5 Backup...
Страница 130: ...6 Replace the four screws 7 Insert the new drive back into the empty slot 129 Chapter 8 Drive Replacement...


