


Scanning
43
3
e
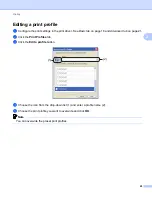
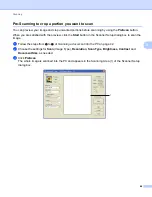
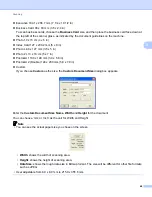
Choose the scanner you are using from the
Available Scanners
list.
Note
Choose
TWAIN: TW-Brother MFC-XXXX
or
TWAIN: TW-Brother MFC-XXXX LAN
.
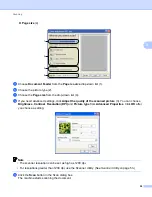
f
Check the
Display scanner dialog box
on the
Scan or Get Photo
panel.
g
Click
Scan
.
The
Scanner Setup
dialog box appears.
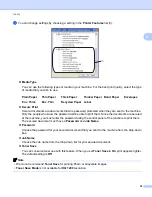
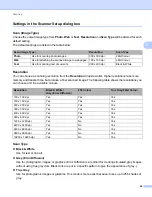
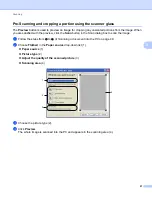
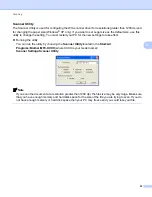
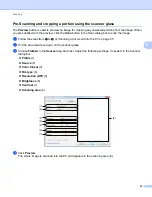
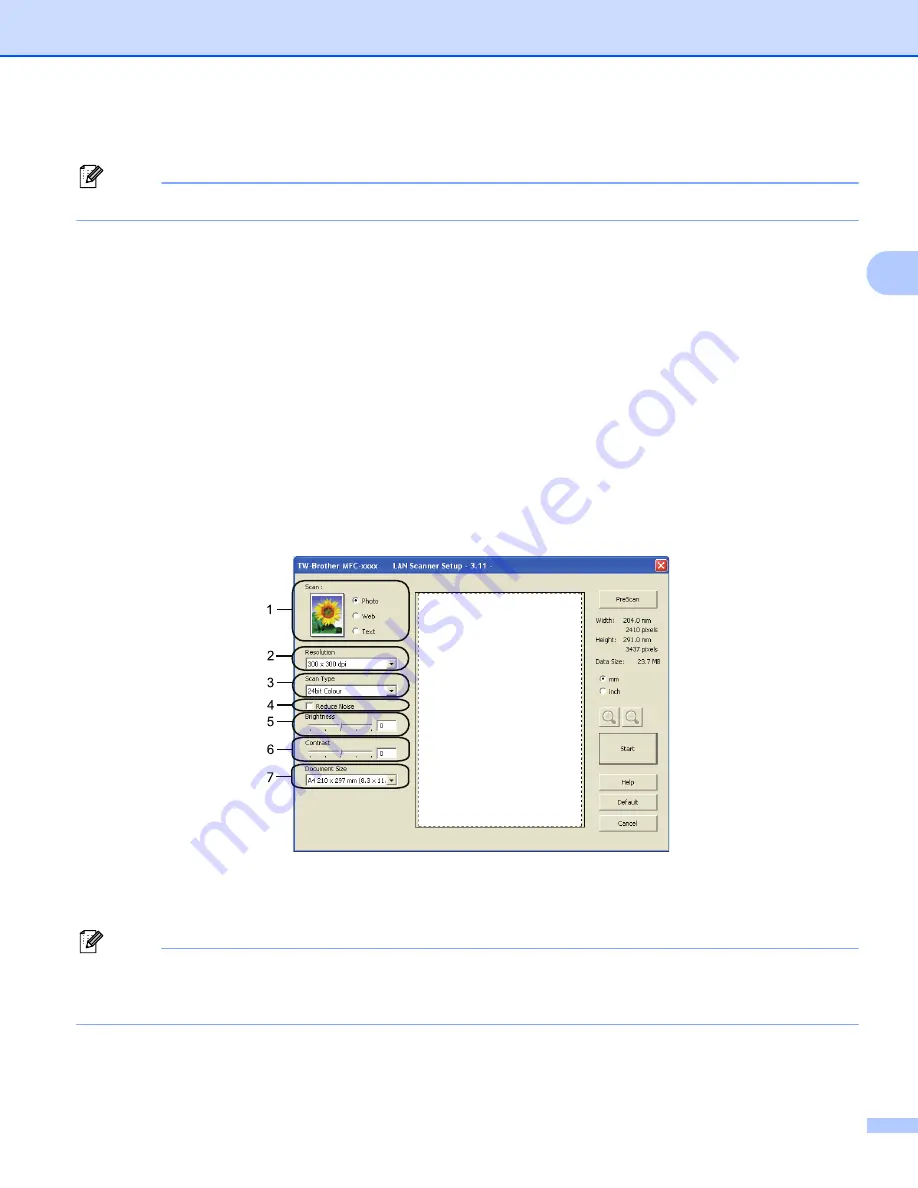
h
Adjust the following settings, if needed, in the Scanner Setup dialog box:
Scan
(Image Type) (1)
Resolution
(2)
Scan Type
(3)
Reduce Noise
(4)
Brightness
(5)
Contrast
(6)
Document Size
(7)
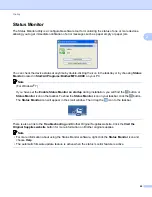
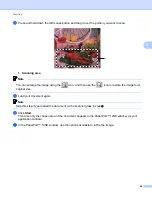
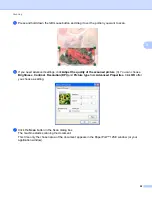
i
Click
Start
.
When scanning is finished, click
Cancel
to return to the PaperPort™ 12SE window.
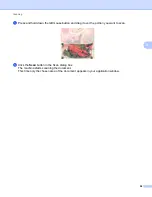
Note
After you select a document size, you can adjust the scanning area further by clicking the left mouse button
and dragging it. This is required when you want to crop an image when scanning. (See
crop a portion you want to scan
Содержание DCP-7060D
Страница 9: ...Section I Machine operation keysI Using the control panel 2 ...
Страница 133: ...Section III Apple Macintosh III Printing and Faxing 126 Scanning 155 ControlCenter2 171 Remote Setup 193 ...
Страница 145: ...Printing and Faxing 137 8 Mac OS X 10 5 x to 10 6 x Choose Even Only and print and then choose Odd Only and print ...
Страница 158: ...Printing and Faxing 150 8 c Choose Send Fax from the pop up menu d Choose Facsimile from the Output pop up menu ...
Страница 195: ...ControlCenter2 187 10 ...
Страница 203: ...Section IV Using The Scan key IV Scanning For USB cable users 196 Network Scanning 201 ...


