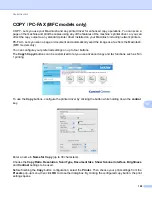
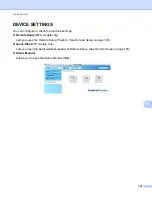


Network Scanning
202
13
Configuring Network Scanning (Windows
®
)
13
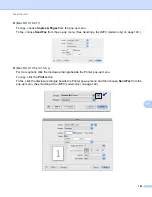
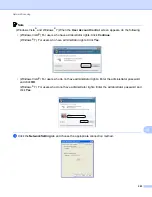
If you are using a different machine than the one that was originally registered to your PC during the
installation of MFL-Pro Suite software (see the
Quick Setup Guide
), follow the steps below.
a
(Windows
®
2000)
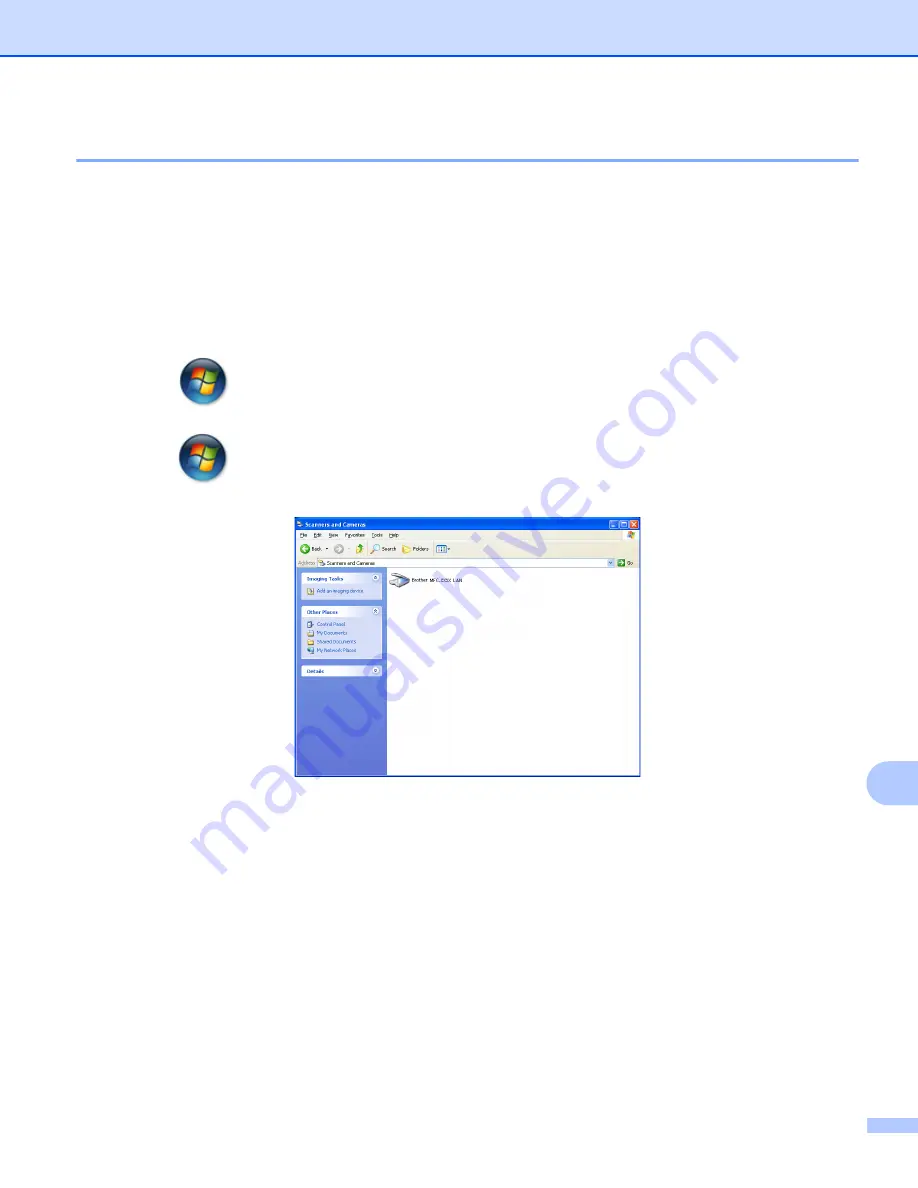
Click the
Start
button,
Settings
,
Control Panel
, then
Scanners and Cameras
.
(Windows
®
XP)
Click the
Start
button,
Control Panel
,
Printers and Other Hardware
, then
Scanners and Cameras
(or
Control Panel
,
Scanners and Cameras
).
(Windows Vista
®
)
Click the
button,
Control Panel
,
Hardware and Sound
, then
Scanners and Cameras
.
(Windows
®
7)
Click the
button,
All Programs
,
Brother
,
MFC-XXXX LAN
,
Scanner Settings
, then
Scanners
and Cameras
.
b
Do one of the following:
(Windows
®
2000) Select your Brother machine from the list and click
Properties
.
(Windows
®
XP) Right-click the Scanner Device icon and choose
Properties
.
The Network Scanner Properties dialog box appears.
(Windows Vista
®
and Windows
®
7) Click the
Properties
button.
Содержание DCP-7060D
Страница 9: ...Section I Machine operation keysI Using the control panel 2 ...
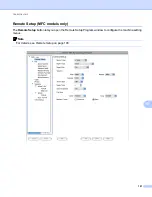
Страница 133: ...Section III Apple Macintosh III Printing and Faxing 126 Scanning 155 ControlCenter2 171 Remote Setup 193 ...
Страница 145: ...Printing and Faxing 137 8 Mac OS X 10 5 x to 10 6 x Choose Even Only and print and then choose Odd Only and print ...
Страница 158: ...Printing and Faxing 150 8 c Choose Send Fax from the pop up menu d Choose Facsimile from the Output pop up menu ...
Страница 195: ...ControlCenter2 187 10 ...
Страница 203: ...Section IV Using The Scan key IV Scanning For USB cable users 196 Network Scanning 201 ...


