BC4000 Series RAID Controllers
User Manual
02/13/06
B ro ad c om C o r p or at i on
Page 74
Working with Arrays
Document
BC4000-UM100-R
Arrays can be created instantly by skipping the background consistency check usually performed when
initializing the array. For certain types of redundant arrays this is a viable option and has no data integrity
drawbacks. You can always perform a consistency check at a later time (see
“Scheduling a Consistency
Check” on page 95
). For RAID5 and RAID50 sets, if you skip the initialization, the arrays are not redundant
until you do perform a consistency check. Creating a RAID 5 array with this option selected and a cache option
of
No Cache
can in some situations result in data corruption.
9.
If you lose the configuration information for an array and want to leave data that was on the disks untouched
when writing new configuration information, you can check the option to
Leave Existing Data Intact
.
This option can be used to try and recover user data when an array has been accidentally deleted or the
configuration information is lost but the data is still intact. When you create an array with this option enabled,
new configuration information is written while trying to use exactly the same disk space that was used before.
Generally this option is used as a last resort, and the likelihood of recovering data with this method is very low
unless performed immediately after the array was deleted and no other tasks have been performed on the
array.
10.
Choose whether to use the
Zero Create
option, which writes the created array with zeros. If the
Zero Create
option is used, the array is not immediately available.
11.
Name the array, if desired.
12.
Click
Create
to create the array.
In the
Create
window (see
page 73
), a 4-disk RAID0 is created.
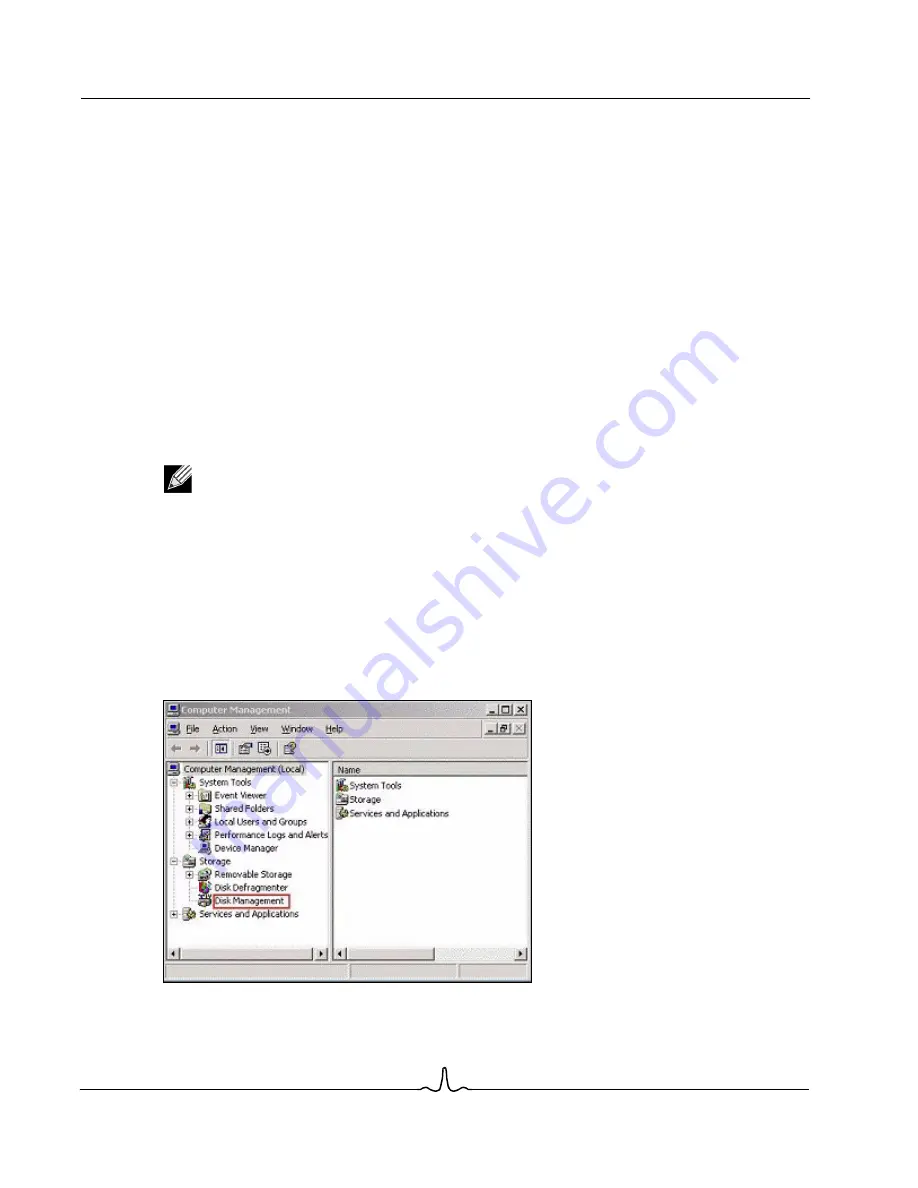
To partition an array for use with Windows:
Use the standard operating system format procedure to format an array. If you are unfamiliar with this
procedure, use the following procedure for Windows 2003:
1.
From the Desktop, right-click
My Computer
, and then click
Manage
.
2.
Click
Disk Management
.
Note:
The name can be up to 30 characters long, but only 17 of those characters are displayed in
the BIOS.


