User Manual
BC4000 Series RAID Controllers
02/13/06
B ro ad c om C o r p or at i on
Document
BC4000-UM100-R
Preparing Disks and Arrays for New OS Installs
Page 21
a. Press
Page Up
or the
Up Arrow
to increase the array size. A window asks whether the size of the array
should be limited to the 2-TB maximum.
b. Press
Esc
to create a larger array.
c. Press
Page Up
or the
Up Arrow
until either the desired or the maximum available size has been reached.
d. Press
Enter
.
6.
Select a caching level using the arrow keys, and then press
Enter
.
7.
Press
C
to continue creating the array.
The text at the top of the
Array Configuration
window returns to a description of the menu items.
8.
When you are finished creating arrays, resume the boot process:
a. From the
Main
menu, highlight
Continue to Boot
.
b. Press
Enter
. No reboot is required.
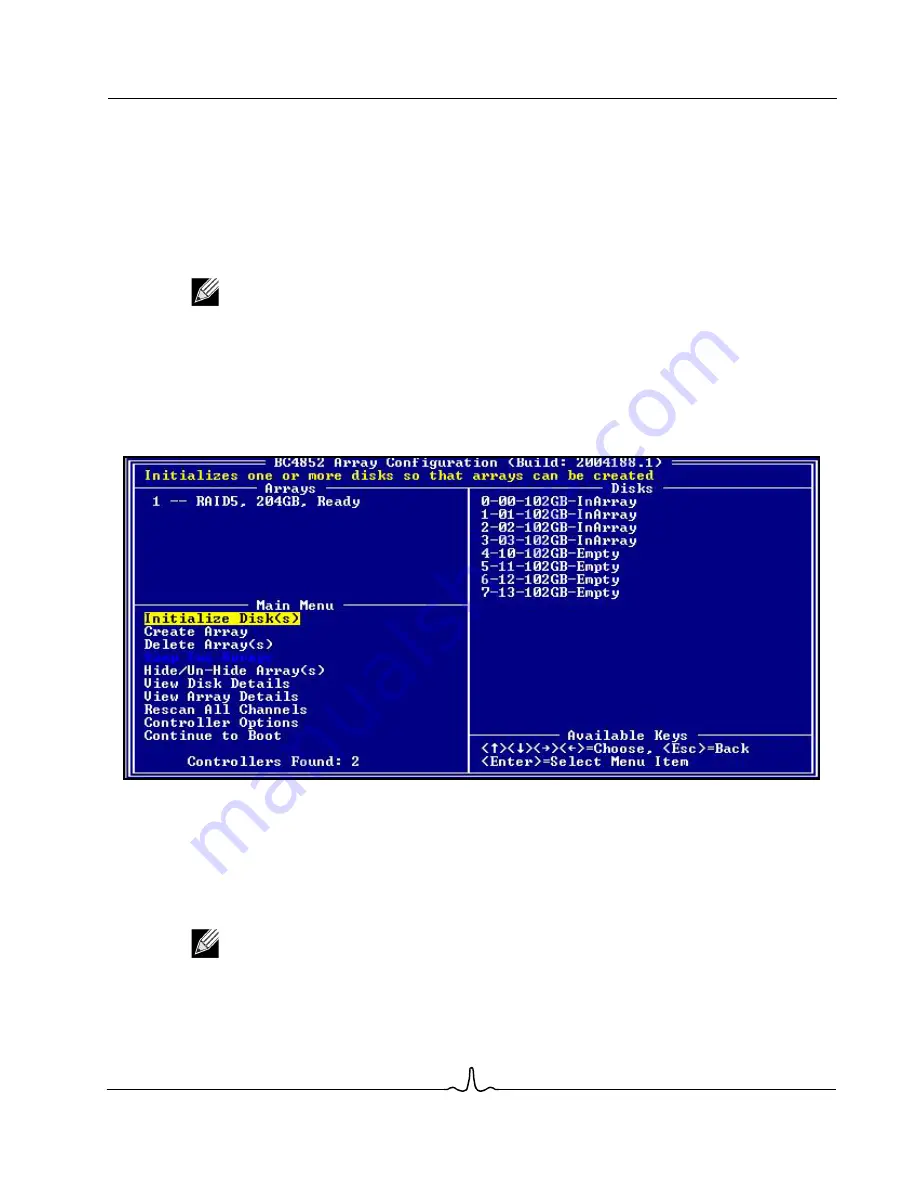
In the example above, a four-drive RAID5 array has been configured.
If you are installing to a boot array on a BC4000 Series RAID controller, you must modify the boot priority list
in the motherboard BIOS. See your motherboard manual for more information. Ensure that you include the
BC4000 Series RAID controller in this list and disable other IDE devices. Also ensure that INT13 support is
enabled on the controller as described in
“Changing Controller Options From the BIOS” on page 58
.
Note:
For installations of SuSE Linux, a pop-up appears that says, “A new device was found, do you
want to configure it?” If you do not want to see this pop-up when arrays are created, click the “
Do
not notify me
” option.
Note:
The array listed first in the BIOS Arrays list is the boot array. If necessary, use the swap feature
to place the array you intend to boot from in the first position.


