User Manual
BC4000 Series RAID Controllers
02/13/06
B ro ad c om C o r p or at i on
Document
BC4000-UM100-R
Creating Arrays from the BIOS
Page 53
5.
To select an array size, do one of the following.
•
Use the
Page Up
/
Page Down
keys or the arrow keys to select a size, and then press
Enter
.
By default all available space up to 2.199 TB is selected.
Or
•
Create an array that is greater than 2.199 TB (the maximum allowed by some operating systems).
a. Press
Page Up
or the
Up Arrow
to increase the array size. You are asked if you want to limit the size of
the array to the 2-TB maximum.
b. Press
Esc
to create a larger array.
c. Press
Page Up
or the
Up Arrow
until you have reached either the desired or the maximum available size.
d. Press
Enter
.
6.
Select a caching mode using the arrow keys, and then press
Enter
.
7.
Press the
C
key to continue the array creation process.
8.
The array is marked
Ready
for use, and the text at the top of
Array Configuration
returns to a description of
the menu items.
9.
When you are finished creating arrays, resume the boot process by doing the following:
a. From the
Main
menu, highlight
Continue to Boot
.
b. Press
Enter
. No reboot is required.
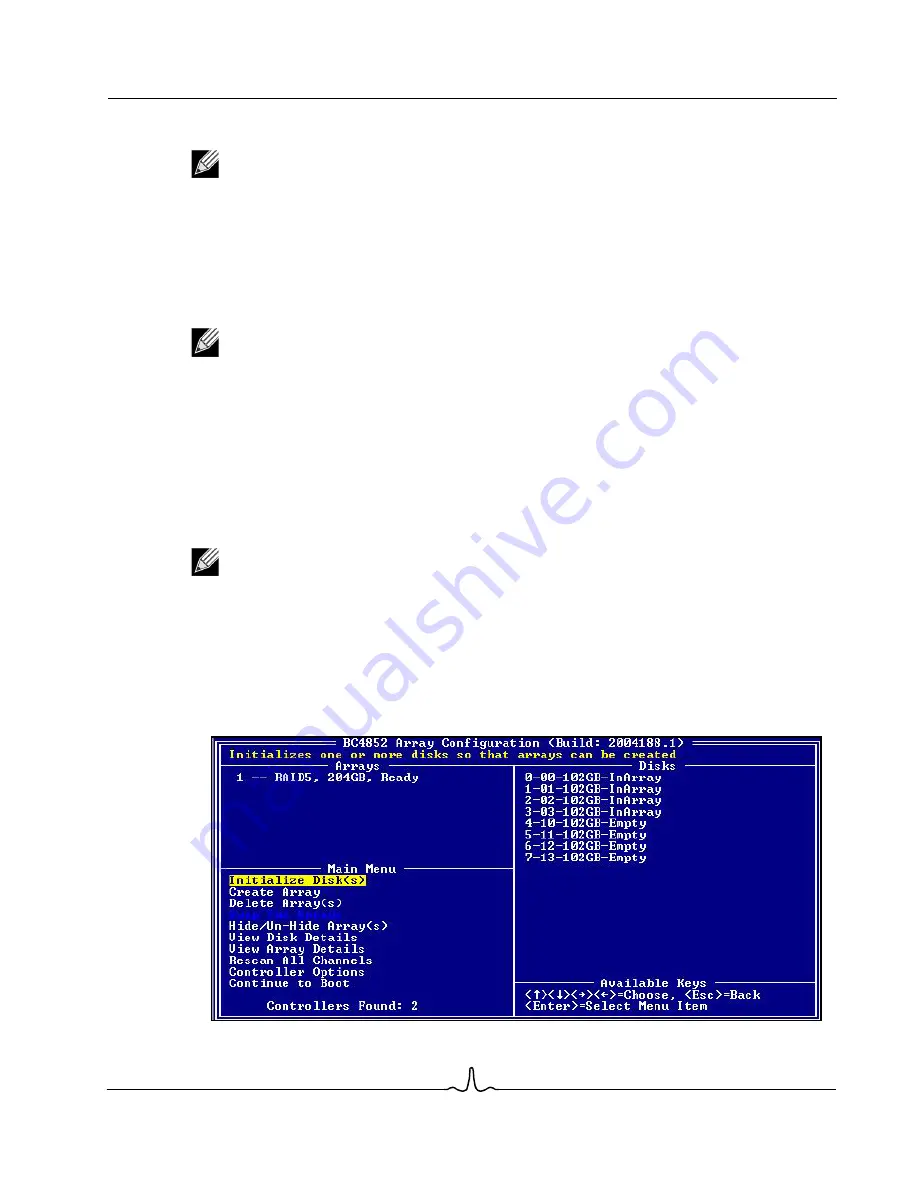
In the example above, a 4-drive RAID5 array has been configured.
Note:
Use the
Page Up
and
Page Down
keys to increase or decrease the array size in large
increments, and use the
Up Arrow
and
Down Arrow
keys to increase or decrease the array size in
small increments.
Note:
Some versions of the Windows operating system, such as Windows 2000 and 32-bit XP, do
not support arrays larger than 2 TB. See
“Creating and Formatting Arrays” on page 72
Note:
For installations of SuSE Linux, a pop-up appears that says, “A new device was found, do you
want to configure it?” If you do not want to see this pop-up when you create arrays, you can click the
“Do not notify me” option.


