10
DESTINATION SIGNS
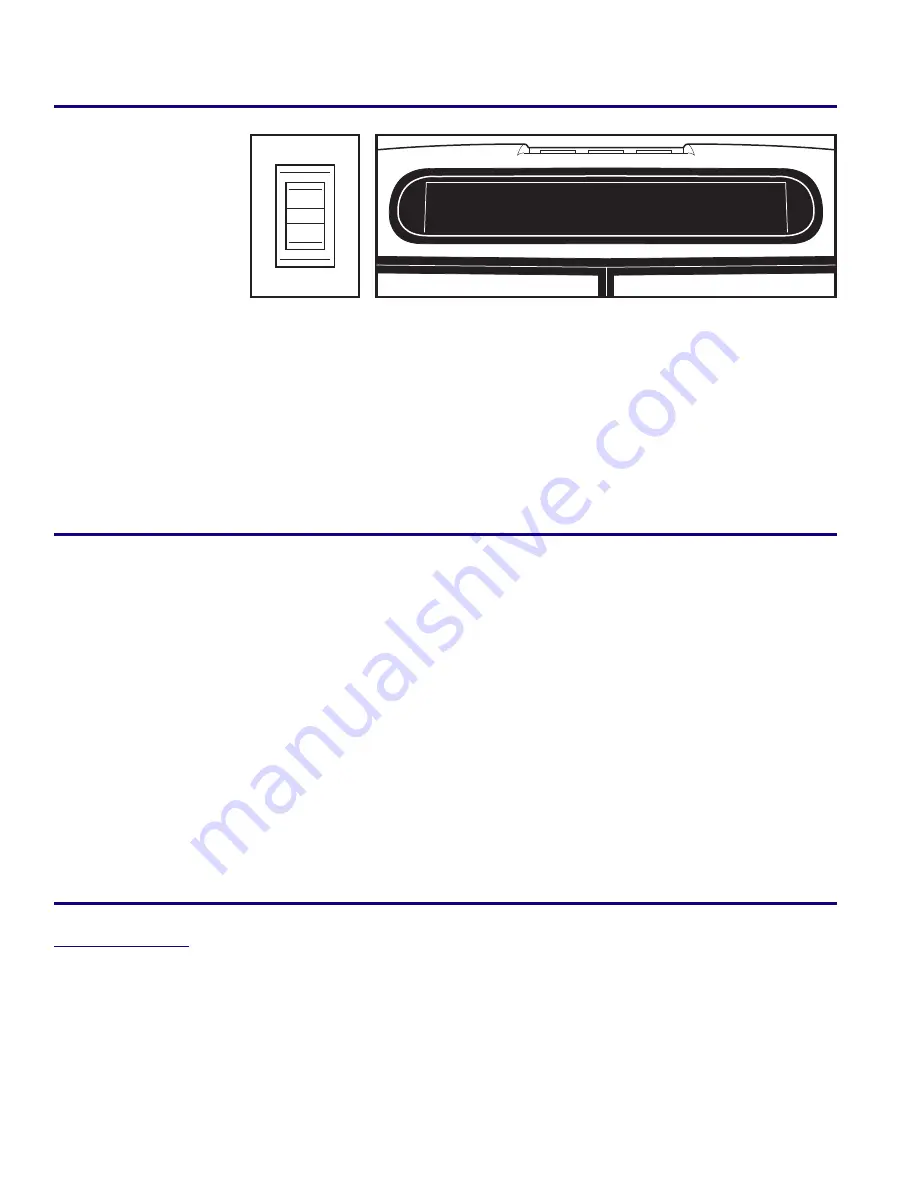
The optional roller
destination sign with a
lighted curtain is located
in the front roof header.
It has an electrical switch
located on the interior
surface of the header
closeout panel above the
driver’s side windshield.
The switch operates the roller mechanism of the sign. This enables the driver to change the destination as
necessary. There is a hinged panel with press button latches located to the right of the switch. This is for access
to the sign. Periodically grease the roller gears and replace the bulbs as necessary.
The optional side destination sign is mounted over the right hand side first passenger window and has a
manual crank located on the left side of the sign. This crank allows the operator to change the destination sign
to the desired destination by simply turning the crank. Loosen the two wing nuts on each side of the sign and
disconnect the wiring harness to remove from mounting brackets for maintenance. Periodically grease the
roller gears and replace the bulbs as necessary.
TRAVELER TOILET
This unit may be equipped with an optional Traveler fine china toilet. If so, follow these simple instruc-
tions for usage.
1. To add water to the toilet before using, lift or raise the flush lever until desired water level is reached.
Generally more water is required only when flushing solids.
2. To flush toilet, push lever all the way down until sewage leaves toilet. Water flow pressures vary at
different locations, and therefore holding the flush lever down for 4-8 seconds may be required. Two
(2) GPM is recommended for proper rim and bowl wash.
3. Release flush lever by allowing it to snap back, which allows positive sealing around the flush ball.
4. A small amount of water should remain in the bowl.
NOTE:
Holding the flush lever down longer than necessary results in excessive water usage.
CAUTION: DO NOT dispose of sanitary napkins or other non dissolving items in toilets. Also, the only
chemical approved for use in the fresh water tank is a potable water safe antifreeze solution. Never use
automotive type antifreeze in fresh water systems.
SEATS & SEAT BELTS
DRIVERS SEAT
The driver’s seat has five (5) adjustments. The driver should be seated while making adjustments.
1. Vertical adjustment is made through the air control valve located at the left front corner below the seat
cushion. Push in or pull out on the button to raise or lower the seat. Release the button to fix the
height.
2. Move the seat fore or aft by using the lever located below and at center of the cushion on the front side.
Release the lever when the seat is in the desired position.
3. Tilt the seat cushion up or down by pushing down on the release knob located to the right rear side of
the seat cushion.
EMPLOYEE PARKING
SIGN
UP
DOWN


