198
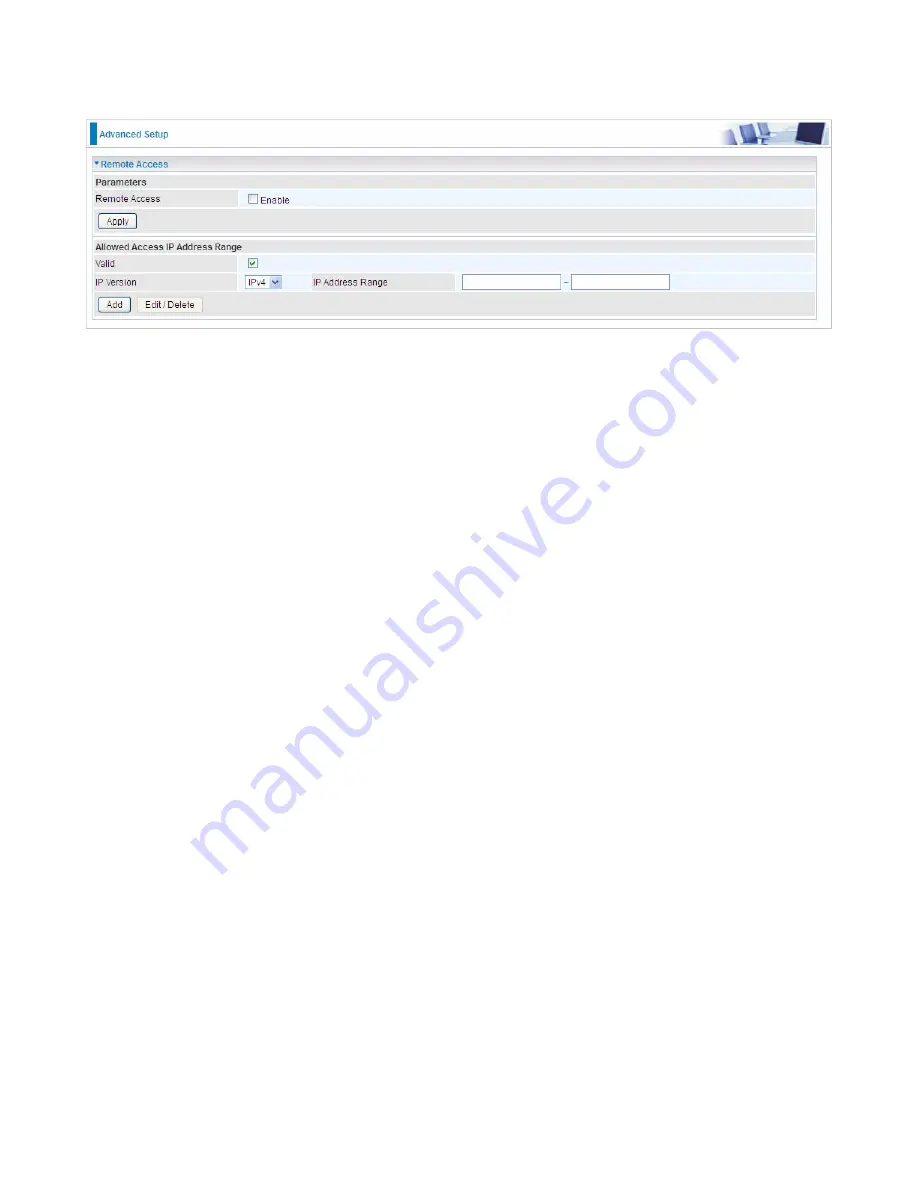
Remote Access
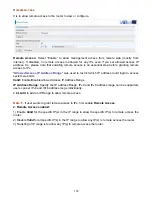
It is to allow remote access to the router to view or configure.
Remote Access:
Select “Enable” to allow management access from remote side (mostly from
internet). If disabled, no remote access is allowed for any IPs even if you set allowed access IP
address. So, please note that enabling remote access is an essential step before granting remote
access to IPs.
"
Allowed Access IP Address Range
" was used to restrict which IP address could login to access
system web GUI.
Valid:
Enable/Disable Allowed Access IP Address Range
IP Address Range:
Specify the IP address Range, IPv4 and IPv6 address range can be supported,
users can set IPv4 and IPv6 address range individually.
Click
Add
to add an IP Range to allow remote access.
Note:
1.
If user wants to grant remote access to IPs, first enable
Remote Access
.
2. Remote Access enabled:
1) Enable
Valid
for the specific IP(s) in the IP range to allow the specific IP(s) to remote access the
router.
2) Disable
Valid
for all specific IP(s) in the IP range to allow any IP(s) to remote access the router.
3) No listing of IP range is to allow any IP(s) to remote access the router.
Содержание BiPAC 7800DXL
Страница 19: ...15 3G LTE Router mode ...
Страница 39: ...35 Click 192 168 1 254 it will lead you to the following page ...
Страница 42: ...38 Click 192 168 1 254 it will lead you to the following page ...
Страница 65: ...61 7 Success If Quick Start is finished user can turn to Status Summary to see the basic information ...
Страница 68: ...64 7 Success ...
Страница 71: ...67 7 Success If Quick Start is finished user can turn to Status Summary to see the basic information ...
Страница 136: ...132 Accessing mechanism of Storage In your computer Click Start Run enter 192 168 1 254 ...
Страница 138: ...134 Access the folder public ...
Страница 141: ...137 Step 2 Click Add a Printer Step 3 Click Add a network wireless or Bluetooth printer ...
Страница 144: ...140 Step 8 Click Next and you are done You will now be able to see your printer on the Devices and Printers Page ...
Страница 146: ...142 Take Windows media player in Windows 7 accessing the DLNA server for example for usage of DLNA ...
Страница 179: ...175 In listing table you can remove the one you don t want by checking the checking box and press Remove button ...
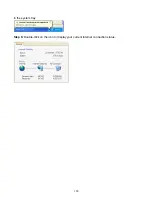
Страница 192: ...188 in the system tray Step 6 Double click on the icon to display your current Internet connection status ...
Страница 195: ...191 Click Import Certificate button to import your certificate Enter the certificate name and insert the certificate ...
Страница 196: ...192 Click Apply to confirm your settings ...

