106
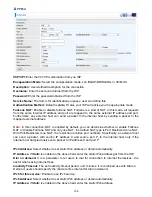
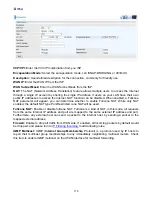
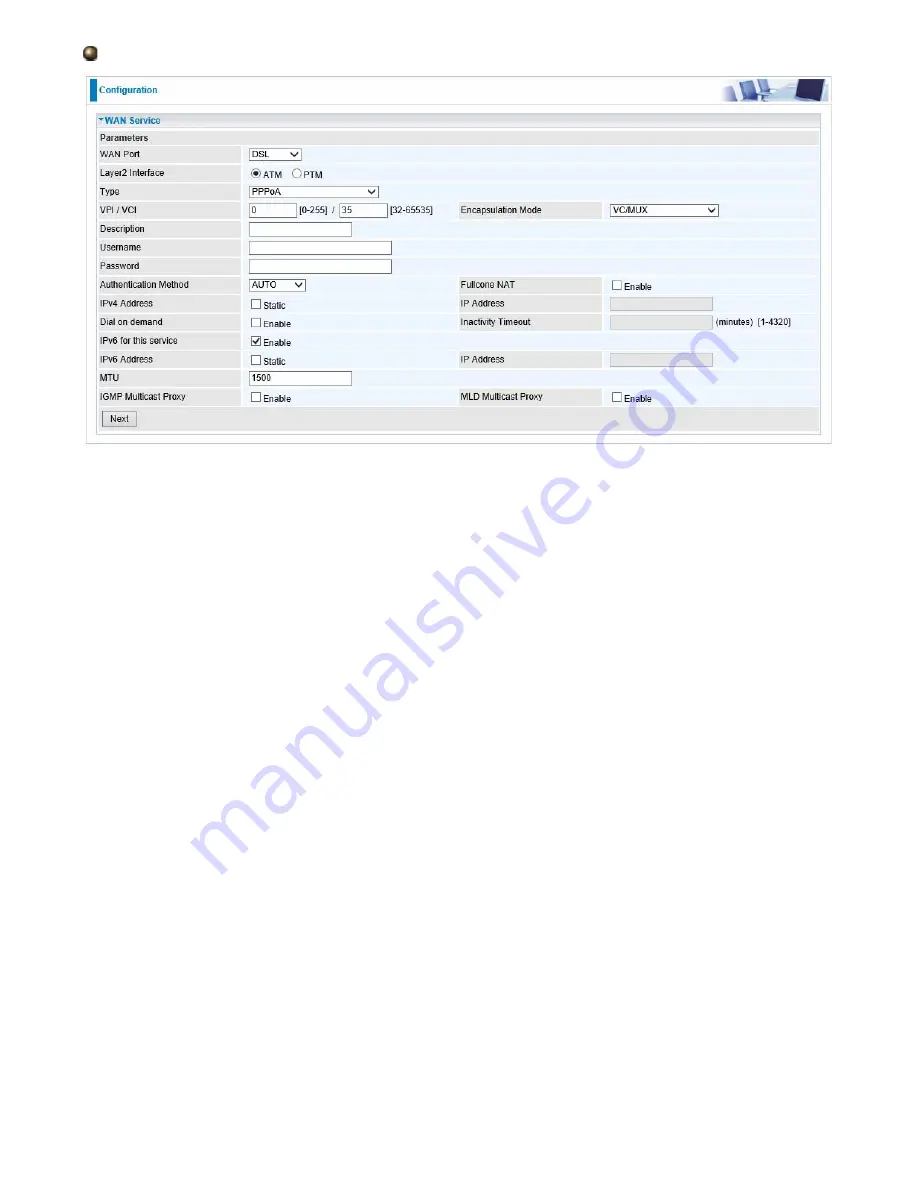
PPPoA
VCP/VPI:
Enter the VCI/VPI combination from you ISP.
Encapsulation Mode:
Select the encapsulation mode, LLC/SNAP-BRIDGING, or VC/MUX.
Description:
User-defined description for the connection.
Username:
Enter the account obtained from the ISP.
Password:
Enter the password obtained from the ISP.
Service Name:
The item is for identification purposes, user can define this.
Authentication Method:
Default is
Auto
. Or else your ISP will advise you the appropriate mode.
Fullcone NAT:
Enable or disable fullcone NAT. Fullcone is a kind of NAT, in this mode, all requests
from the same internal IP address and port are mapped to the same external IP address and port.
Furthermore, any external host can send a packet to the internal host by sending a packet to the
mapped external address.
Note:
In this connection, NAT is enabled by default, you can determine whether to enable Fullcone
NAT or disable Fullcone NAT and only use NAT, the default NAT type is Port Restricted cone NAT.
With Port-Restricted cone NAT, the restriction includes port numbers. Specifically, an external host
can send a packet, with source IP address X and source port P, to the internal host only if the
internal host had previously sent a packet to IP address X and port P
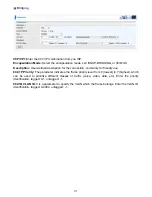
IPv4 Address:
Select whether to set static IPv4 address or obtain automatically.
IP Address:
If
Static
is enabled in the above field, enter the static IPv4 address get from the ISP.
Dial on demand:
It is a parameter to let users to dial for connection to internet themselves. It is
useful when saving internet fees.
Inactivity Timeout:
The set Inactivity timeout period, unit: minutes. It is combined use with Dial on
Demand, users should specify the concrete time interval for dial on demand.
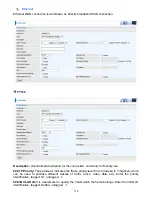
IPv6 for this service:
Enable to use IPv6 service.
IPv6 Address:
Select whether to set static IPv6 address or obtain automatically.
IP Address:
If
Static
is enabled in the above field, enter the static IPv4 address.
Содержание BiPAC 7800DXL
Страница 19: ...15 3G LTE Router mode ...
Страница 39: ...35 Click 192 168 1 254 it will lead you to the following page ...
Страница 42: ...38 Click 192 168 1 254 it will lead you to the following page ...
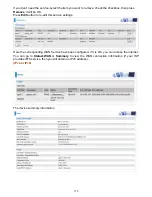
Страница 65: ...61 7 Success If Quick Start is finished user can turn to Status Summary to see the basic information ...
Страница 68: ...64 7 Success ...
Страница 71: ...67 7 Success If Quick Start is finished user can turn to Status Summary to see the basic information ...
Страница 136: ...132 Accessing mechanism of Storage In your computer Click Start Run enter 192 168 1 254 ...
Страница 138: ...134 Access the folder public ...
Страница 141: ...137 Step 2 Click Add a Printer Step 3 Click Add a network wireless or Bluetooth printer ...
Страница 144: ...140 Step 8 Click Next and you are done You will now be able to see your printer on the Devices and Printers Page ...
Страница 146: ...142 Take Windows media player in Windows 7 accessing the DLNA server for example for usage of DLNA ...
Страница 179: ...175 In listing table you can remove the one you don t want by checking the checking box and press Remove button ...
Страница 192: ...188 in the system tray Step 6 Double click on the icon to display your current Internet connection status ...
Страница 195: ...191 Click Import Certificate button to import your certificate Enter the certificate name and insert the certificate ...
Страница 196: ...192 Click Apply to confirm your settings ...


