136
Print Server
The Print Server feature allows you to share a printer on your network by connecting a USB cable
from your printer to the USB port on the 7800DXL. This allows you to print from any location on your
network.
Note:
Only USB printers are supported
Setup of the printer is a 3 step process
1. Connect the printer to the 7800DXL’s USB port
2. Enable the print server on the 7800DXL
3. Install the printer drivers on the PC you want to print from
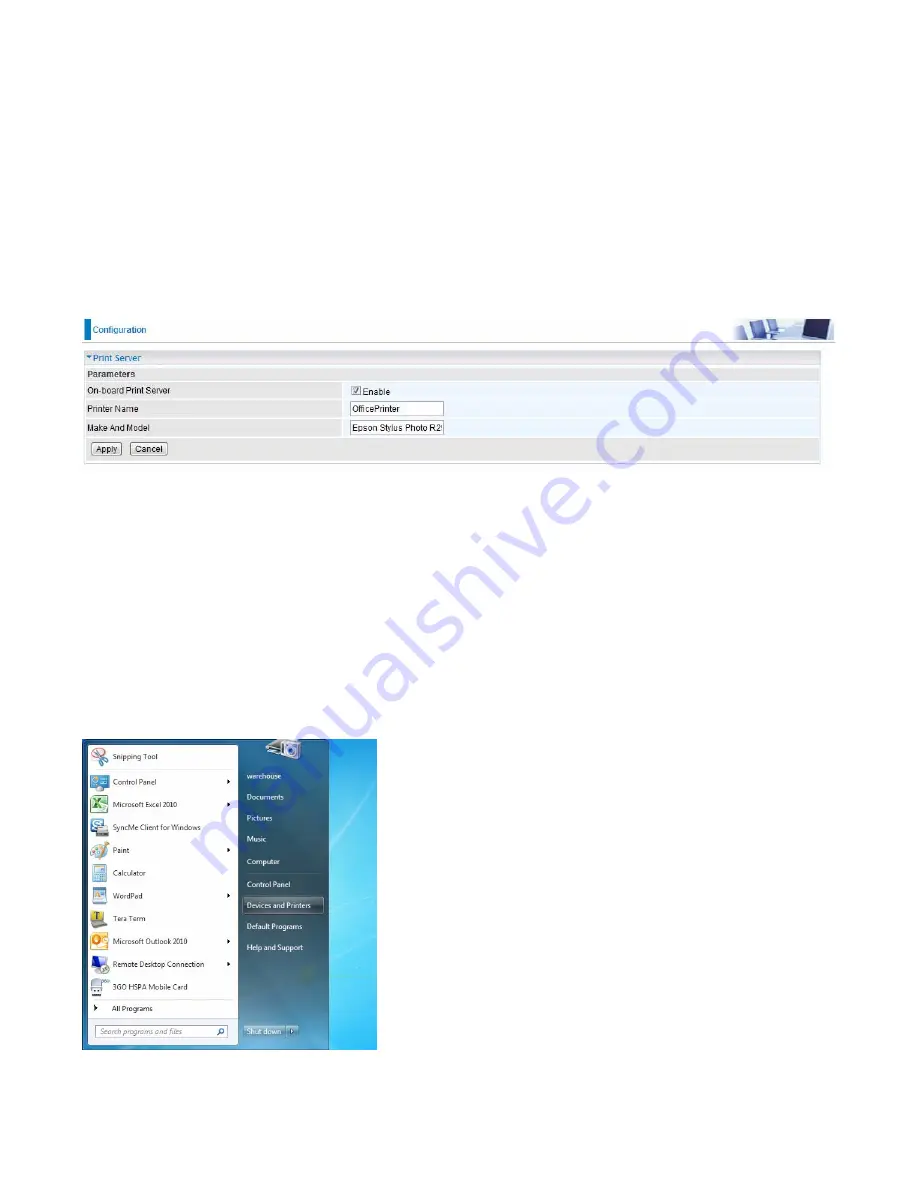
On-board Print Server:
Check Enable to activate the print server
Printer Name:
Enter the Printer name, for example,
OfficePrinter
Make and Model:
Enter in the Make and Model information for the printer, for example,
Epson
Stylus Photo R290
Note:
The
Printer name
can be any text string up to
40
characters. It cannot contain spaces.
The
Make and Mode
l can be any text string up to
128
characters.
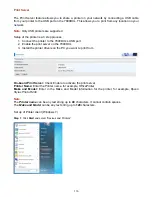
Set up of Printer client (Windows 7)
Step 1:
Click
Start
and select “Devices and Printers”
Содержание BiPAC 7800DXL
Страница 19: ...15 3G LTE Router mode ...
Страница 39: ...35 Click 192 168 1 254 it will lead you to the following page ...
Страница 42: ...38 Click 192 168 1 254 it will lead you to the following page ...
Страница 65: ...61 7 Success If Quick Start is finished user can turn to Status Summary to see the basic information ...
Страница 68: ...64 7 Success ...
Страница 71: ...67 7 Success If Quick Start is finished user can turn to Status Summary to see the basic information ...
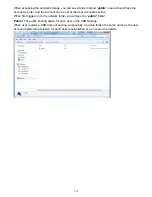
Страница 136: ...132 Accessing mechanism of Storage In your computer Click Start Run enter 192 168 1 254 ...
Страница 138: ...134 Access the folder public ...
Страница 141: ...137 Step 2 Click Add a Printer Step 3 Click Add a network wireless or Bluetooth printer ...
Страница 144: ...140 Step 8 Click Next and you are done You will now be able to see your printer on the Devices and Printers Page ...
Страница 146: ...142 Take Windows media player in Windows 7 accessing the DLNA server for example for usage of DLNA ...
Страница 179: ...175 In listing table you can remove the one you don t want by checking the checking box and press Remove button ...
Страница 192: ...188 in the system tray Step 6 Double click on the icon to display your current Internet connection status ...
Страница 195: ...191 Click Import Certificate button to import your certificate Enter the certificate name and insert the certificate ...
Страница 196: ...192 Click Apply to confirm your settings ...


