Chapter 11
Directions on Coiling, Taping and Zigzag Embroidery
3.
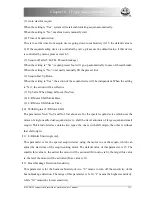
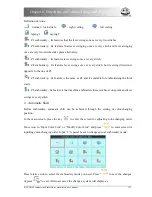
M axis to turn
Press the key “
” to enter the “Machine Parameter Manage” screen. Then move icon to
“Assistant Emb Operation” and press “
” to enter that screen. Move icon to “M Manual”,
then click “
” to activate the dialogue window. Move icon to “M axis Left” to let the M axis
rotate to the left. It will rotate 18° left once you click the button. After 20 times click, it will
return to its origin; while moving icon to “M axis Right” and clicking “
”on
the dialogue
window will let the M axis rotate to the right. It will rotate 18° right once you click the button as
well. After 20 times click, it will return to its origin; click “
”to exit.
11.4.3
Operations of Clamp Foot
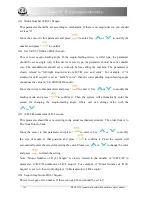
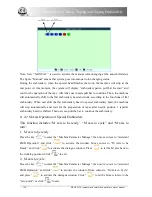
Press the key “
” to enter the “Machine Parameter Manage” screen. Then move
icon to “Assistant Emb Operation” and press “
” to enter that screen. Move
icon to
“
Nipple up
”
,then press “
”to activate the operation window. Click
“
” to lift the clamp foot; select “
”to exit.
Press the key “
” to enter the “Machine Parameter Manage” screen. Then move
icon to “Assistant Emb Operation” and press “
” to enter that screen. Move
icon to
“
Nipple down
”
and “
”to activate the operation window. Click “
” to
lower the clamp foot, select “
”to exit.
11-5
Debug Special Embroidery
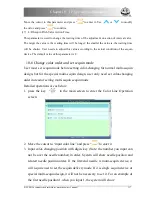
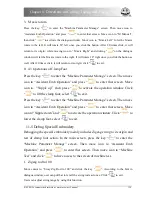
Debugging the special embroidery mainly includes Zigzag swing to its origin and
test of clamp foot action. In the main screen, press the key “
” to enter the
“Machine Parameter Manage” screen. Then move icon to “Assistant Emb
Operation” and press “
” to enter that screen. Then move icon to “Machine
Test” and click “
” to have access to the screen of machine test.
1.
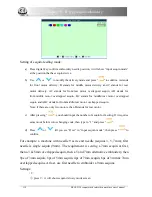
Zigzag rod to 100
Move cursor to “Sway Zig Rod to 100” and click the key “
”. According to the hint in
dialogue window, user can pull bar to let all the swing rods act once. Click “
”to exit.
Users can adjust swing range by using this function.
BECS-D56 computerized embroidery machine owner’s manual
129
Содержание BECS-D56
Страница 2: ......

