5‐24
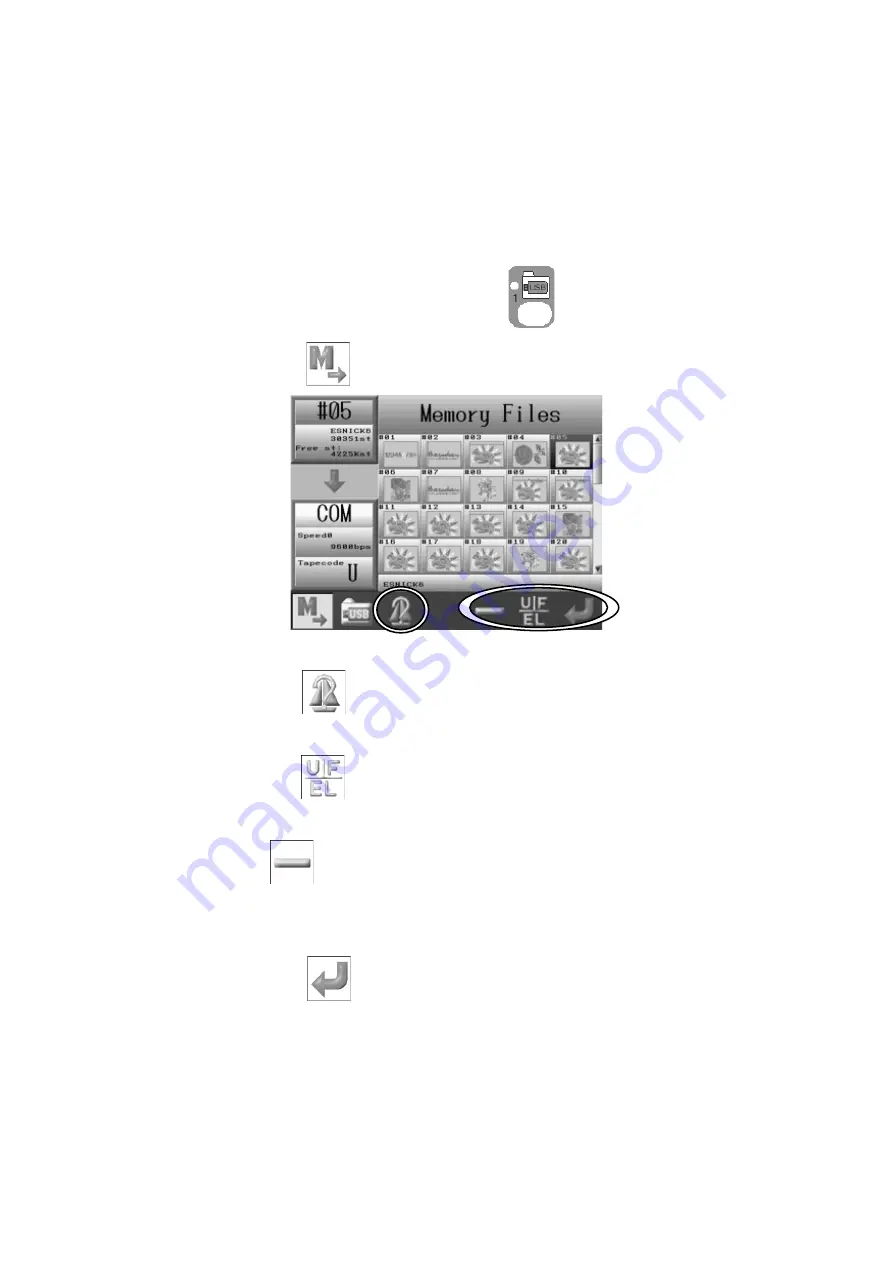
8. Saving a Design through the COM port.
A COM connector is located on the back of the BEXS Automat. Designs can be loaded from
a device connected to the COM port. Devices using RS-232C can be connected and used.
*Note: Please use a (null modem) crossover cable for the connection.
1. Press
the
Design Loading/Downloading key,
.
2. Press
the A-key,
.
3. Use
the
Jog keys to select a design in memory you want to upload.
Press the C-key
to display the design information.
*Refer to
Chapter6 2. Design Information
for details.
4. Press
the
F-key
if needed, to change the Tape code.
*Refer to
7-1. Loading a New Design
for details.
The E-key
is for changing the loading speed.
*Refer to
7-1. Loading a New Design
for details on changing speeds.
5. Have the connected device ready to receive the design.
6. Press
the
G-key,
to start uploading the design to the connected device.
Содержание BEXS
Страница 1: ...B E X S Instruction Manual ...
Страница 12: ...1 7 Warning Labels Contents Hook Warning Label Belt Warning Label ...
Страница 13: ...2 1 Chapter 2 Introduction This chapter contains information on the following 1 Specifications 2 Features ...
Страница 18: ...3 2 1 Appearance and Components ...
Страница 19: ...3 3 ...
Страница 186: ...Embroidery Machine BEXR BEXS BEXY series Mechanical Guide ...
Страница 194: ...1 6 X Series Mechanical Guide ...
Страница 196: ...1 8 X Series Mechanical Guide ...
Страница 199: ...X Series Mechanical Guide 1 11 ...
Страница 201: ...X Series Mechanical Guide 1 13 ...
Страница 233: ...13 1 Trade Marks WindowsTM is the trademark of the Microsoft Inc ...


