16
Initial Rinse
1.
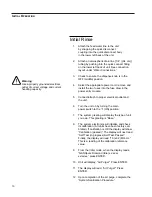
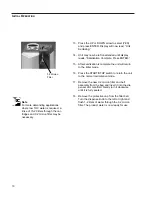
Attach the feed water line to the unit
by snapping the quick disconnect
coupling into the quick disconnect body
in the lower left back of the unit.
2.
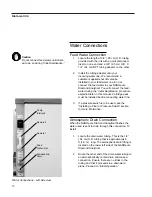
Attach an atmospheric drain line [1/4” ((.64 cm)]
tubing by pushing into the quick connect fitting
on the lower left back of unit. See connection
layout under “Water Connections.”
3.
Check to ensure the dispense knob is in the
OFF (middle) position.
4.
Select the appropriate power cord, remove and
install the two fuses into the fuse draw in the
power entry module.
5.
Connect/attach to proper electrical outlet and
the unit.
6.
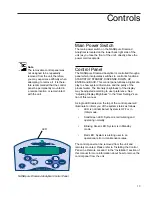
Turn the unit on by turning the main
power switch to the “I” (ON) position.
7.
The system greeting will display the type of unit
you own. This greeting is “Base.”
8.
The system electronics will initialize and check
its calibration. (All units have been factory cali-
brated.) If calibration is OK the display will show
“Calibration (passed).” The display will next read
“Self Test (in progress) Self Test. Passed.”
Finally, the display will read “10 (±0.2) M
Ω
-cm.”
This is a reading of the calibration reference
value.
9.
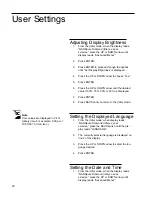
From the (Idle) mode, when the display reads,
“NANOpure Diamond (Idle) xx:xx:xx
xx/xx/xx,” press ENTER.
10. Unit will display, “Air Purge?” Press ENTER.
11.
The display will read, “Air Purge?” Press
ENTER.
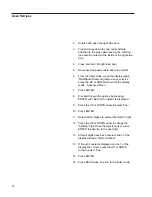
12. Upon completion of the air purge, complete the
“System Sanitization Procedure.”
I
NITIAL
O
PERATION
Warning
Use a properly grounded electrical
outlet of correct voltage and current
handling capacity.

