142
Arranging Embroidery Designs (Layout & Editing)
on A4- or Letter-size paper design that is
larger than the paper size by dividing them in
two and printing each half on different pages.
(This setting is only available when
Actual
size
is selected in the
Print Setup
dialog box
and when the Design Page is set to the larger
hoop sizes [300
×
200 mm (11 3/4"
×
7 3/4"),
200
×
300 mm (7 3/4"
×
11 3/4"), 180
×
300
mm (7"
×
11 3/4") when set to
Hoop Size
, and
170
×
290 mm (180
×
300 mm) 6.69"
×
11.41"
(7"
×
11 3/4") or 290
×
190 mm (300
×
200 mm)
11.41"
×
7.48" (11 3/4"
×
7 3/4") when set to
Custom Size
].) With this split printing feature,
/
or
/
is printed in the lower-
right corner of the paper to indicate which half
is printed.
Stitch image
Normal:
Select this option to print the design
as lines and dots.
Realistic:
Select this option to print a realistic
image of the design. To change the settings of
the realistic image, click
Attributes
.
c
4.
When printing an imported image onto iron-on
paper or printable fabric, or when printing the
sheet for positioning the embroidery in the
printed image, select the
Image print mode
check box, and then select an option under
Material
.
Material
Print the image on printable fablic or an
iron-on transfer sheet:
Select this option to
print the background image on iron-on
material or fabric that can be printed on. Only
the image is printed.
Print a flipped image:
Select this option to
print the image flipped on a vertical axis. When
printing on iron-on paper, the image is
normally printed flipped (mirror image). (For
details, refer to the instructions for the iron-on
paper that you are using.)
Select this option if your printer does not have
a function for printing a flipped (mirror) image.
(For details, refer to the instructions for your
printer.)
Print a sheet of paper for aligning the
printed image and the embroidery:
Select
this option to print a sheet for aligning the
positions of the image and embroidery.
Positioning marks and guidelines indicating
the embroidering area are printed on the
image.
Change Position:
The position where the
image is printed on the paper can be changed.
(Any part of the image extending out of the
print area of the paper is not printed.) Click
Change Position
to display the
Image Print
Position Setting
dialog box, and then drag
the image to the desired printing position in the
paper.
5.
Click
OK
.
c
“Displaying a preview of the embroidery”
on page 65.
■
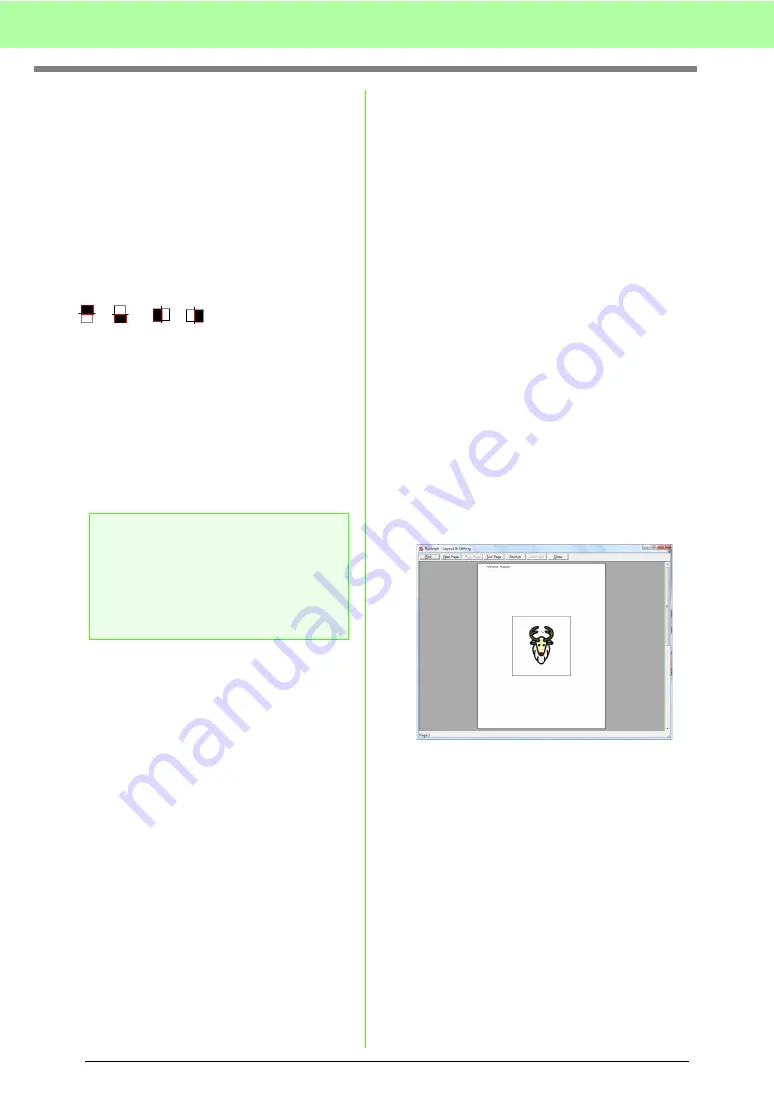
Checking the print image
You can preview the contents of the Design Page
before printing.
1.
Click
File
, then
Print Preview
.
→
The print image is displayed.
c
“Specifying print settings” on page 141,
“Printing” on page 143 and “Checking
embroidery design information” on
page 137.
a
Note:
If the
Divide embroidery image into 2
pages
check box is cleared and you print on
a larger paper size, the design does not print
in two halves. Likewise, if you print on a
smaller paper size, the design might be cut
off.
Содержание Palette
Страница 1: ......
Страница 146: ...144 Arranging Embroidery Designs Layout Editing ...
Страница 200: ...198 Managing Embroidery Design Files Design Database ...
Страница 218: ...216 Creating Custom Stitch Patterns Programmable Stitch Creator ...
Страница 244: ...242 Tips and Techniques ...
Страница 264: ...262 Menus Tools ...
Страница 266: ...264 Troubleshooting ...
Страница 271: ...English ...


