


Figure 81: Taking a screen shot
Scopia
®
XT Control copies the content from the largest window in the video layout to the
clipboard. If several windows are the same size, it copies the content from the left-hand
window, but if you are recording to the local USB storage or duplicating the main monitor
HD1 to HD2, it captures the entire screen.
Important:
It automatically adds a watermark to the generated image.
2. If your computer is running Microsoft Windows and you have Microsoft PowerPoint installed,
view the generated presentation as follows:
a. Access your computer screen by selecting the window showing your computer content,
or press
Backspace
, or
ctrl+shift+1
on your keyboard.
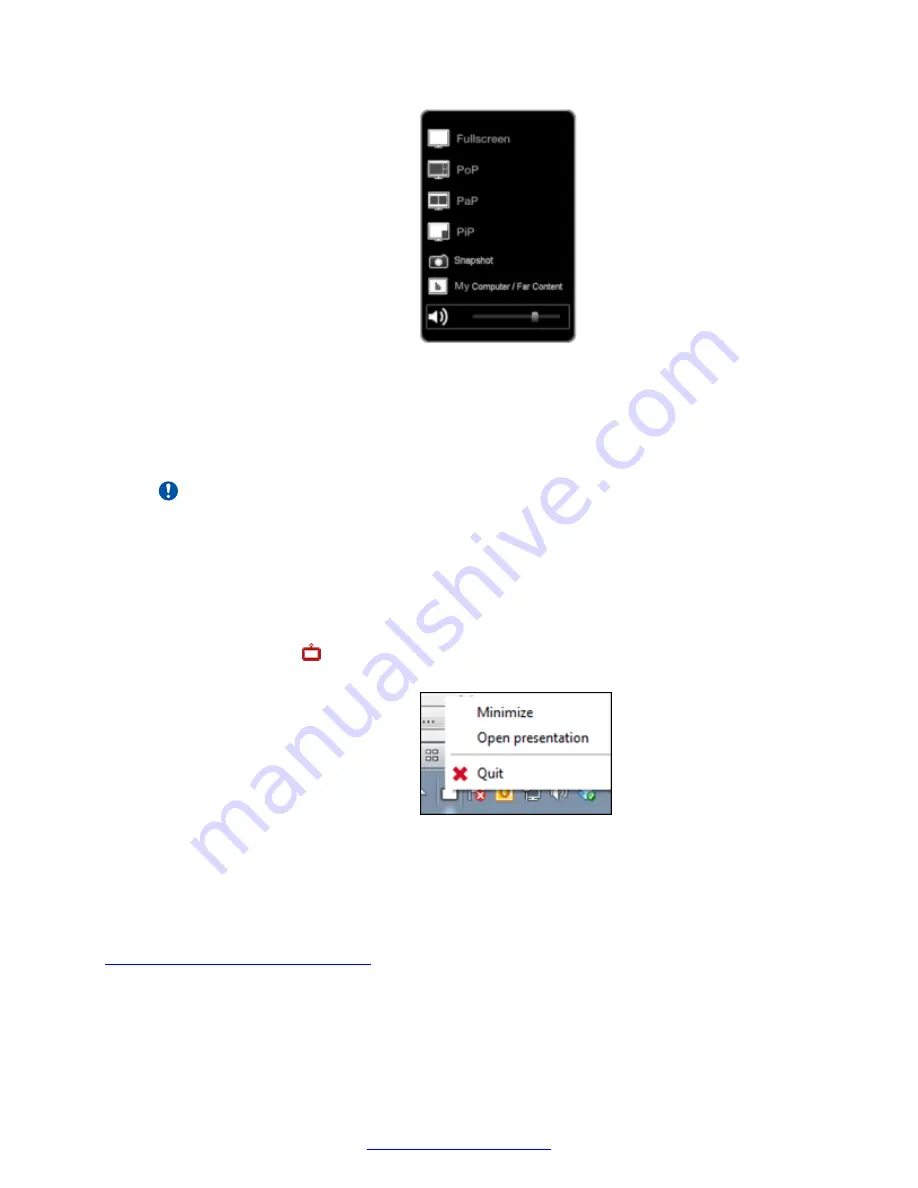
b. Right-click the Scopia
®
XT Control icon in your taskbar, and select
Open
Presentation
.
Figure 82: Opening the generated presentation
3. If you do not have both Microsoft Windows and Microsoft PowerPoint installed, save each
snapshot from the clipboard independently. After each snapshot, open an image editor to
paste the image.
Related Links
Configuring Advanced User Settings
Saving Meeting Snapshots (Scopia
®
XT Executive only)
April 2015
Avaya Scopia
®
XT Series User Guide
83
Содержание Scopia XT Executive
Страница 1: ...Avaya Scopia XT Series User Guide For Solution 8 3 2 April 2015 ...
Страница 2: ......