PDF: 4749051511/Source:7788125767
Aptina reserves the right to change products or specifications without notice.
MT9T111_DG - Rev. B 9/10 EN
129
©2007 Aptina Imaging Corporation. All rights reserved.
MT9T111: Developer Guide
Color Tuning Procedure
Preliminary
Color Tuning Procedure
1. Setup
1a. Hardware setup
1b. Ensure the lens and sensor module are completely shielded from external light
entering the module from the side. If needed, shield the lens module from exter-
nal light using non-reflecting black tape.
1c. Place the color rendition chart in the middle of the image screen to avoid corner
color shading effect to the chart. Ensure that the entire chart is in the image
screen.
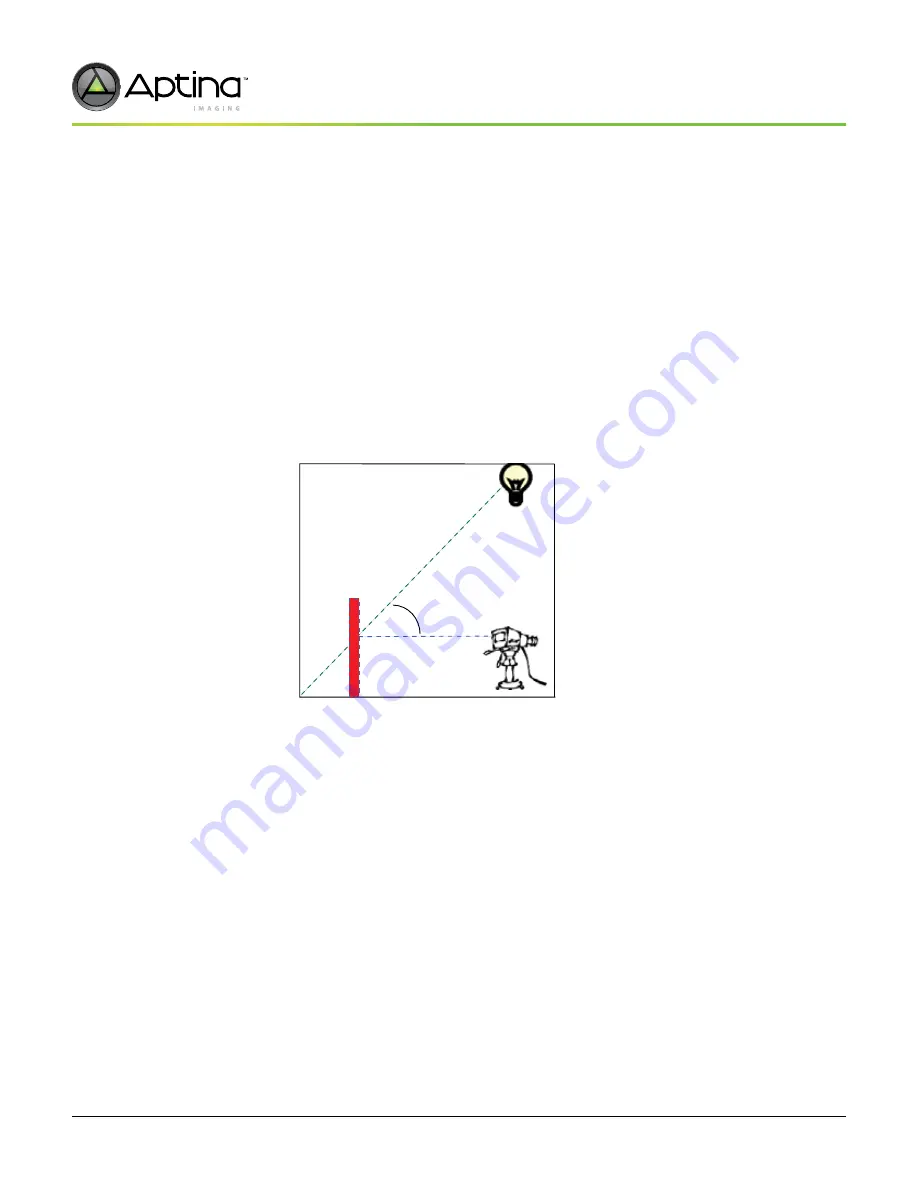
1d. Turn on one of the light sources (Daylight at 6500 Kelvin or Incandescent light at
2850 Kelvin). For the procedure described in Figure 65 on page 129, the calibra-
tion for Daylight is shown first, and then ask the user to repeat the process for
incandescent light.
Figure 65:
Color Tuning Lab Setup
2. Software setup
2a. Start up DevWare and camera module.
Note:
Do not load Register Default settings upon starting the software.
3. Preset and Load
The following example code shows how to put the MT9T111 into pre-calibration mode
in DevWare.
The Color correction Setup accomplishes the following:
• Turns off histogram stretch
• Forces unit digital gain in AWB driver
• Turns off AWB, AE, Flicker Detection, and Histogram
• Turns off color correction and gamma correction on color pipeline
After loading color correction setup, load the settings for lens calibration. The user
should calibrate the lens before calibrating color. For the procedure on lens calibration,
refer to “Lens Calibration Procedure” on page 122.
45


