PDF: 4749051511/Source:7788125767
Aptina reserves the right to change products or specifications without notice.
MT9T111_DG - Rev. B 9/10 EN
127
©2007 Aptina Imaging Corporation. All rights reserved.
MT9T111: Developer Guide
Lens Calibration Procedure
Preliminary
5. Go to Sensor Control -> Lens Correction and select
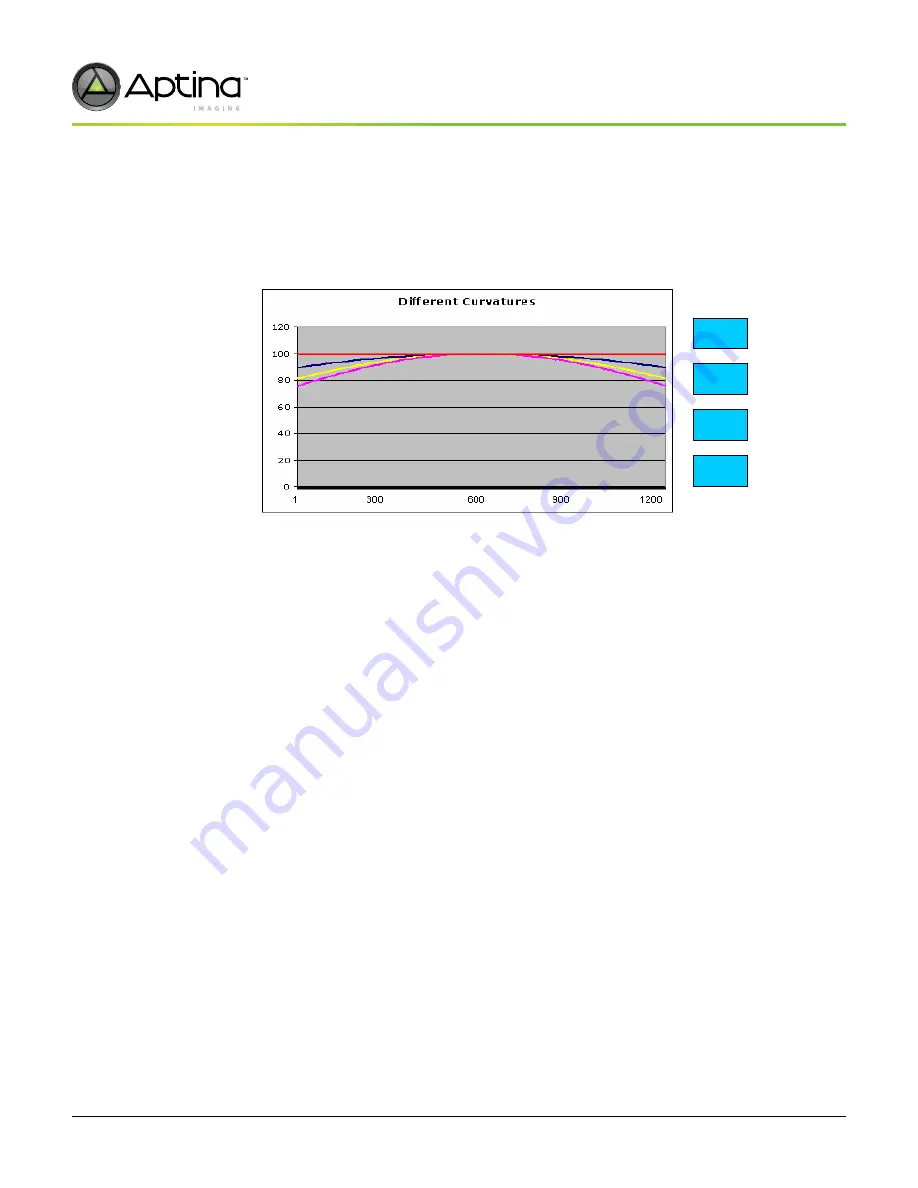
Allowed Falloff
. The percentage of
the lens correction can be reduced below 100 percent for the targeted effect. The user
has the option to not completely calibrate the lens to obtain flat intensity curves by
selecting different percentage for curvature. One hundred percent corresponds to a
completely flat curve. Figure 64 shows the correlation between percent and curvature.
Figure 64:
Curve Percentages
6. Push the
Calibrate lens correction button
; the lens correction calibration will finish
quickly and automatically.
7. Check the
Enable Lens correction
checkbox; the new lens correction setting is active
now.
8. Push the
Save as
button; the new lens correction settings will be saved in DevWare .ini
file format.
100%
90%
75%
80%


