User Guide
APconnections, Inc. // 303.997.1300 // www.netequalizer.com
Page 83 of 120
rev. 20170131
© 2014-2017 APconnections, Inc. All Rights Reserved
version 8.4
Start RTR
(
back
)
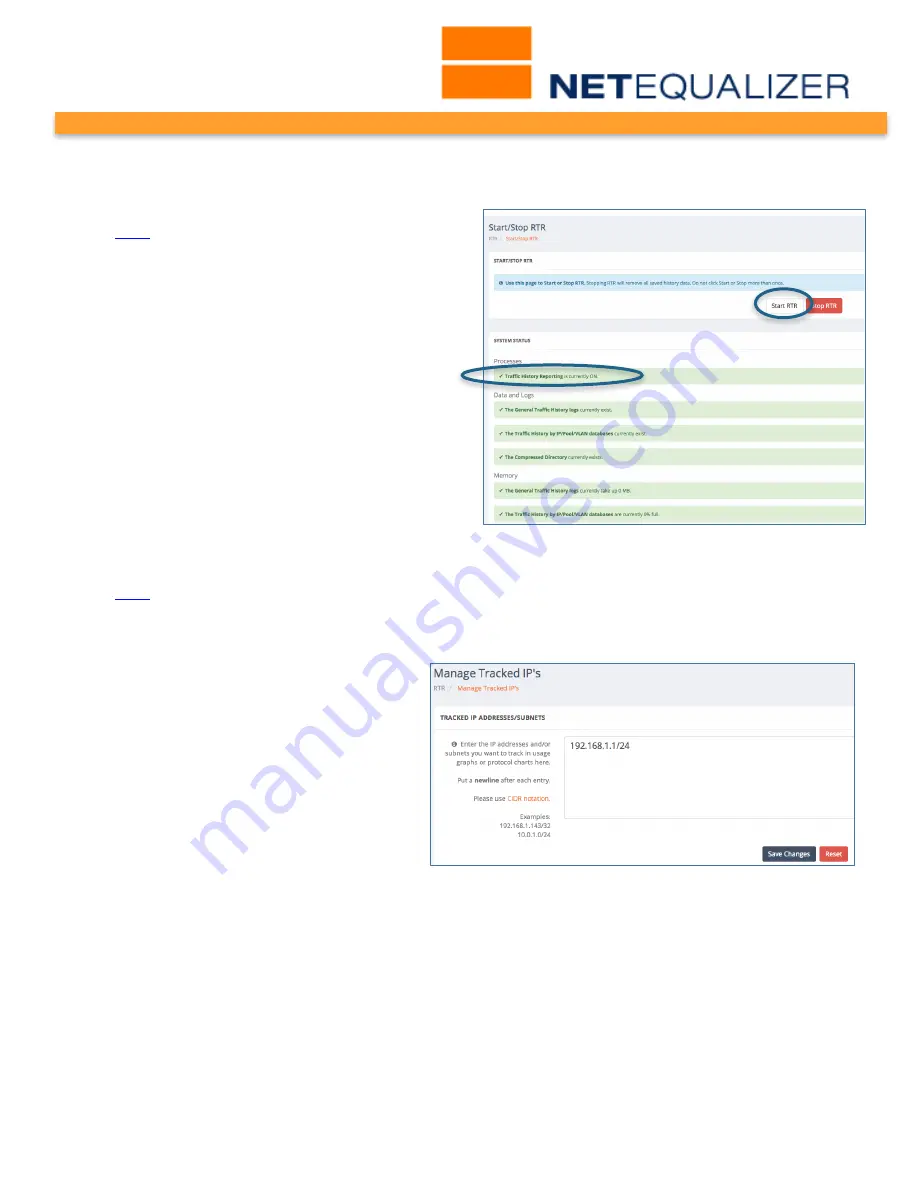
By default, Traffic History reports are OFF.
You must first turn these on in order to use
Traffic History.
Click on -> Start/Stop RTR
, and then
Click on -
> [Start RTR]
(circled at right) to turn on
Traffic History reporting.
Once you have turned on traffic reporting, the
System Status 1
st
line will be green and say
“Traffic History Reporting is currently ON.”
(circled at right).
Manage Tracked IPs
(
back
)
For many Traffic Reports, in order to populate data into the report, you need to let the
NetEqualizer know which IPs you would like to track, or collect data against. We call this
“tracked IPs”.
To set up your tracked IPs,
Click on ->
Manage Tracked IP’s.
The screen on the
right will come up. Type in an IP or
subnet that you would like to track.
Make sure to enter a NEWLINE after
each entry. Once complete,
Click on ->
[Save Changes]
to keep your edits or
Click on -> [Reset]
to discard your
changes.
To see which IPs are being tracked, just come back to this screen at anytime. In our
example, you can see that 192.168.1.1/24 is being tracked. Any IP address within this
subnet will have data recorded for Traffic History Reports.
Note: In release 8.1, you need to enter ALL IPs or subnets associated with a Pool or VLAN, in order to
accurately see all data within the tracked Pool or VLAN. We hope to change this in the future to
enable you to just select the Pool # or VLAN # to track.


