User Guide
APconnections, Inc. // 303.997.1300 // www.netequalizer.com
Page 50 of 120
rev. 20170131
© 2014-2017 APconnections, Inc. All Rights Reserved
version 8.4
Factory delivered, NetEqualizer defaults are set to perform congestion control on your trunk
when it becomes 85 percent full. In most cases, important business applications, such as
VoIP, citrix, blackboards, web browsing, and e-mail will receive preferential treatment, and
therefore there is no need to assign priority. In general, we find that only video servers
require priority treatment.
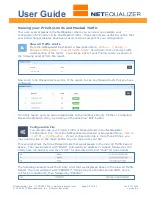
From the NetEqualizer Dashboard or Navigation Menu,
Click on -> [Setup] -> Manage
Priority Traffic
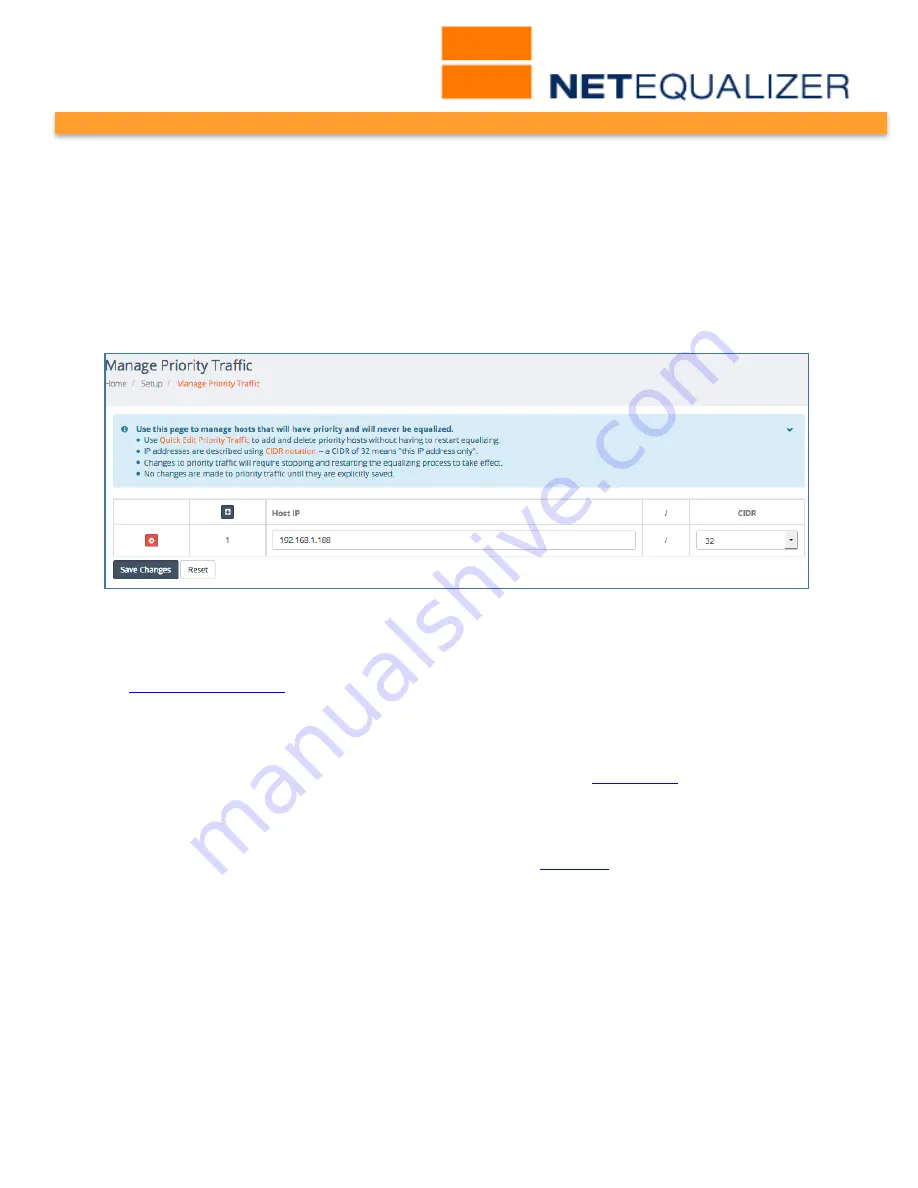
. The Manage Priority Traffic screen opens, as shown below. In our example,
we have created one Priority Traffic rule for individual IP 192.168.1.188 (/32).
Priority Traffic allows you to select a specific IP address for priority treatment. Once set, this
IP address, and any connection it is part of, will receive priority.
In
Software Update 5.8
, we expanded our Priority Traffic feature to enable you to prioritize
an entire IP subnet. This feature is useful if you need to prioritize a section of your
network, for example, a subnet where your video-streaming servers are hosted.
If you use this feature to prioritize an IP or entire subnet and are concerned with these
priorities using too much bandwidth, we also recommend using
Hard Limits
to add a hard
limit for the IP or subnet, so that it does not take an unlimited amount of bandwidth.
Note: Use Priority Traffic sparingly. The most common mistake for new installations is to try to give
priority to all important business applications. This is rarely actually needed, as most business
applications will already be getting preferential treatment from
Equalizing
.
Creating a Priority Limit
To create a Priority Limit,
click on your computer’s TAB to put the focus into the Host IP
address field.
Type in:
Host IP address
in 11.22.33.44 format.
TAB to CIDR field. On the CIDR field,
Click on -> [dropdown arrow]
to select a CIDR
value. For an individual IP, use /32, for a Class B use /16, for a Class C use /24, or any
other subnet value from 1-32. If using subnets, each IP in the subnet will get the
Connection Limit.
Note: In 8.4, you must use “tab” to move between rows. If you hit “return”, your data will be
cleared. This will be fixed in a future release.


