


79
Sync all face ID
•
Sync NVR all face ID to pre specified cameras.
a.
Click “
Sync NVR all face ID to pre specified cameras
” field
b.
Select the IP cameras to export NVR’s database
c.
Click OK to complete the setting.
•
Sync all face ID of IP camera to NVR.
a.
Click “
Sync all face ID of IP camera to NVR
” field.
b.
Select the IP cameras to import the database face ID to NVR.
c.
Click OK to complete the setting.
The Face Recognition cameras want to receive the export Face ID data from NVR, which cameras
must check from the “
Assign camera to sync this face ID
” field of Face ID’s parameters.
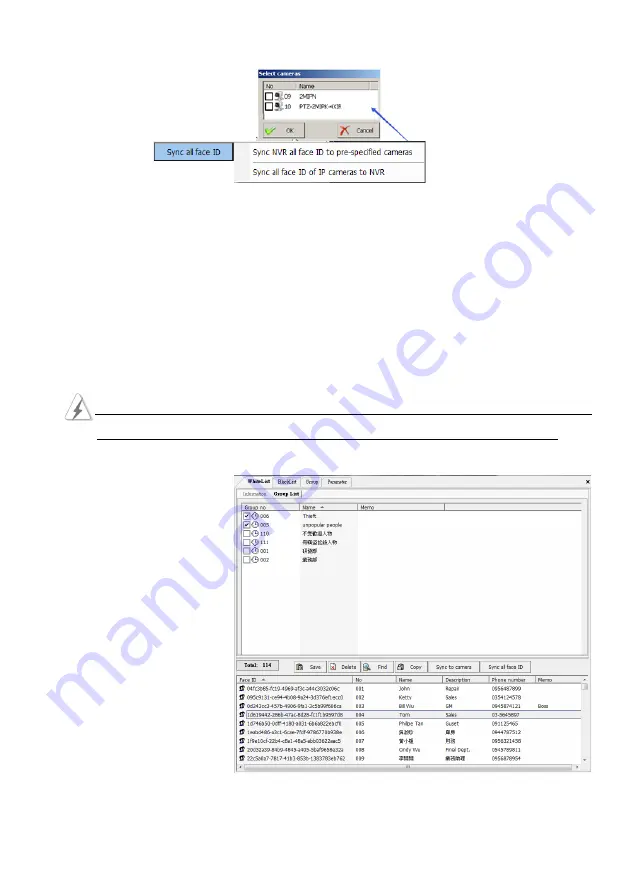
White list (Blacklist) face ID
Group List
Follow up the steps as below to
add (remove) Face ID from the
Whitelist (Blacklist) database.
1.
Selected and click the Face
ID from list table, this Face
ID will list on Group table.
2.
Check the Group name from
Group table to join
(Remove) this face ID into
these Group
3.
Click “
Save
” icon to complete the setting.
Содержание AnyNet-12824
Страница 1: ...1 Version 5 3 Doc No 2020031501...
Страница 18: ...18 Step 6 Click Yes to confirm the Raid parameters setting and then the Raid mode will show as below...
Страница 19: ...19 Step 7 Click the Finish icon and Ok to confirm the Raid setting...
Страница 37: ...37 3 2 NVR Main Program 3 2 1 System Configuration Diagram...
Страница 47: ...47...


