AMI Baby Voyager User's Guide
71
Advanced Chip Set Setup Options,
Continued
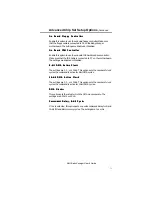
O n B o a r d F l o p p y C o n t r o l l e r
O n B o a r d F l o p p y C o n t r o l l e r
Enable this option to use the onboard floppy controller. Make sure
that the floppy cable is connected to P6 on the Baby Voyager
motherboard. The settings are Enabled or Disabled.
O n B o a r d I D E C o n t r o l l e r
O n B o a r d I D E C o n t r o l l e r
Enable this option to use the onboard IDE hard disk drive controller.
Make sure that the IDE cable is connected to P7 on the motherboard.
The settings are Enabled or Disabled.
8 - b i t
8 - b i t D M A A c t i v e C l o c k
D M A A c t i v e C l o c k
The settings are 2, 3, or 4 CLKs. This option sets the number of clock
cycles the command is active for 8-bit DMA cycles.
1 6 - b i t D M A A c t i v e C l o c k
1 6 - b i t D M A A c t i v e C l o c k
The settings are 2, 3, or 4 CLKs. This option sets the number of clock
cycles the command is active for 16-bit DMA cycles.
D M A C l o c k s
D M A C l o c k s
This option sets the rate at which the DMA clocks operate. The
settings are SCLK/2 or SCLK.
C o m m a n d D e l a y , 8 - b i t C y c l e
C o m m a n d D e l a y , 8 - b i t C y c l e
If Yes is selected, this option sets one extra command delay for 8- and
16-bit I/O and 8-bit memory cycles. The settings are Yes or No.
Содержание 39 Series
Страница 6: ...Preface vi ...
Страница 12: ...Chapter 1 Introduction 6 ...
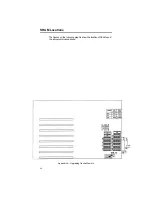
Страница 14: ...Chapter 2 Installation 8 Baby Voyager Layout ...
Страница 26: ...Chapter 2 Installation 20 ...
Страница 69: ...AMI Baby Voyager User s Guide 63 ...

