EN
4.3. Operating the aView Monitor
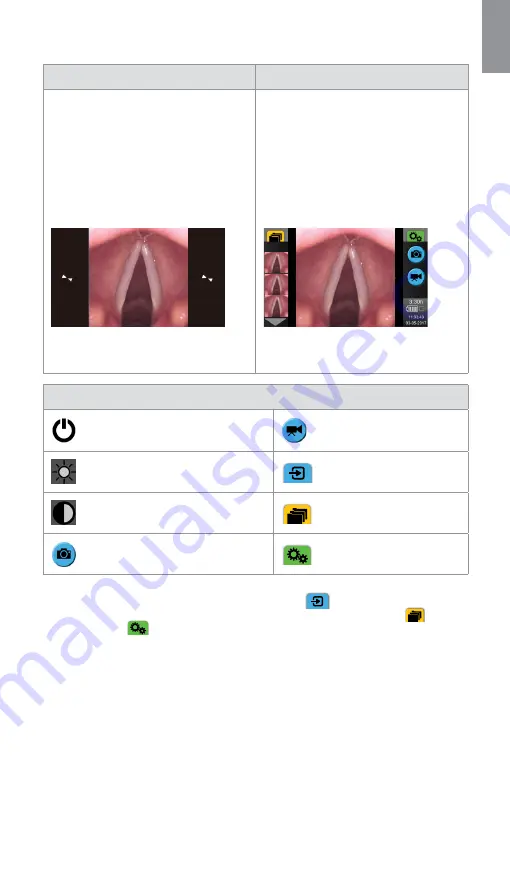
Startup Image Mode
User Interface
Starts immediately after the power
button is pressed and continues
until the User Interface is loaded
(after approximately 1 min).
A live image is available and the User
Interface displays advanced user functions
(refer to the online aView User Guide on
www.ambu.com).
A live image from the plugged in Ambu
visualization device is available while aView
is loading. If no device is connected the
screen will be blue.
aView starts up in the Blue tab for Live Image
Viewing and recording live image.
The screen layout may vary depending on
the software version.
The screen layout may vary depending on
the software version.
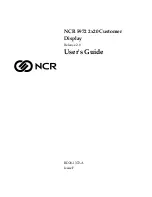
Interface nomenclature
Power button
Video recording
Brightness adjustment
Viewing and recording
live image.
Contrast adjustment
Managing saved files.
Snap shot
System settings and User
Accounts.
Live image vs. recorded image
Round BLUE buttons are shown in the blue Live Image tab
and indicates a live image.
Square YELLOW or GREEN buttons are shown in the yellow File Management tab
and the
green Settings tab
and indicates a recorded image.
Battery status: During start up, aView powers up and configures the visualization device.
If the aView battery icon on the screen changes from fully charged to low battery (red battery)
within 30 minutes, aView must be replaced.
Connection to external monitor
The image from an Ambu visualization device can be viewed on an external monitor using the
video out interface on aView. Connect the external monitor to the composite interface on the
right side of aView using the adaptor cable supplied (refer to the online aView User Guide on
www.ambu.com). Please consult the manual of the external monitor for further information on
how to connect an external video source by composite.
9


