Upgrading The Computer
Upgrading the Hard Disk Drive(s) 6 - 5
6
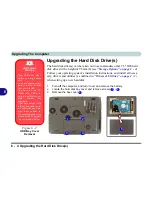
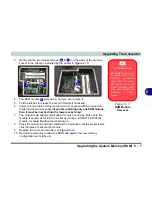
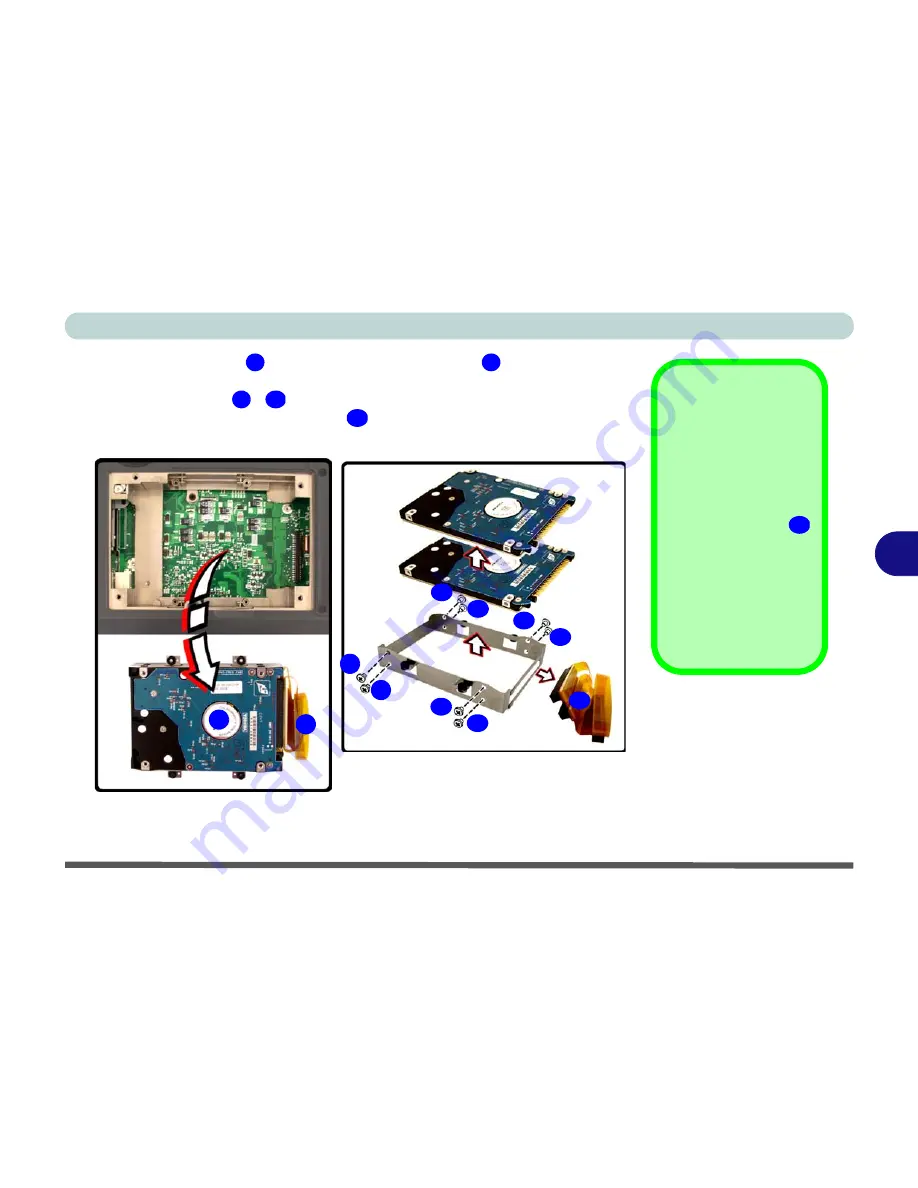
4.
Release the cable
and lift the hard disk assembly
up out off the
computer.
5.
Remove screws
-
in order to separate the bracket from the hard
disk(s), and disconnect the cable
(see sidebar).
6.
Reverse the process to install a new hard disk(s).
6
7
Hard Disk Cable
The computer sup-
ports both serial (SA-
TA) and parallel
(PATA) hard disks.
Make sure you use the
appropriate cable
for the particular hard
disk(s) you use.
Only serial (SATA)
hard disks (pictured)
support a RAID config-
uration.
Figure 6 - 3
HDD Assembly
Removal
16
8
15
16
6
7
8
9
10
16
11
13
12
15
14
Содержание MJ-12 m7700a
Страница 1: ......
Страница 2: ......
Страница 20: ...XVIII Preface...
Страница 76: ...Drivers Utilities 4 14 4...
Страница 92: ...BIOS Utilities 5 16 5...
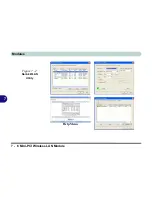
Страница 106: ...Modules 7 6 Mini PCI Wireless LAN Module 7 Help Menu Figure 7 2 Ralink WLAN Utility...
Страница 110: ...Modules 7 10 Bluetooth WLAN Combo Module 7 Figure 7 3 Switching WLAN Controls...
Страница 118: ...Modules 7 18 PC Camera 7 Figure 7 6 Audio Setup...
Страница 128: ...Modules 7 28 7...
Страница 140: ...Troubleshooting 8 12 8...
Страница 156: ...NVIDIA Video Driver Controls B 12 B...


