Drivers & Utilities
What to Install 4 - 3
4
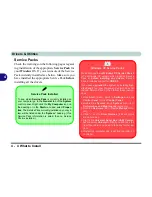
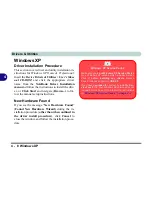
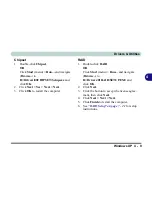
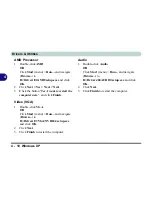
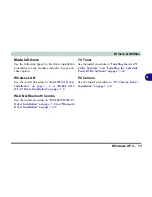
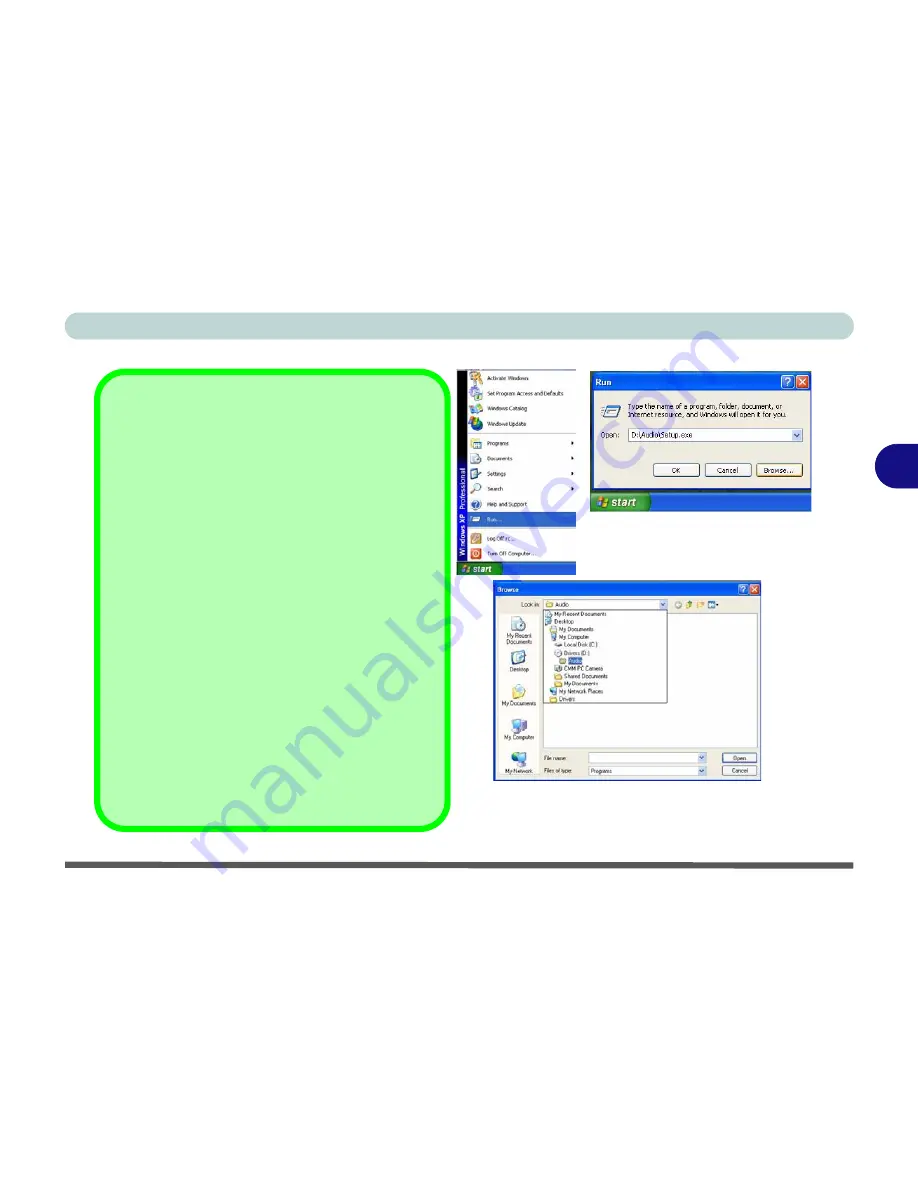
Navigate (Browse..) to D:
You will notice that many of the instructions for driver
installation require you to “
Navigate (Browse) to D:
”.
We assume that you will install all drivers and utilities
from the built-in CD device and it is assigned to “
Drive
D:
”. In addition, all file extensions can be seen
In this case “D:” is the drive specified for your CD de-
vice. Not all computers are setup the same way, and
some computers have the CD listed under a different
drive letter - e.g. if you have two hard drives (or hard
disk partitions) one may be designated as “Drive C:”
and the other as “Drive D:”. In this case the CD device
may be designated as “Drive E:” - Please make sure
you are actually navigating to the correct drive letter
for the CD device.
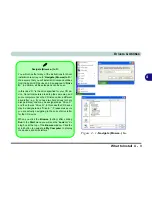
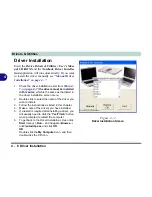
When you click the
Browse
(button) after clicking
Run
in the
Start
menu you will see the “
Look in:
” di-
alog box at the top of the
Browse
window. Click the
scroll button to navigate to
My Computer
to display
the devices and drive letters.
Figure 4 - 1
- Navigate (Browse..) to..
Содержание MJ-12 m7700a
Страница 1: ......
Страница 2: ......
Страница 20: ...XVIII Preface...
Страница 76: ...Drivers Utilities 4 14 4...
Страница 92: ...BIOS Utilities 5 16 5...
Страница 106: ...Modules 7 6 Mini PCI Wireless LAN Module 7 Help Menu Figure 7 2 Ralink WLAN Utility...
Страница 110: ...Modules 7 10 Bluetooth WLAN Combo Module 7 Figure 7 3 Switching WLAN Controls...
Страница 118: ...Modules 7 18 PC Camera 7 Figure 7 6 Audio Setup...
Страница 128: ...Modules 7 28 7...
Страница 140: ...Troubleshooting 8 12 8...
Страница 156: ...NVIDIA Video Driver Controls B 12 B...


