Drivers & Utilities
4 - 6 Driver Installation
4
Driver Installation
Insert the
Device Drivers & Uti User’s Man-
ual CD-ROM
and the
Notebook Driver Installa-
tion
application will run automatically. If you want
to install the driver manually see
“Manual Driver
Installation” on page 4 - 7
.
1.
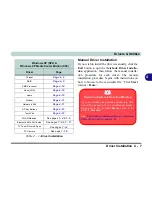
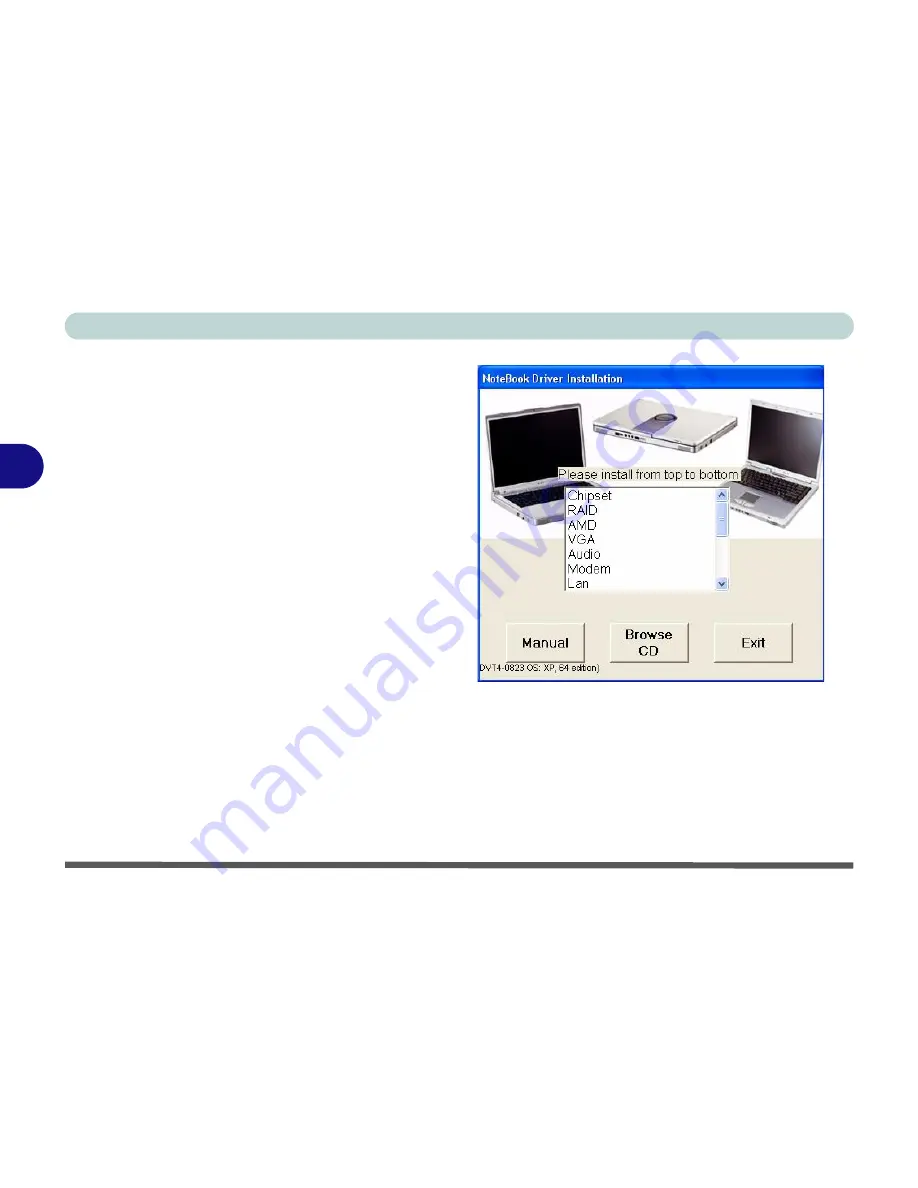
Check the driver installation order from
Table 4 -
1, on page 4 - 7
(
the drivers must be installed
in this order
) which is the same as that listed in
the driver installation screen menu.
2.
Double-click to select the name of the driver you
wish to install.
3.
Follow the instructions as listed in this chapter.
4.
Make a note of the drivers you have installed.
5.
If a restart is required after installing a driver, you
will usually need to click the “
Yes/Finish
” button
when prompted to restart the computer.
6.
To get back to the
Driver Installation
screen click
Start
(menu) >
Run
... and navigate (
Browse..
)
to
D:\autodr3p.exe
and click
OK
.
OR
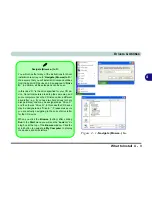
Double-click the
My Computer
icon, and then
double-click the CD icon.
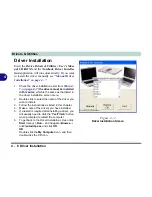
Figure 4 - 2
Driver Installation Screen
Содержание MJ-12 m7700a
Страница 1: ......
Страница 2: ......
Страница 20: ...XVIII Preface...
Страница 76: ...Drivers Utilities 4 14 4...
Страница 92: ...BIOS Utilities 5 16 5...
Страница 106: ...Modules 7 6 Mini PCI Wireless LAN Module 7 Help Menu Figure 7 2 Ralink WLAN Utility...
Страница 110: ...Modules 7 10 Bluetooth WLAN Combo Module 7 Figure 7 3 Switching WLAN Controls...
Страница 118: ...Modules 7 18 PC Camera 7 Figure 7 6 Audio Setup...
Страница 128: ...Modules 7 28 7...
Страница 140: ...Troubleshooting 8 12 8...
Страница 156: ...NVIDIA Video Driver Controls B 12 B...


