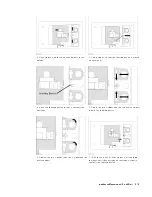
Figure
3-10.
14.
Press
NNNNNNNNNNNNNN
LOAD
.
After
a
LO
AD
calibration
sequence
of
about
2
minutes
,
the
NNNNNNNNNNNNNN
LOAD
softkey
label
is
underlined.
15.
Disconnect
the
50
termination.
Note
Low-loss
capacitor
calibration
(steps
16
through
18)
is
optional.
The
low-loss
capacitor
calibration
allows
more
accurate
high
Q
measurements
.
If
you
don't
need
this
accuracy
for
high
Q
measurements
,
the
low-loss
capacitor
calibration
can
be
skipped.
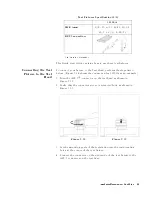
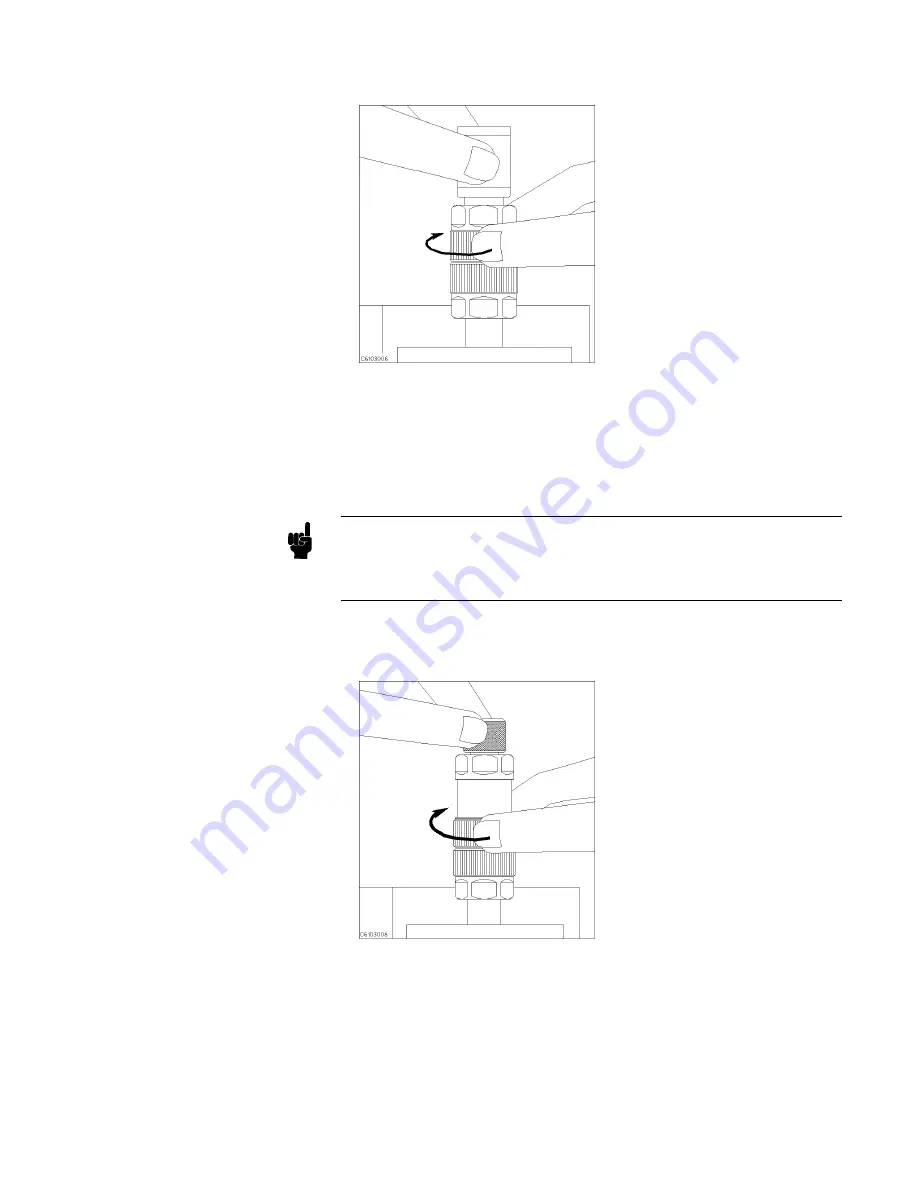
16.
Connect
the
low-loss
capacitor
to
the
APC-7
R
connector
as
shown
in
Figure
3-11.
Figure
3-11.
17.
Press
N
NNNNNNNNNNNNNNNNNNNNNNNNNNNNNNNNNNNNNNNNNNNNNNNNNNNNNNN
LOW-LOSS
CAPACITOR
.
After
a
low-loss
capacitor
calibration
sequence
of
about
1
minute
,
the
NNNNNNNNNNNNNNNNNNNNNNNNNNNNNNNNNNNNNNNNNNNNNNNNNNNNNNNN
LOW-LOSS
CAPACITOR
softkey
label
is
underlined.
18.
Disconnect
low-loss
capacitor
.
Impedance
Measurement
Quick
Start
3-7
Содержание 4291B
Страница 20: ......
Страница 24: ...Figure 2 1 Contents 2 4 Installation and Set Up Guide ...
Страница 26: ...Figure 2 2 Agilent Part Numbers of Power Cables 2 6 Installation and Set Up Guide ...
Страница 34: ...Figure 2 7 Connecting a Keyboard 2 14 Installation and Set Up Guide ...
Страница 60: ......
Страница 104: ......
Страница 130: ......
Страница 152: ......
Страница 158: ......

