ADPRO
iFT Series Hardware Installation Manual
27817_08
25
The table below lists the correct devices and SATA connectors:
Device
SATA connector
DOM
SATA0
HDD1
SATA1
HDD2
SATA2
HDD3
SATA3
HDD4
SATA4
7.
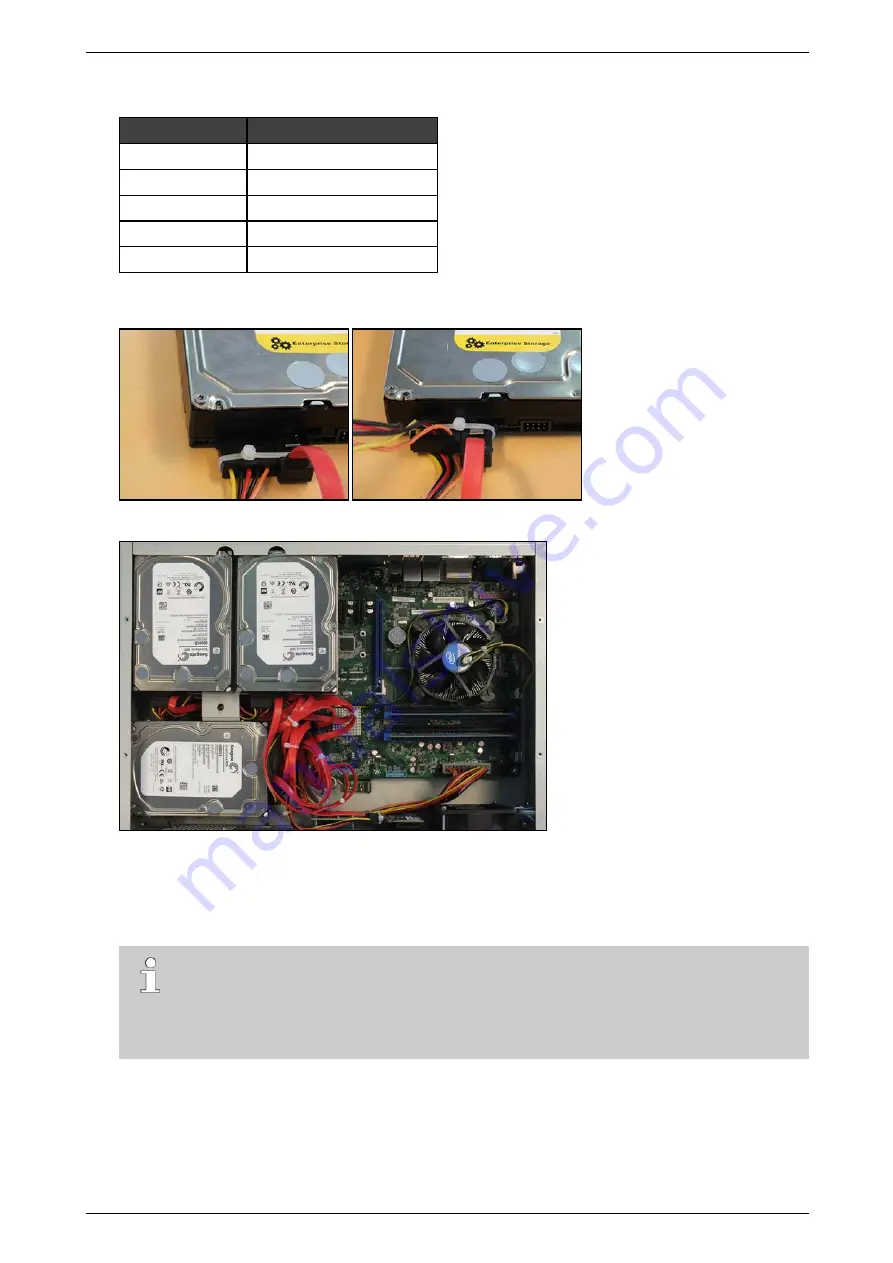
If the SATA cables do not have a locking mechanism, use tie-wraps to secure the cables on the disk(s) in
the following way:
8.
If there are unused cables left, bundle them with tie-wraps.
9.
Place the top cover back: fix it with 2 screws at the front, 4 at the top, and 3 at the back.
10. Connect a monitor/screen and keyboard to the device. Switch on the power supply and wait for the boot
window to appear.
11. Select
XO Installer
and press Enter.
Note
The boot window only appears for a few seconds, then the device continues booting. To make
sure that you do not miss it, press the arrow keys on the keyboard repeatedly while the device is
booting. The device will then stop at the boot window, and this gives you time to select and open
the
XO Installer
menu.
12. Choose
Update current system
>
Manage recording disks
.
13. Select the newly installed hard disk(s) in the list and press Enter.
14. Choose
Format and use selected disks
(using the tab key). The system formats the selected hard disks.
15. When formatting is finished, choose
Main Menu
, and then choose
Reboot
.
The device now restarts. After restarting, the installed hard disks are ready for use.
Содержание iFT
Страница 1: ...ADPRO iFT Series Hardware Installation Manual February 2019 Doc 27817_08 Firmware version XO 4 03 ...
Страница 2: ......
Страница 79: ......


