Introducing the iNID System
3
iPSU
The Power Supply Unit (iPSU) supplies power to the i3802V and is installed by your service provider. The
iPSU optimum operating temperature is between –5
o
C to +50
o
C, ambient (23.0
o
F to 122
o
F). Unlike the
i3802V, the iPSU must be installed in a sheltered area — either inside the garage or home. If the iPSU is
equipped with a backup battery, during a temporary AC power outage, the power source is switched to the
battery without interruption of the voice-over-IP service. When the AC power is restored, the power source is
switched back to the AC power supply. The switchover between the AC power supply and the battery is
automatic and instantaneous.
The iPSU itself requires no regular maintenance; however, the battery inside the iPSU requires periodic
replacement. Refer to the
Working with the Power Supply Unit
section for instructions to replace the backup
battery.
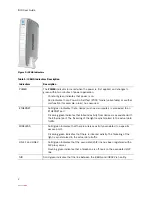
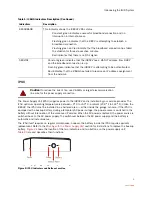
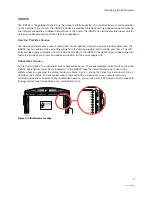
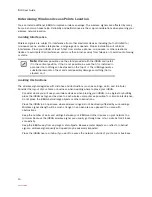
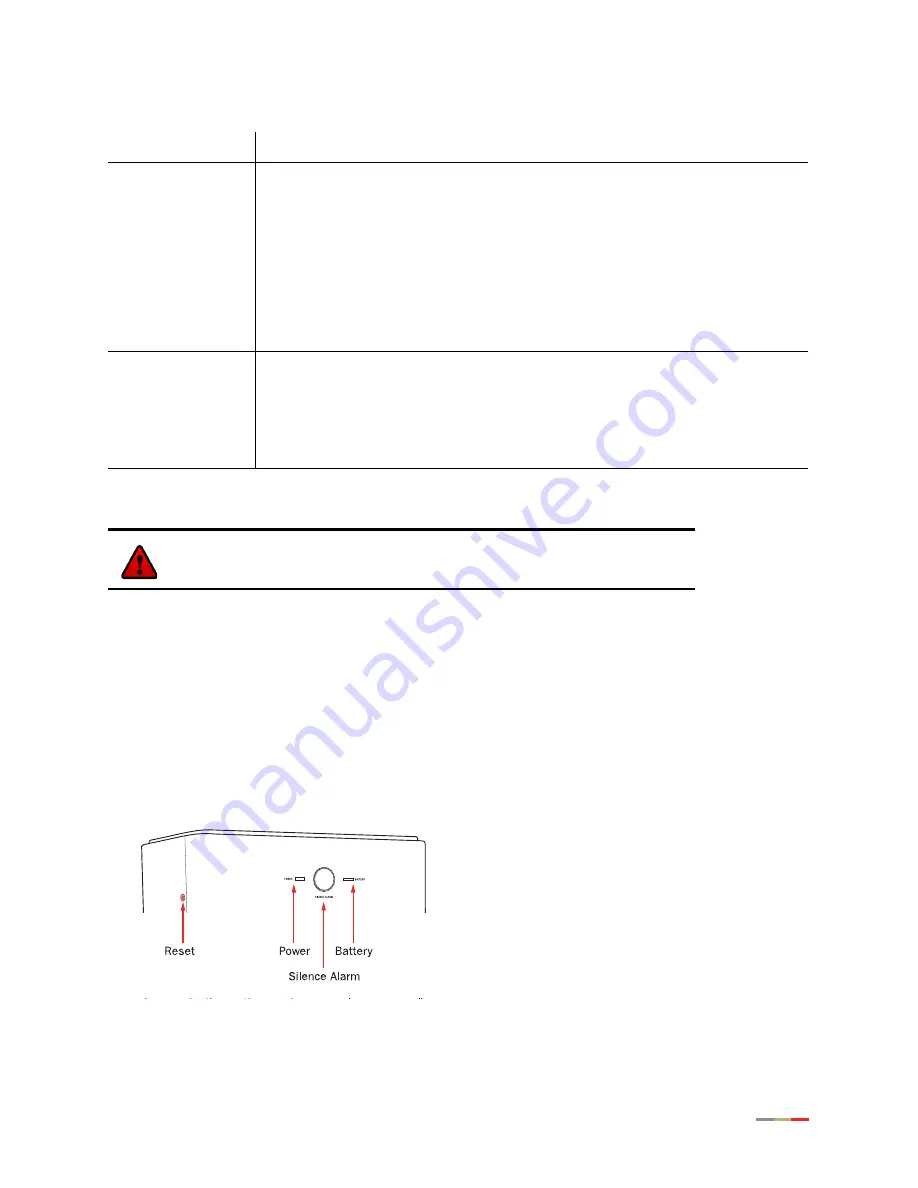
shows the location of the two indicators and two buttons on the power supply unit;
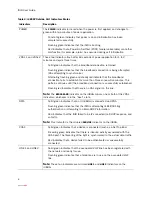
lists and describes their functions.
Figure 2: iPSU Indicators and Buttons Location
BROADBAND
This indicator shows the i3802V VDSL status.
−
Constant green indicates successful broadband connection and no
interruption in Internet access.
−
Flashing green indicates that the i3802 is attempting to establish a
broadband connection.
−
Flashing green and red indicate that the broadband connection has failed
to establish for three consecutive minutes.
−
Red indicates that there is no DSL signal.
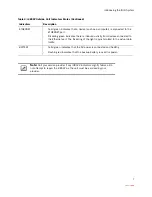
SERVICE
•
Constant green indicates that the i3802V has a WAN IP address from DHCP
and the broadband connection is up.
•
Flashing green indicates that the i3802V is attempting to be authenticated.
•
Red indicates that the i38HG has failed to receive an IP address assignment
from the network.
Caution:
To reduce the risk of fire, use 26 AWG or larger telecommunication
line wire for the power supply connection.
Table 1: i38HG Indicators Description (Continued)
Indicators
Description
Содержание i38HG
Страница 1: ...Release 1 0 iNID User Guide ...
Страница 12: ...iNID User Guide 8 ...
Страница 26: ...iNID User Guide 22 ...
Страница 42: ...iNID User Guide 38 ...
Страница 60: ...iNID User Guide 56 3 Click Advanced Configuration the following page opens displaying the default settings ...
Страница 72: ...iNID User Guide 68 ...
Страница 82: ...iNID User Guide 78 ...
Страница 98: ...iNID User Guide 94 3 Click Logs the Event Log page opens 4 Click System Log the System Log page opens ...
Страница 101: ...Finding Solutions 97 3 Click Logs the Event Log page opens 4 Click Firewall Log the Firewall Log page opens ...
Страница 104: ...iNID User Guide 100 ...
Страница 108: ...iNID User Guide 104 ...

