Working with the Power Supply Unit
61
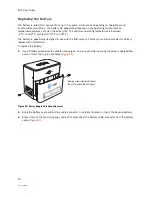
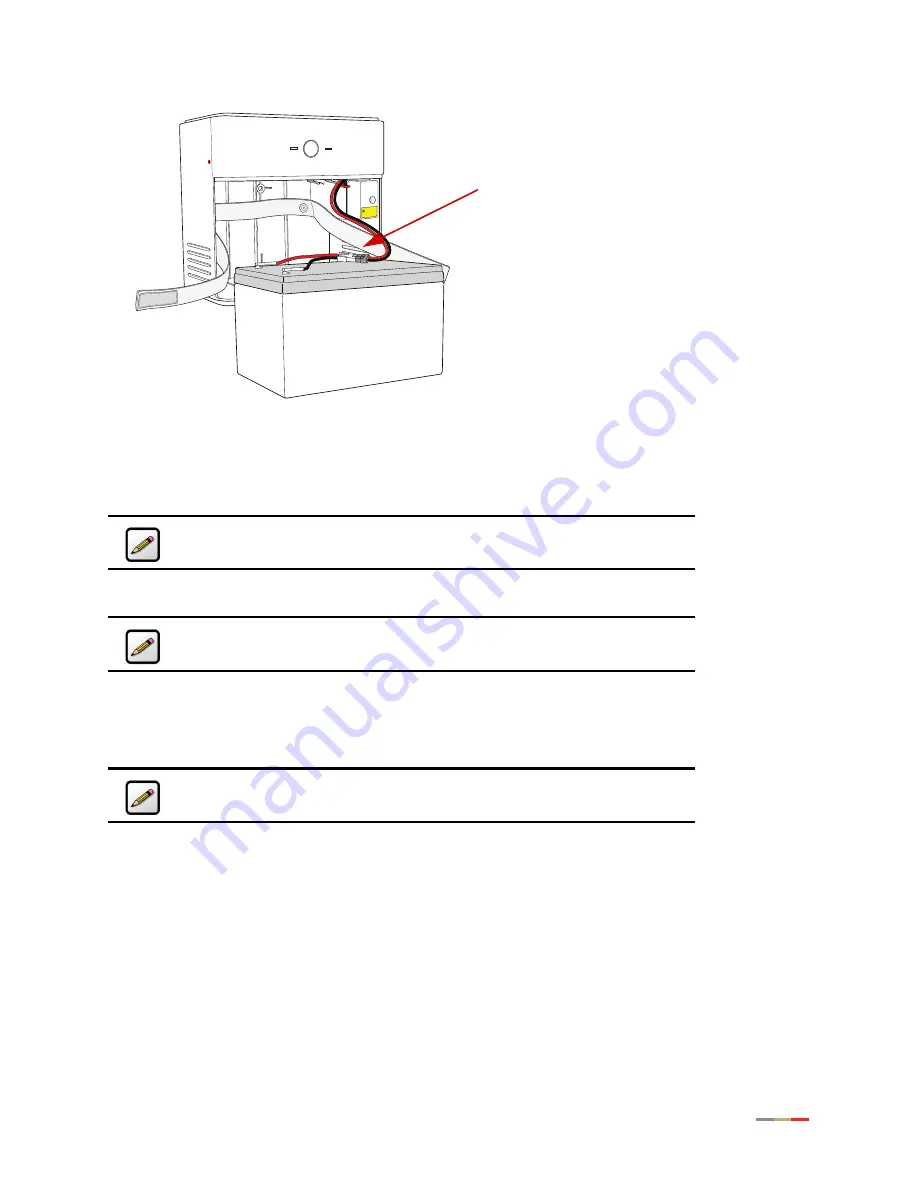
Figure 12: Battery Connector
4.
Release the safety strap securing the battery.
5.
Remove the old battery from the housing and put it safely aside.
6.
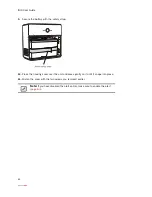
Insert the new battery gently into the housing.
7.
Connect the battery cable connector to the battery cable.
8.
Observe the
BATTERY
indicator on the iPSU, it should light green when the i38HG and i3802V are
communicating properly.
Note:
Be careful when you remove the battery; it is heavy.
Note:
Be sure to place the battery inside the raised bottom edge of the
case.
Note:
A faulty battery is indicated if the
BATTERY
indicator does not light
green within 5 minutes assuming the iPSU is plugged into AC power.
POWER
SILENCE ALARM
BATTERY
CAUTION
POTENTIAL SHOCK
Tension Springs
Содержание i38HG
Страница 1: ...Release 1 0 iNID User Guide ...
Страница 12: ...iNID User Guide 8 ...
Страница 26: ...iNID User Guide 22 ...
Страница 42: ...iNID User Guide 38 ...
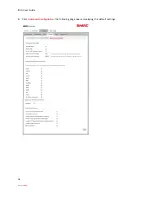
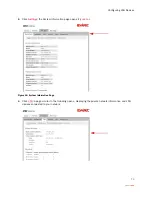
Страница 60: ...iNID User Guide 56 3 Click Advanced Configuration the following page opens displaying the default settings ...
Страница 72: ...iNID User Guide 68 ...
Страница 82: ...iNID User Guide 78 ...
Страница 98: ...iNID User Guide 94 3 Click Logs the Event Log page opens 4 Click System Log the System Log page opens ...
Страница 101: ...Finding Solutions 97 3 Click Logs the Event Log page opens 4 Click Firewall Log the Firewall Log page opens ...
Страница 104: ...iNID User Guide 100 ...
Страница 108: ...iNID User Guide 104 ...

