Chapter 4 Internet Setup Wizard
MAX-200HW2 Series User
s Guide
66
Note:
The text in the screen below may be different depending on your chosen security
settings.
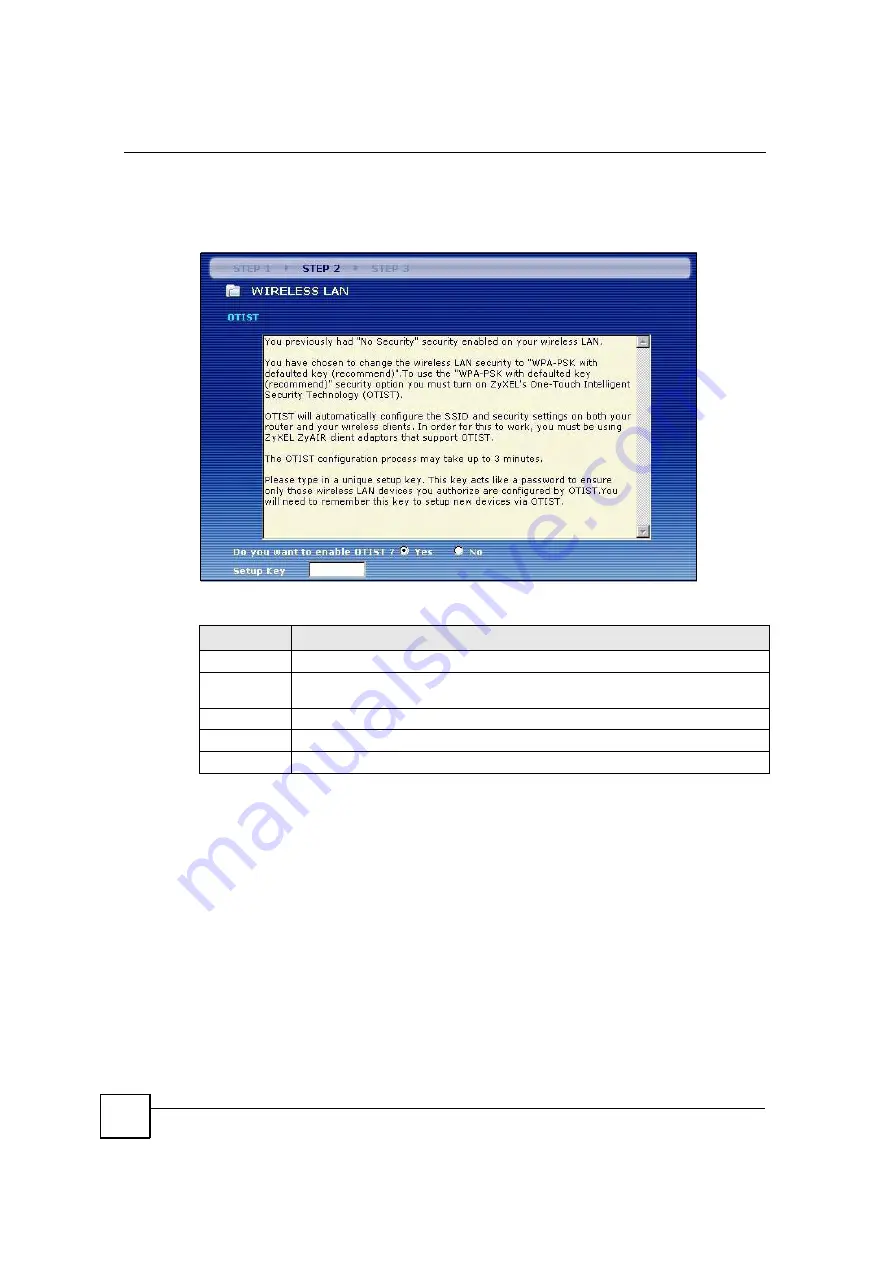
Figure 32
Wizard > Step 2 > OTIST
The following table describes the labels in this screen.
4.5 Step Three: Internet Configuration
Set up your Internet access using the following screens.
4.5.1 Connection Type Screen
Leave the
Connection Type
at the default setting
WIMAX
and click
Next
.
Table 11
Wizard > Step 2 > OTIST
LABEL
DESCRIPTION
Enable OTIST Select
Yes
to enable OTIST. Select
No
to not use OTIST.
Setup Key
If you select
Yes
then type an OTIST
Setup Key
of exactly eight ASCII characters in
length.
Back
Click
Back
to display the previous screen.
Next
Click
Next
to proceed to the next screen. Proceed to
Section 4.5 on page 66
Exit
Click
Exit
to close the wizard screen without saving.
Summary of Contents for MAX-200HW2
Page 6: ...Safety Warnings MAX 200HW2 Series User s Guide 8...
Page 8: ...Contents Overview MAX 200HW2 Series User s Guide 10...
Page 18: ...Table of Contents MAX 200HW2 Series User s Guide 20...
Page 29: ...31 PART I Introduction Getting Started 33 Introducing the Web Configurator 39...
Page 30: ...32...
Page 36: ...Chapter 1 Getting Started MAX 200HW2 Series User s Guide 38...
Page 44: ...Chapter 2 Introducing the Web Configurator MAX 200HW2 Series User s Guide 46...
Page 45: ...47 PART II Tutorials and Wizard Tutorial 49 Internet Setup Wizard 61 VoIP Wizard 73...
Page 46: ...48...
Page 74: ...Chapter 5 VoIP Wizard MAX 200HW2 Series User s Guide 76...
Page 76: ...78...
Page 88: ...Chapter 6 Status Screens MAX 200HW2 Series User s Guide 90...
Page 116: ...Chapter 8 WAN Setup MAX 200HW2 Series User s Guide 118...
Page 126: ...Chapter 9 LAN MAX 200HW2 Series User s Guide 128...
Page 146: ...Chapter 11 VPN Transport MAX 200HW2 Series User s Guide 148...


