Zmorph Fab - QUICK START GUIDE
28
10.3 Smart Toolhead change
Next steps depend on which method and toolhead will be used:
Single Extruder Toolhead 1.75
▪ Connect the ‘LEFT’ cable to the ‘LEFT’
frame socket and ‘RIGHT’ cable to the
‘RIGHT’ frame socket.
▪ Connect the extruder ‘A’ cable to the ‘A’
plug and the ‘B’ cable to the ‘B’ plug on
the X carriage.
Laser Toolhead
▪ Connect the ‘LEFT’ cable to the ‘LEFT’
frame socket and ‘RIGHT’ cable to the
‘RIGHT’ frame socket.
Thick Paste Extruder Toolhead
▪ Connect the ‘LEFT’ cable to the ‘LEFT’
frame socket.
▪ Connect the extruder ‘A’ cable to X car-
riage ‘A’ plug.
Dual Extruder Toolhead
▪ Connect the ‘LEFT’ cable to the ‘LEFT’
frame socket and ‘RIGHT’ cable to the
‘RIGHT’ frame socket.
▪ Connect the extruder ‘A’ cable to the ‘A’
plug and the ‘B’ cable to the ‘B’ plug on
the X carriage.
CNC Milling Toolhead
▪ Connect the ‘LEFT’ cable to the ‘LEFT’
frame socket.
▪ Connect the extruder ‘A’ cable to X car-
riage ‘A’ plug.
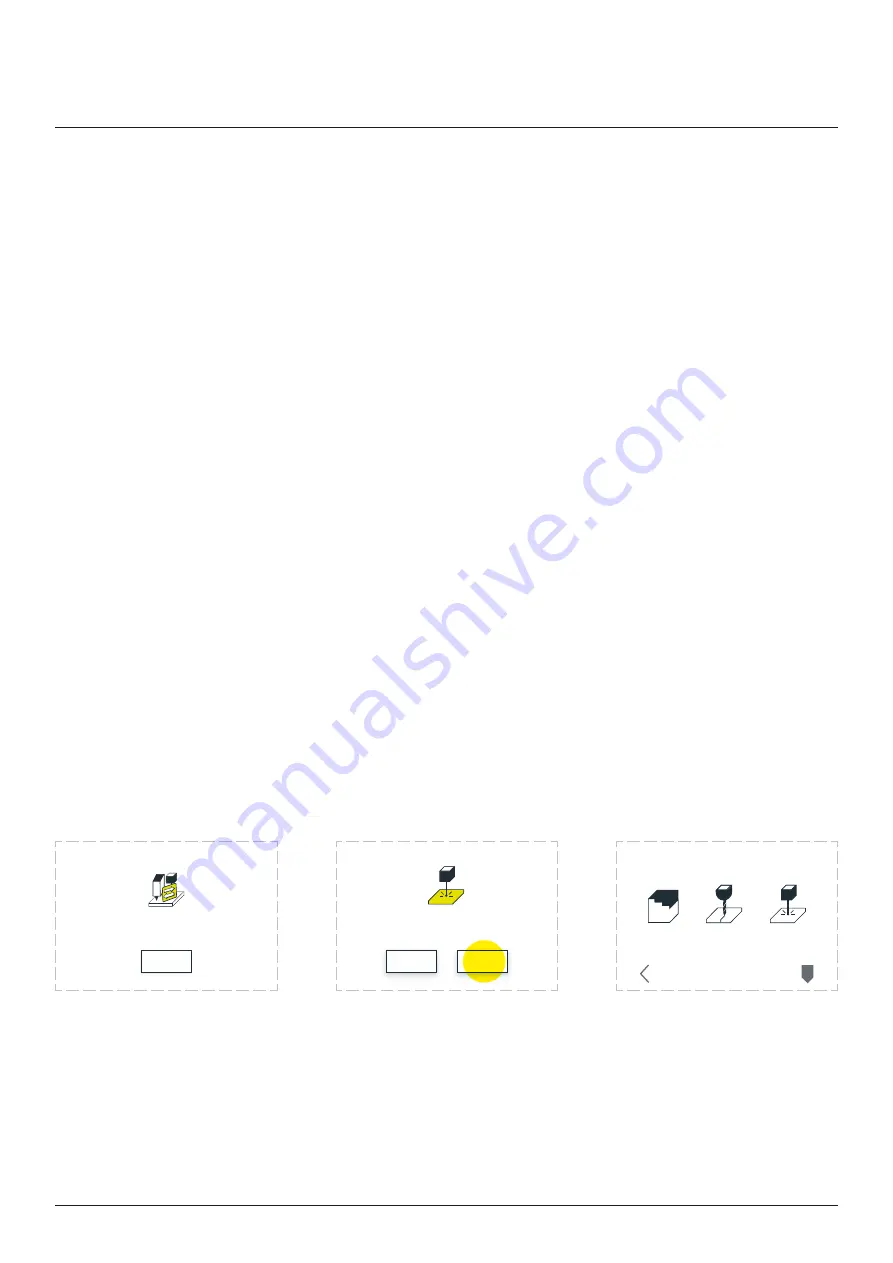
Toolhead change process started.
When you mount the toolhead press OK
OK
Toolhead was detected properly?
LASER
NO
YES
3D PRINT
CHANGE TOOLHEAD
CNC
LASER
PARK
TOOL
BACK
Toolhead change
After connecting all extruder
cables choose ‘OK’.
Zmorph Fab will recognize
the toolhead automatically.
If toolhead is correct choose
‘YES’.
If machine doesn’t recognize
the toolhead choose ‘NO’
and it will lead you to change
toolhead menu, where you
can choose your toolhead
manually.


